Do you have a question about the Ryobi ESW1240RK and is the answer not in the manual?
Explains safety alert symbols, warnings, and the importance of reading the manual for safe use.
Details essential PPE like safety glasses, dust masks, and hearing protection to prevent injury.
Covers maintaining a clean area, proper lighting, keeping others away, and storing tools safely.
Advises on correct tool usage, appropriate attire, maintaining balance, and keeping handles clean.
Emphasizes tool maintenance, removing keys, checking parts, and avoiding hazardous environments.
Warns against operating while impaired and stresses supervision for children.
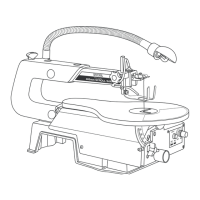
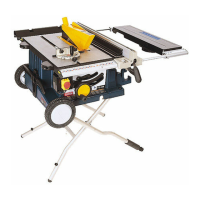
Describes the table as the primary working surface for supporting the workpiece during operation.
Explains the sawdust blower and vacuum hook-up for keeping the workpiece clean.
Details the drop foot for workpiece support and the blade tension adjustment knob.
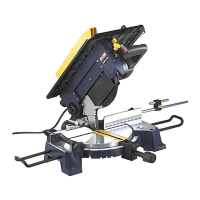
Covers tilting and locking the table using the lock knob and degree scale for precise angles.
Mentions the gauge for blade length setup and the importance of the table insert.
Describes the on/off switch, variable speed control, and the adjustable work light.
Notes the cover can be removed to allow the use of the flexible shaft accessory.
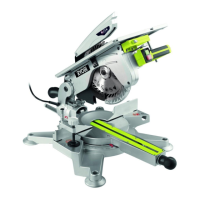
Instructions on tilting and locking the saw table for horizontal or bevel cuts up to 45 degrees.
Guide to setting the degree scale pointer to zero for accurate angle readings.
How to use the on/off switch for powering the saw and adjusting cutting speed for different materials.
Step-by-step guide for blade removal and installation using pin adaptors and blade slots.
Instructions for attaching blade adaptors to plain end blades for side cutting.
Guide for removing and installing plain-end blades with adaptors, including side cutting position.
How to perform interior cuts by drilling a hole and inserting the blade through the workpiece.
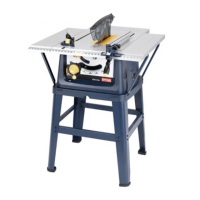
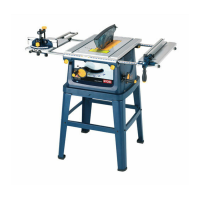
Recommendations for securely mounting the saw to a workbench for improved stability and reduced vibration.
Lists common causes for blade breakage and provides remedies like adjusting tension or feed rate.
Provides remedies for issues where the motor fails to operate, suggesting checking the cord or motor.
Addresses causes of vibration and suggests mounting solutions or tightening loose parts.
Explains how to fix blade runout by adjusting blade holders and tightening screws.
Instructions for lubricating arm bearings and general cleaning of the tool using dry cloths.
Advises on using sharp accessories, checking screws, and using original spare parts for repairs.
Guidelines for storing the tool in a cool, well-ventilated area away from direct sunlight.