iii
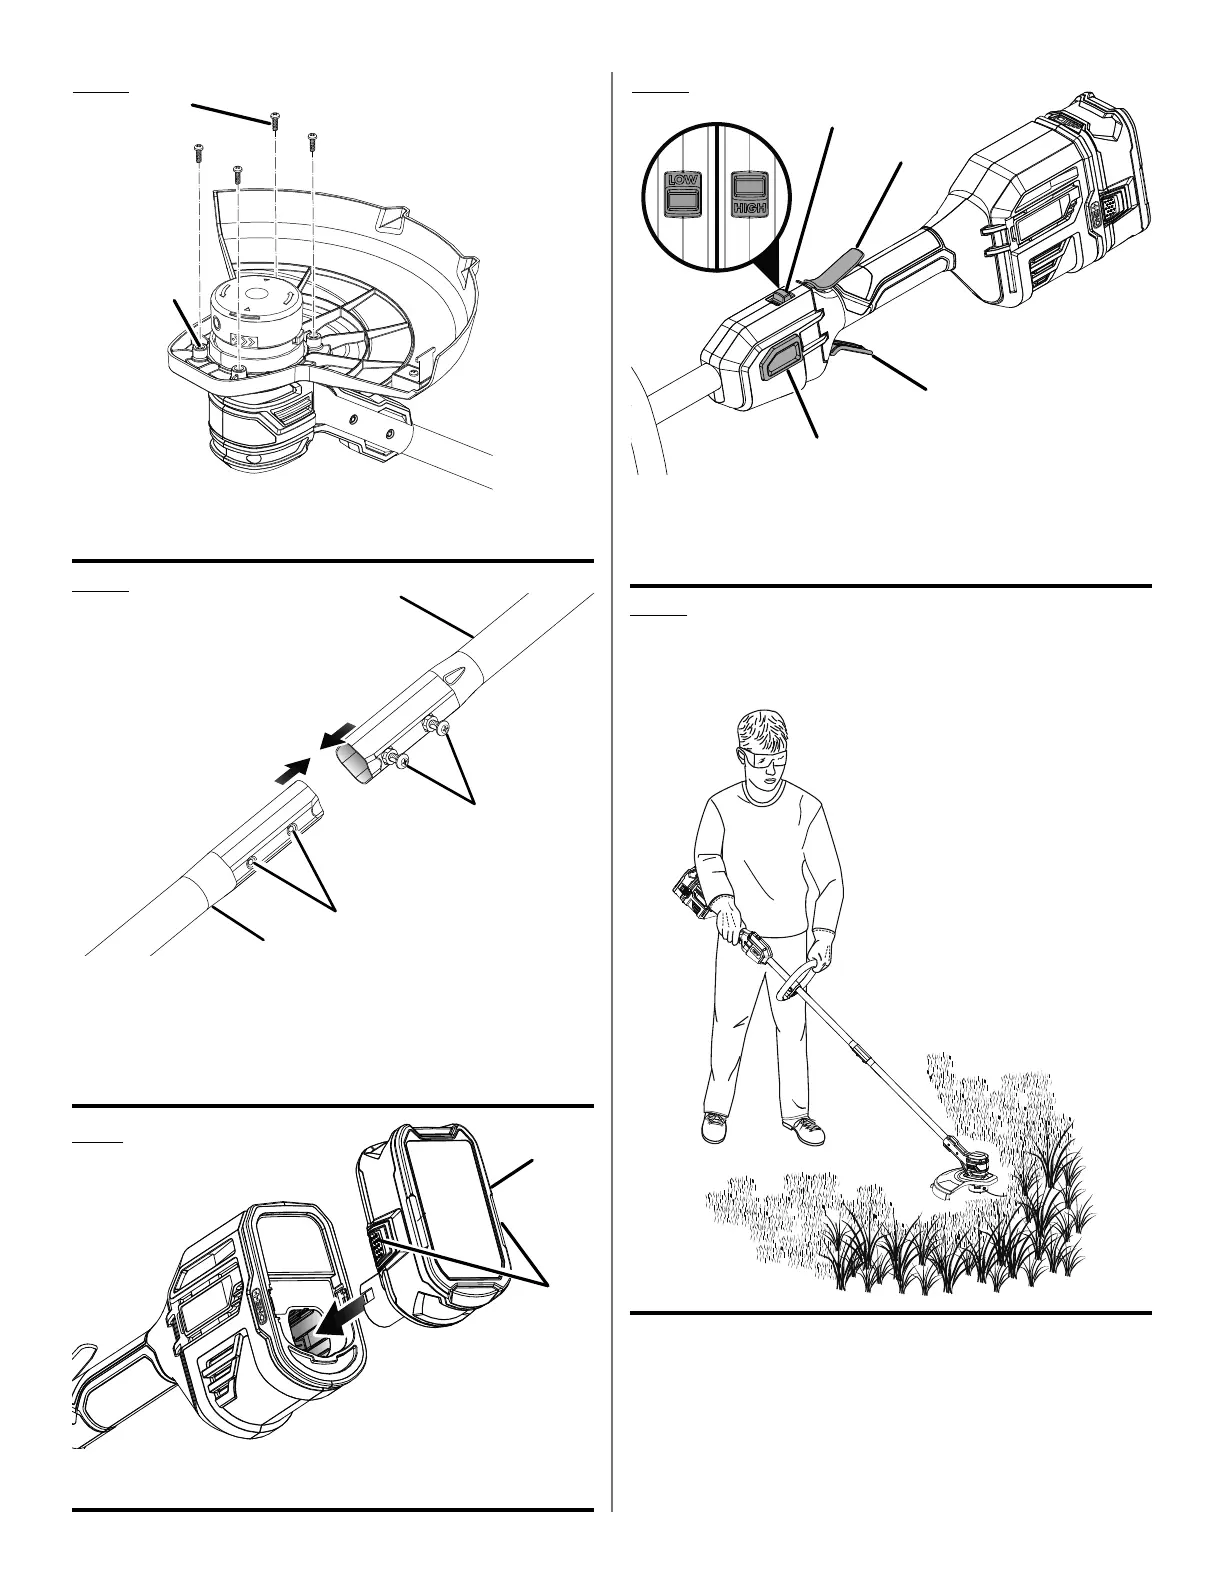
A - Screw holes (orifices de las vis, agujeros del tornillo)
B - Screws (vis, tornillos)
Fig. 5
A
B
A - Lower end (extrémité inférieur, extremo inferior)
B - Upper end (extrémité supérieur, extremo superior)
C - Phillips head screws (vis à cruciform, tornillos de cabeza Phillips)
D - Indentations (indentations, muescas)
E - Tighten (serrer, ajustar)
F - Loosen (desserrer, aflojar)
A
B
D
C
Fig. 6
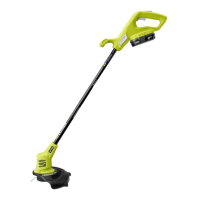
Fig. 9
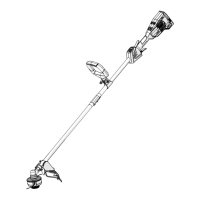
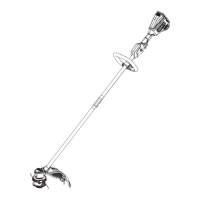
PROPER TRIMMER OPERATING POSITION
TAILLE-BORDURE POSITION DE TRAVAIL
POSICIÓN CORRECTA PARA EL MANEJO PARA RECORTAR
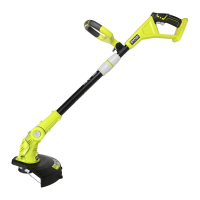
A - Lock-out button (bouton de verrouillage, botón de seguro de seguro)
B - Switch trigger (gâchette, gatillo del interruptor)
C - Release button (bouton de dégagement, botón de liberación)
D - Speed switch (interrupteur de vitesse, interruptor de velocidad)
Fig. 8
A
B
Fig.7
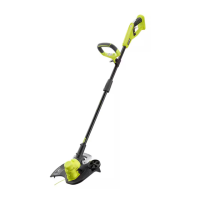
A - Battery pack (bloc-piles, paquete de baterías)
B - Latch (loquet, pestillo)
A
B
D
C