- 3 -
OPERATION
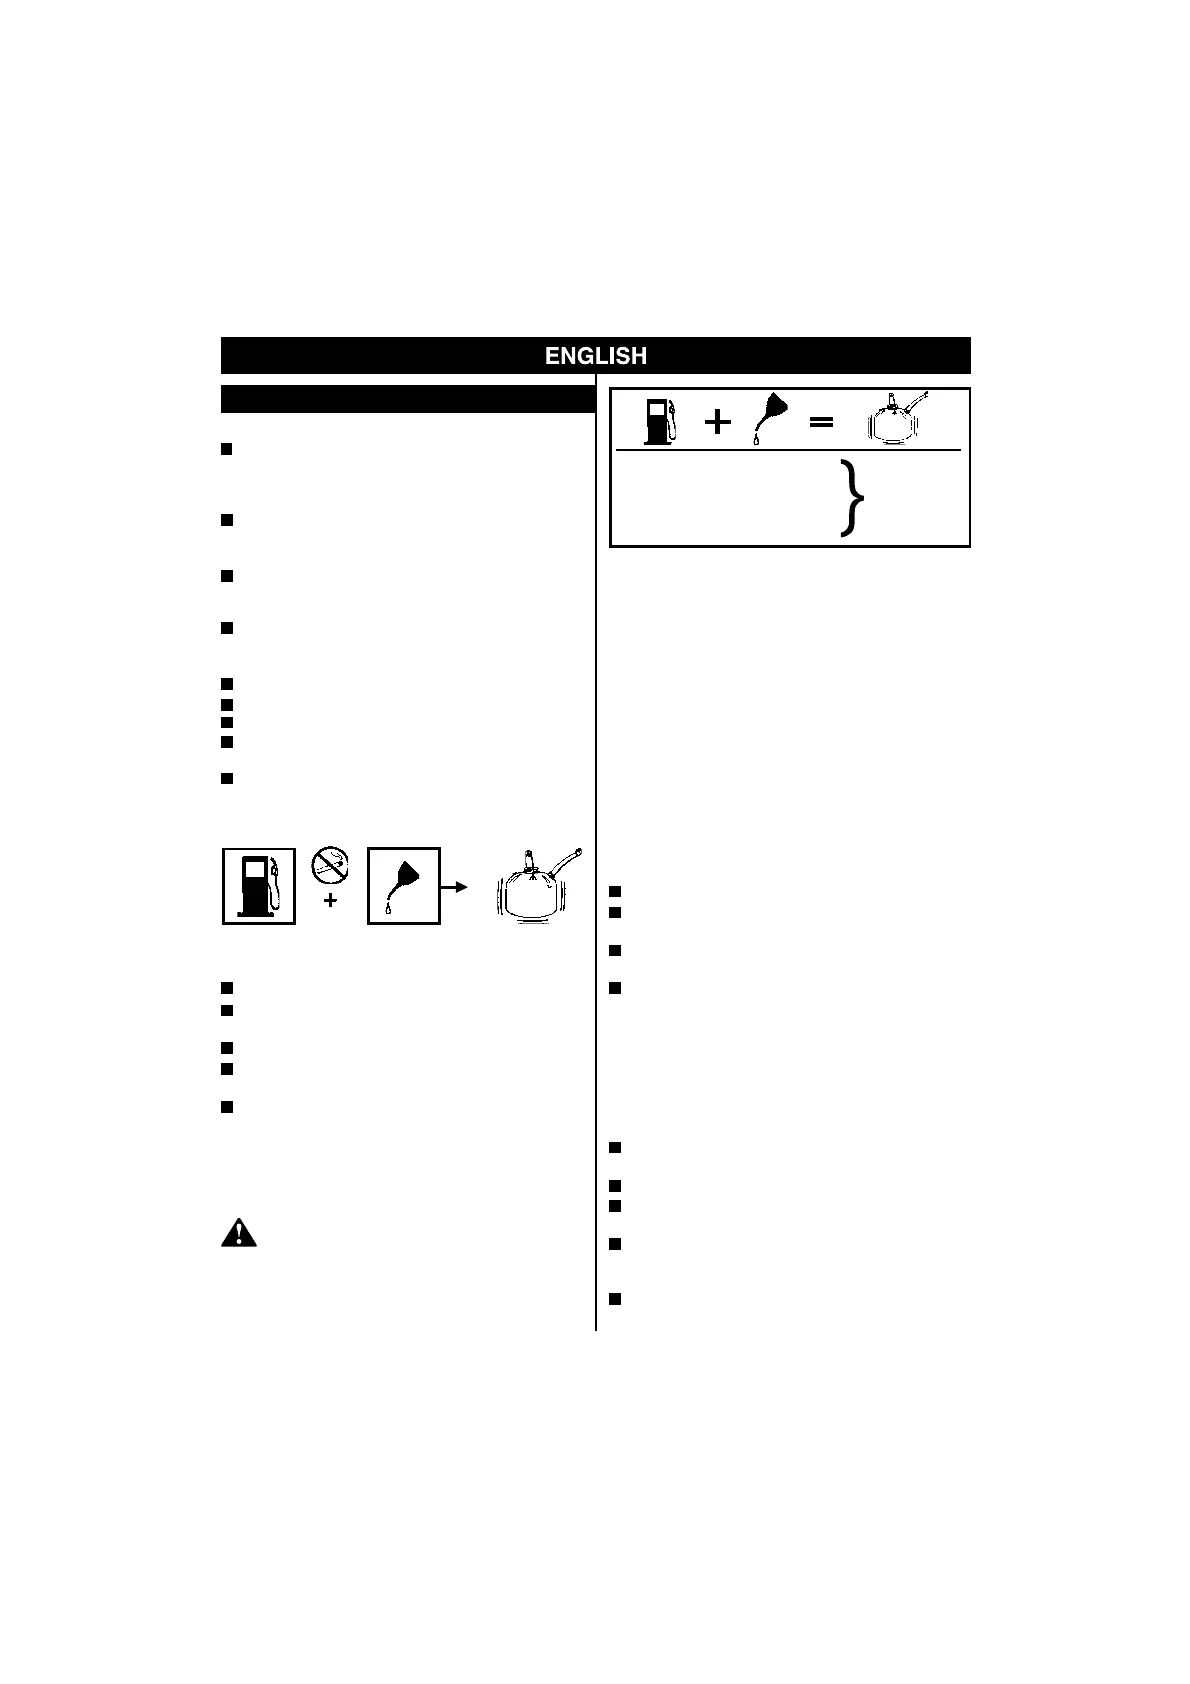
MIXING THE FUEL
This product is powered by a 2-cycle engine and requires
pre-mixing petrol and 2-cycle oil. Pre-mix unleaded
petrol and 2-cycle engine oil in a clean container
approved forpetrol.
This engine is certified to operate on unleaded petrol
intended for automotive use with an octane rating of 87
([R + M] / 2) or higher.
Do not use any type of pre-mixed petrol/oil from fuel
service stations, this includes the pre-mixed gasoline/oil
intended for use in mopeds, motorcycles, etc.
WARNING:
4. Prior to replacing the fuel cap, clean and inspect the
gasket.
5. Immediately replace fuel cap and hand tighten. Wipe up
any fuel spillage. Move 9 m (30 ft.) away from refueling
site before starting engine.
NOTE: It is normal for smoke to be emitted from a new
engine during and after first use.
Use high a quality 2-cycle self mixing oil for air cooled
engines. Do not use automotive oil or 2-cycle outboard
oil.
Mix 2% oil into the
petrol
. This is a 50:1 ratio.
Mix the fuel thoroughly and also each time before
fueling.
Mix in small quantities. Do not mix quantities larger than
usable in a 30 day period. A 2-cycle oil containing a fuel
stabilizer is recommended.
FILLING THE TANK
1. Clean surface around fuel cap to prevent contamination.
2. Loosen fuel cap slowly to release pressure and to keep
fuel from escaping around the cap.
3. Carefully pour fuel mixture into the tank. Avoid spillage.
50:1 Synthetic oil.
25:1 Mineral oil.
Always shut off engine before fueling. Never add fuel
to a machine with a running or hot engine. Move at
least 9 m (30 ft.) from refueling site before starting
engine. Do not smoke!
1 Litre + 20 ml =
2 Litres + 40 ml =
3 Litres + 60 ml =
4 Litres + 80 ml =
5 Litres + 100 ml =
50:1
OPERATING THE TRIMMER (FIG. 5)
Hold the trimmer with the right hand on the rear handle and
the left hand on the front handle. Keep a rm grip with both
hands while in operation.Trimmer should be held at a
comfortable position with the rear handle about hip height.
Always operate trimmer at full throttle. Cut tall grass from
the top down.This will prevent grass from wrapping around
the shaft housing and string head which may cause damage
from overheating. If grass becomes wrapped round the
string head, stop the engine, disconnect the spark plug
wire, and remove the grass. Prolonged cutting at partial
throttle will result in oil dripping from the silencer .
ADVANCING THE STRING
ADVANCING STRING USING THE EZ LINE™ TAP
ADVANCE SYSTEM
String advance is controlled by tapping string head on grass
while running engine at full throttle.
1. Run engine at full throttle.
2. Tap string head on ground to advance string. String
advances each time the head is tapped.
3. Several taps may be required until string strikes the cut
off blade.
4. Resumetrimming.
NOTE: If the string is worn too short you may not be able to
advance the string by tapping it on the ground. If so, STOP
THE ENGINE, and manually advance the string.
ADVANCING THE STRING MANUALLY
Push the spool retainer down while pulling on string(s) to
manually advance the string.
CUTTING TIPS (FIG. 6)
Keep the trimmer tilted toward the area being cut; this is
the best cutting area (24).
Do not cut in dangerous cutting area (23).
Use the tip of string to do the cutting; do not force string
head into uncut grass.
Wire and picket fences cause extra string wear, even
breakage. Stone and brick walls, curbs, and wood may
wear string rapidly.
Avoid trees and shrubs. Tree bark, wood moldings,
siding, and fence posts can easily be damaged by the
string.
 Loading...