To ensure the magnetic lock works on your door/drawer: NOTE: In the example illustrations the lock may not work because the drawer is too thick.
1 2 43
Before you begin
Before you begin
1
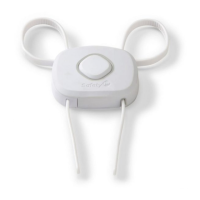
Push button to show
SecureTech™ lock
unlock/green icon.
2 Hold magnetic lock inside
door/drawer.
4 E
nsure lock activates (top
button goes down).
3
Place key on opposite side.
Wipe clean. Keep lock dry.
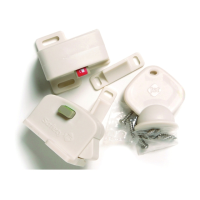
Hand drill or power drill, 7/64” drill bit, Phillips head
screwdriver & pencil (not provided).
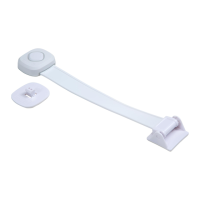
To lock cabinet/drawer: Ensure the lock is set to the green
unlock icon, then close the cabinet/drawer. Test to be sure it is
locked.
To unlock: Place the key at the front of the cabinet/door where
the lock is installed (Figure 1). If it doesn’t unlock, try moving the
key, as you may not be holding the key at the correct location.
To disable the lock: set the lock to the red, unlock positon.
TO USE
TO CLEAN
TOOLS NEEDED
Limpie con un paño. Mantenga la traba seca.
Taladro de mano o eléctrico, broca de 7/64 pulg.,
destornillador Phillips y un lápiz (no incluidos).
PARA USAR
PARA LIMPIAR
HERRAMIENTAS NECESARIAS
To ensure the magnetic lock works on your door/drawer: NOTE: In the example illustrations the lock may not work because the drawer is too thick.
1 2 43
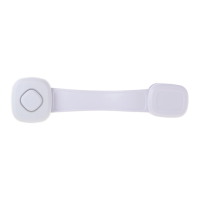
1
Open green unlock
icon.
2 Hold magnetic lock (latch)
inside
door/drawer.
4 E
nsure lock activates (button
goes down).
3
Place key on opposite side.
1
To lock cabinet/drawer: Ensure the lock is set to the green
unlock icon, then close the cabinet/drawer. Test to be sure it is
locked.
To unlock: Place the key at the front of the cabinet/door where
the lock is installed (Figure 1). If it doesn’t unlock, try moving the
key, as you may not be holding the key at the correct location.
To disable the lock: set the lock to the red, unlock positon.
1
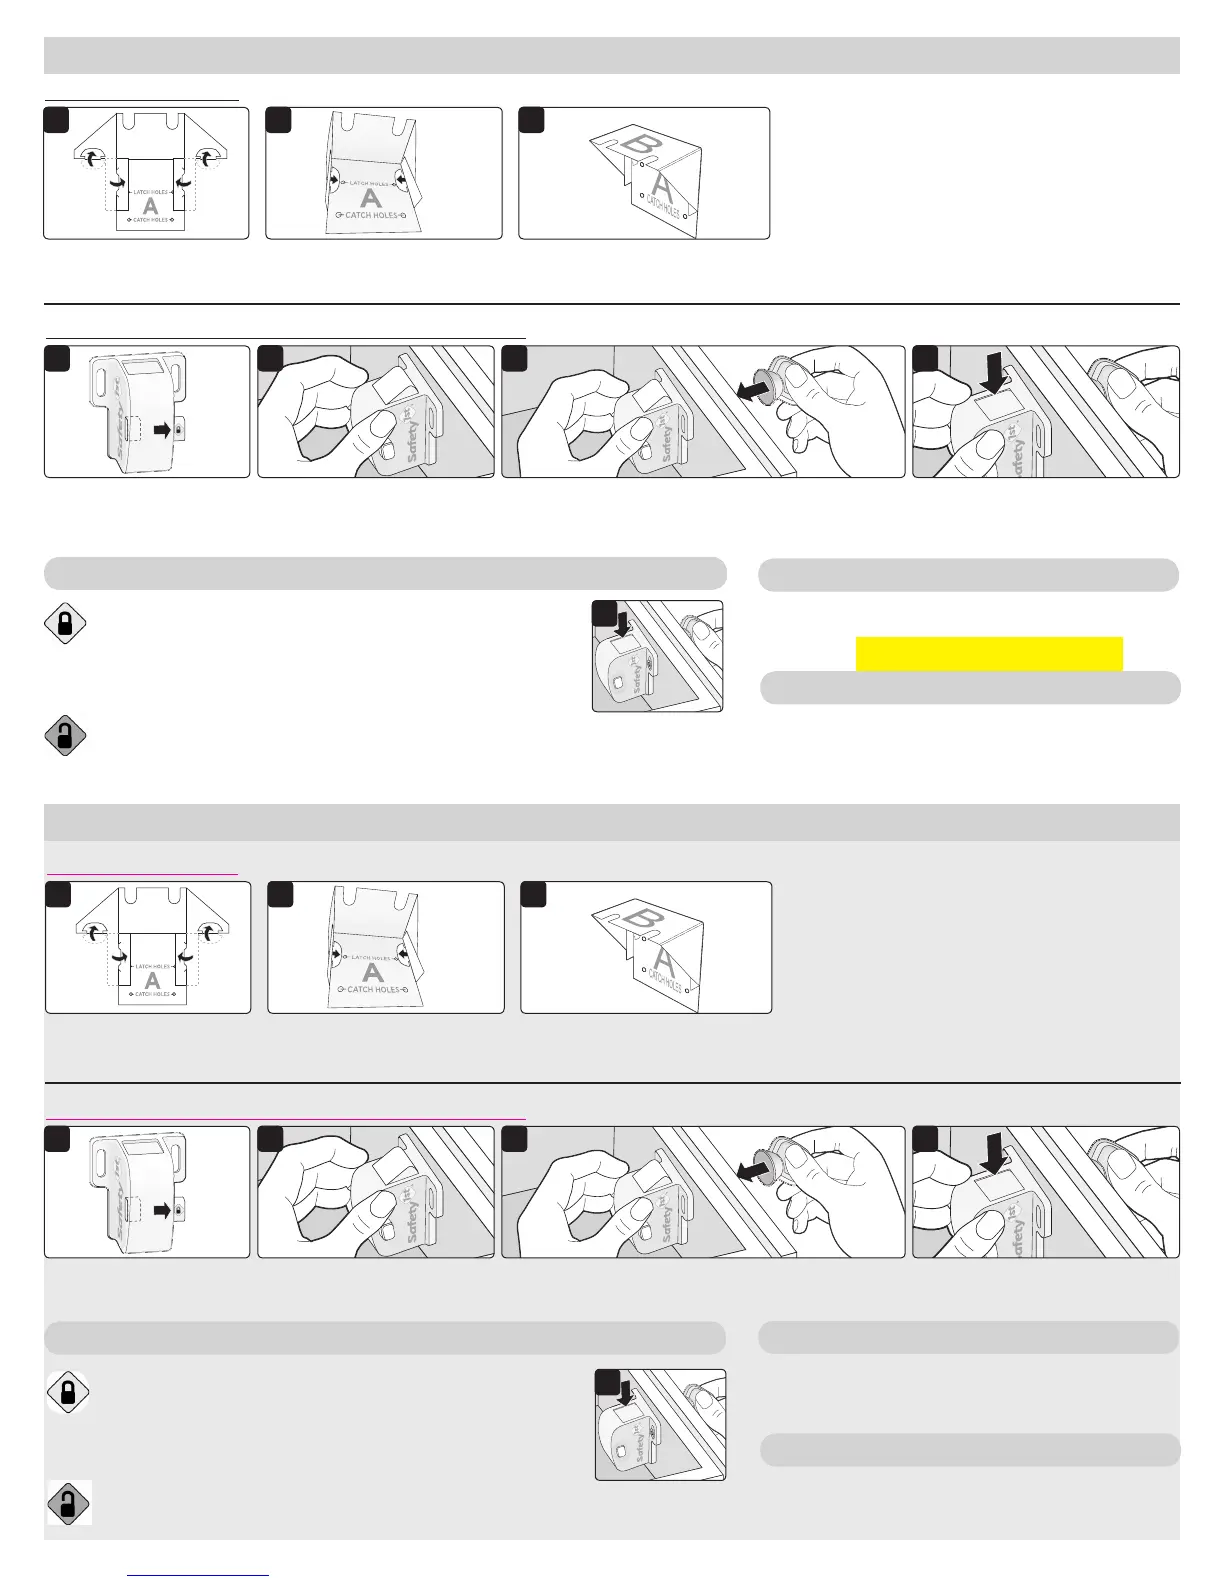
To Fold the Template: Tip: With “A” facing upward, fold each crease upward one at a time to make it easier to fold.
To fold the template: Tip: With “A” facing upward, fold each crease upward one at a time to make it easier to fold.
1
1
2
2
3
3
1
Fold tabs and flaps
upward.
1
Fold tabs and flaps
upward.
2 Push tabs through slots,
ensuring that “A” is
underneath.
2 Push tabs through slots,
ensuring that “A” is
underneath.
3 Folded template should look
like this.
3 Folded template should look
like this.
TEMPLATE
TEMPLATE
if the tools needed must be on rst page, ok,
or we can have it here please advise -Jen
 Loading...