loose the screws
(Fig .4-3)
loose the screws
(Fig .4-4)
(Fig .4-5)
2. Detachment of small oil collector:
3. Detachment of oil cup:
4. Detachment of fan guard:
When clean fan guard, loosen the screws on the fan
guard for cleaning.(Fig.4-3)
5.Instruction for replacing the PL lamp:
A: Loosen the screws on the lamp cover and take it off.
B: Take out the PL lamp according to the instruction,
install new 9W PL lamp in opposite direction, and put
on the lamp cover.(Fig. 4-5)
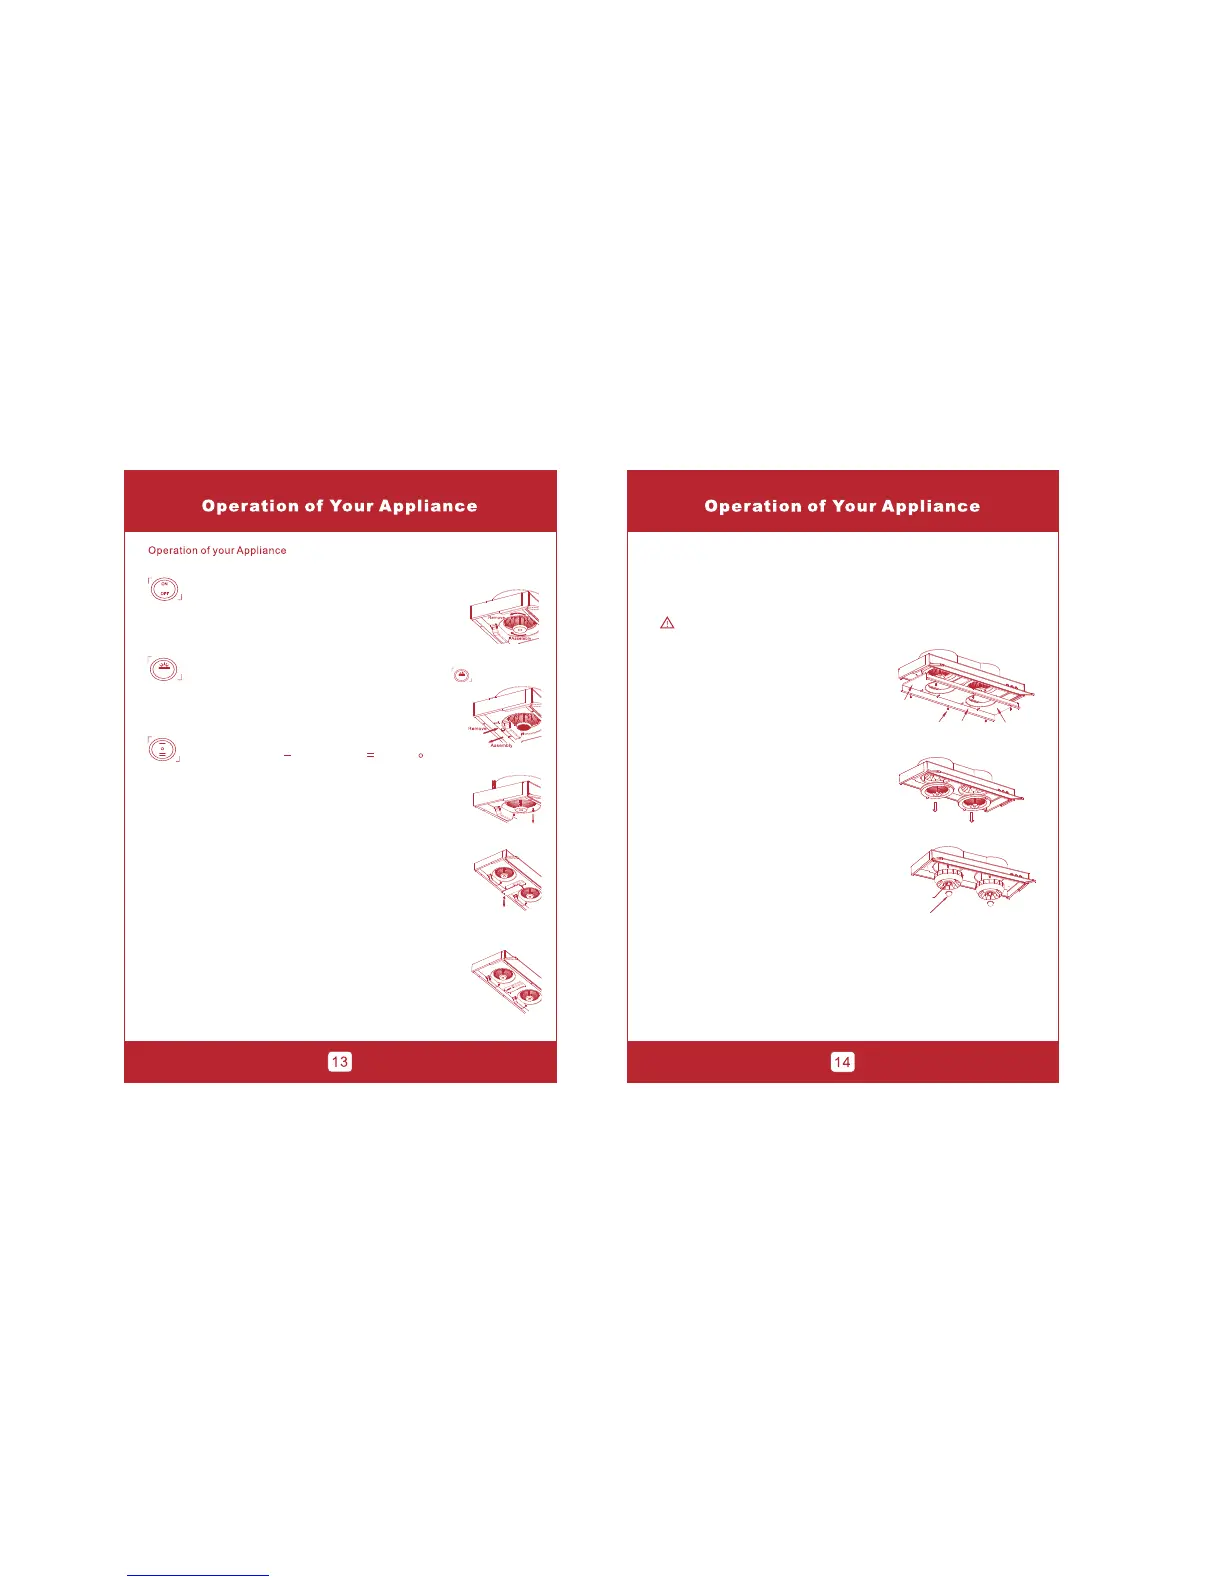
Switch: Press ON & OFF for the control of main power source.
On:Switch for open the main power source.When the appliance
is off power,press it to change to power on mode.In this
circumstance,other button will response.
OFF:Switch for close the main power source.When the
appliance on power,press it to change to power off mode.In
this circumstance,other button will not hare any response.
Switch: Control on /off of the light.
When the main power source is press in" ON" mode, press" "
will open the light, press opposite to close the light.
The operation of this switch is not in depend and will be affect
by the" ON OFF" main power source switch.( If main power
source switch is on" OFF" ,this switch will not be
functioning).
Switch:Control the speed of the motor.
(Remark:low Speed-" " ,high speed- " ")press
close the motor control.The operation of this switch
is not in depend and will be affect by the " ON OFF"
main power source switch.( If main power source switch is
on" OFF", this switch will not be functioning) .
" "to
Detach the collector bye turning it in anti-clockwise
direction. Please back the collector by turning it in
clockwise direction.(Fig.4-1)
Simply pull out the oil cup for removal. Insert back firmly to
its original position.(Fig.4-2)
(Fig .4-2)
(Fig .4-1)
6.Detachment & cleaning of fan blades & inner parts
* Any inner parts detachment of this appliance should by the qualified
person to avoid any hazard.
* Unplug the appliance before clean.
Be care to avoid any injury when cleaning or replacement of inner parts.
◎Bottom plate:
Detach:
A.Take out the oil collectors and oil cups.
B.Hold the bottom plate and remove the 6 screws
to open the bottom plate. To detach the bottom
plate, hold 2 sides of the bottom plate and pull it
out.(Fig.4-6)
Installation:
A.To install the bottom plate, hold the 2 sides of the
bottom plate. Fold it back to its original position.
B.Fix the 6 screws and put back the small oil
collectors and oil cups.
◎Oil Base:
Remove the oil base by turning it in clockwise
direction.(Fig.4-7)
Return the oil base back to its position by
turning it in anti-clockwise direction.
Detach:
Installation:
◎Fan:
A.Hold the fan blade, take out the nut, unlock
the screws with open-end wrench #10 to
remove the fan blade.(Fig.4-8)
( Be careful while removing the fan to avoid
damaging the fan blade.)
B.Insert the fan back to the origin position and then
fix the screws, ensure the nut to be firmly .
Rem ove the 6 s crews .
Bot tom pla te
A
B
(Fig .4-6)
Rem ove the o il base .
(Fig .4-7)
Take ou t the nut
Rem ove the s crew
on fa n blade
(Fig .4-8)
1. OPERATION:
 Loading...