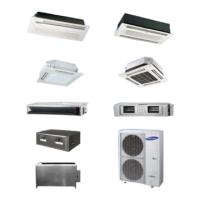
Disassembly and Reassembly
Samsung Electronics 239
No Parts Procedure Remark
3 Drain Pan
1) Detach the Cabinet Front by remov-
ing 7 screws.
2) Remove 1 screw in the middle of
drain pan.
3) Detach the Drian pan.
Be careful that there might be some
water left in the drain pan when you
remove the drain pan.
3-4 Samsung Electronics
No Parts Procedure Remark
3 Drain Pan
1)Detach the Cabinet Front by
removing 7 screws.
2) Remove 1 screw in the middle
of drain pan
3) Detach the Drian pan.
Be careful that there might be
some water left in the drain pan
when you remove the drain pan.
4 Evaporator
1)Detache the Cover Pipe by
removing 2 screws.
2)Detache the Cover Evap LF/RH
by removing 4 screws.
when installer remove drain pan, the water in drian pan can be poured.
 Loading...