3-1
3. Disassembly and Assembly
3. Disassembly and Assembly
This section describes the disassembly and reassembly sequences for this monitor.
Warning: As this monitor has parts that are sensitive to static electricity, be careful when handling them.
3-1. Disassembly
Caution: 1. Turn the monitor off before beginning the disassembly process.
2. When disassembling the monitor, do not use any metal tools except for the provided jig.
3. Remove the signal cable and the power cord before beginning the disassembly.
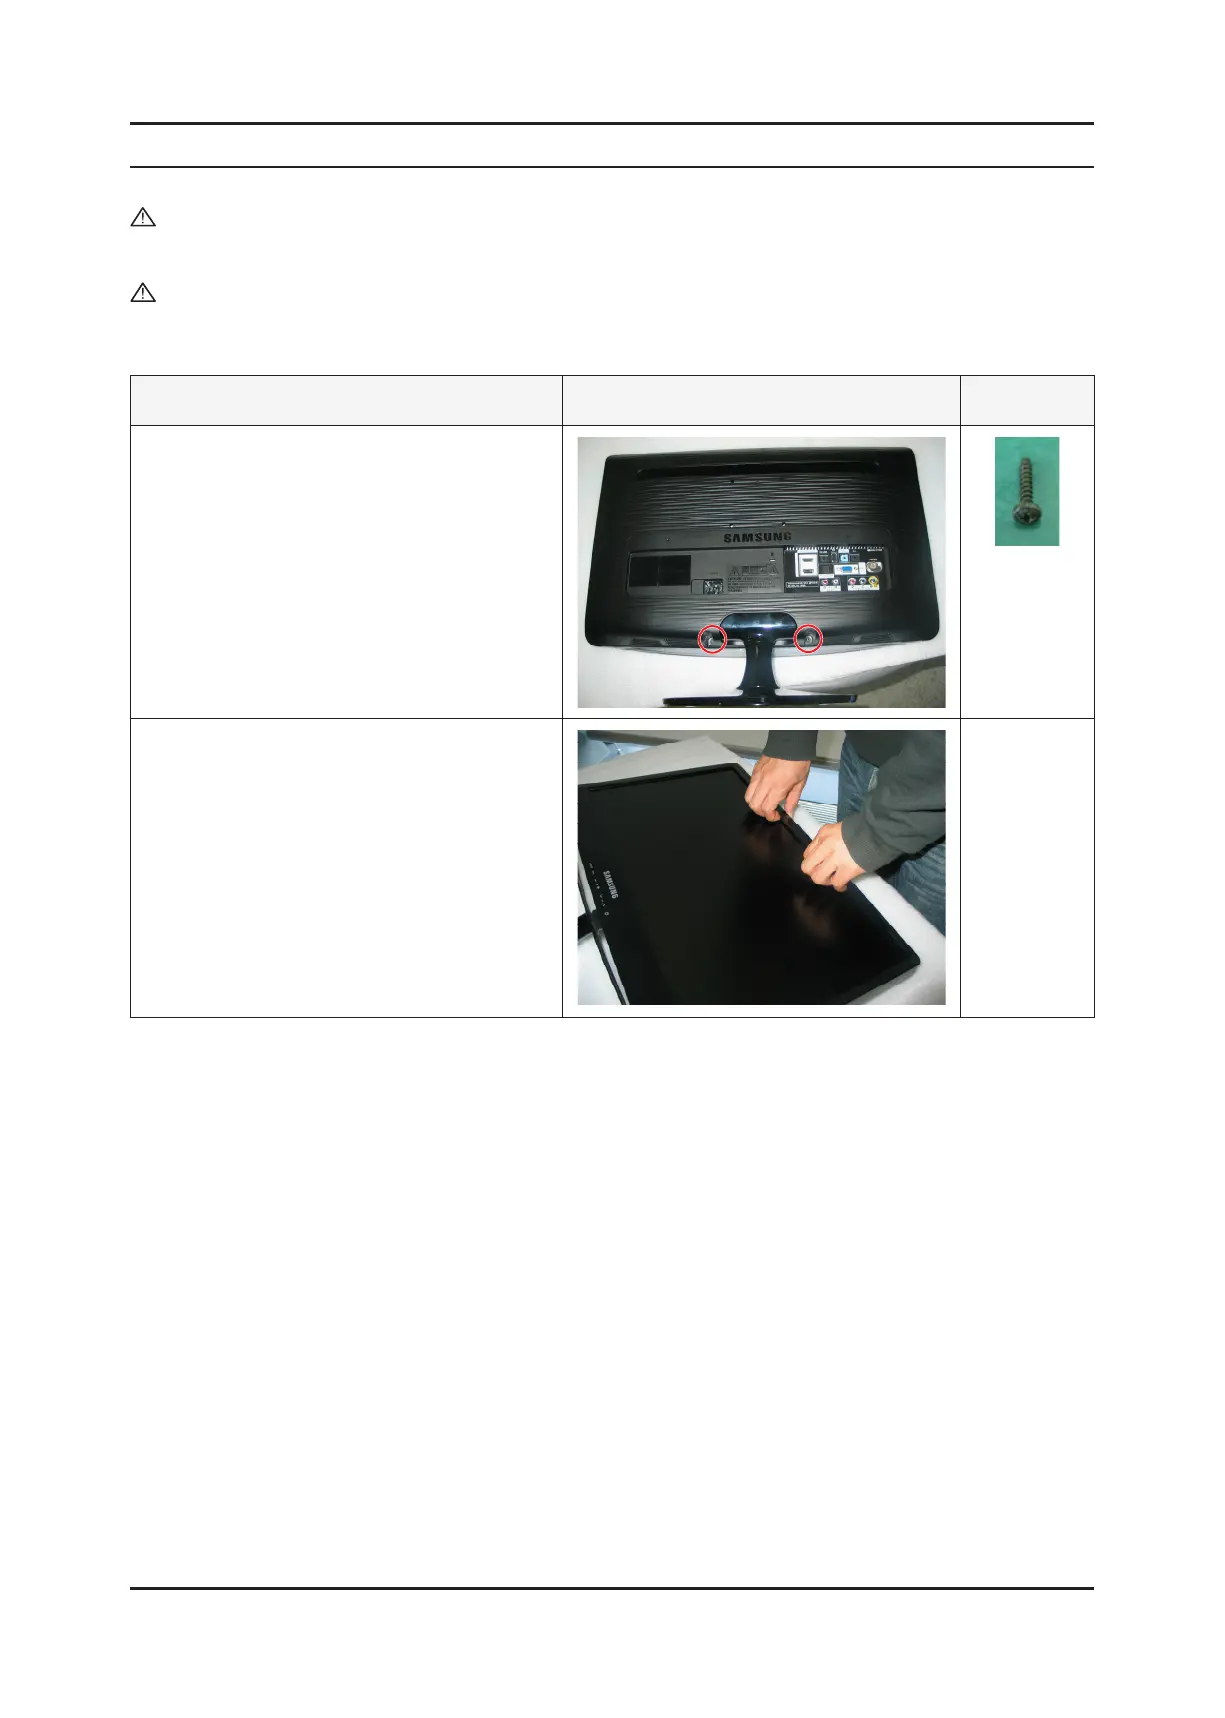
Description Photo Screws
1. Remove the stand body and then remove the two
(2) screws shown in the gure.
2. ① Turn the monitor over and insert your hands
into the top of the monitor at the center and
separate the front cover in the direction of the
arrow as shown in the gure.
② Separate the sides of the front cover up to the
directed line as shown in the gure.