
D
Danny McguireAug 15, 2025
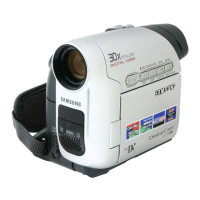
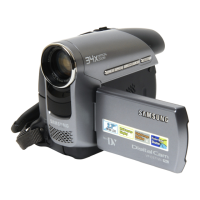
Why doesn't auto focus work on my Samsung D352(i) Camcorder?
- DDr. Michael CastroAug 15, 2025
If auto focus isn't working on your Samsung Camcorder, check the Manual Focus menu. Auto focus is disabled in Manual Focus mode.