- 4 -
OPENING EXPANDED
b
a
(2) Checking the "eye" pattern
1. Switch "ON" the POWER.
2. Connect an oscilloscope to TP1 (RF) and TP4 (VC).
3. Load the test disc.
4. Press the PLAY button.
5. Check to be sure that the "eye" pattern is at the center of
waveform and that the diamond shape is clearly defined.
6. Press the STOP button.
7. Turn off the POWER switch.
CD PLAYER ADJUSTMENTS
OSCILLOSCOPE
+
TP1
(RF)
TP4
(VC)
-
TAPE ADJUSTMENTS
• Be sure to clean the heads before attempting to make any adjustment.
• Be sure both channels (1 and 2) are the same level.
(Using a dual-channel oscilloscope)
• Be sure both channel's waveform are same for the phase matching.
• After completion of the adjustment, use the threadlock (TB-1401B) to
secure the azimuth adjustment screws.
1. Remove the cover deck as Fig.1.
2. Load a test tape (VTT-738 etc. : 10kHz) in the Deck.
3. Press the PLAY button. (Normal playback)
4. Use a + tip screwdriver to turn the screw for normal azimuth
adjustment so that the left and right outputs are maximized at
the same phase during normal playback. See Fig.1.
5. Press the PLAY button. (Reverse playback)
6. Use a + tip screwdriver to turn the screw for reverse azimuth
adjustment so that the left and right outputs are maximized
Fig.1
at the same phase during reverse playback.
7. Adjust so that the waveforms for the left and right channels are in alignment.
1. Azimuth Adjustment
3. Torque Measurement
2. Tape Speed Adjustment
Test Cassette
Take-up Torque Back tention
Driving power cassette :
TW-2412 (PLAY)
TW-2422(REV. PLAY)
-
PLAY/REV.
F.FWD
REW
2 ~ 6 grcm
-
-
70 ~ 140 grcm
Pull tentionItem
PLAY : TW2111A (FWD)
PLAY : TW2121A (REV)
F.FWD / REW : TW2231
PLAY : TW2111A (FWD)
PLAY : TW2121A (REV)
30 ~ 65 grcm
70 ~ 140 grcm
• Connect the Frequency Counter to TAPE OUT.
1. Insert the test tape (MTT-111N, etc.; 3,000Hz) into the DECK.
2. Press the PLAY button. .
3. Adjust a hole on the motor bottom so that a frequency counter reading of 3,000 ±5Hz is obtained.See Fig.2.
4. Press the STOP button, and eject the test tape.
>50grcm
hole for adjustment
MOTOR
Fig.2
ST ANDBY
/ON
RDSMODE
MEMORY
FUNCTION
FULL LOGIC CONTROL/AUTO
REVERSE
EJECT
MULTI FUNCTION DISPLAY
VOLUME
+
OPEN/CLOSE
/
SOUNDPRESET
BASS
XPANDER
PTY SELECT
CLOCK/TIME
TUNING
+
TUNING-
TUNER/BAND
PHONES
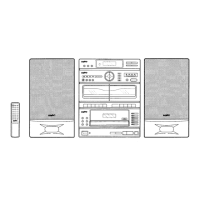
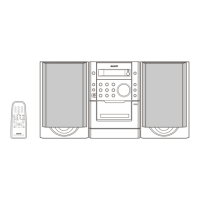
MICRO COMPONENT
SYSTEM
PTYCHECK/
PRESET PRESET+
NORMAL
REVERSE
-
 Loading...