Drive Belt
Fig. 17
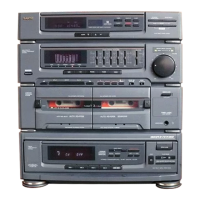
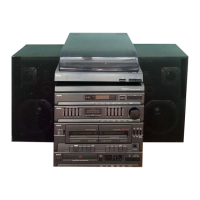
TP-X801
PREPARATION
THIS TURNTABLE IS DESIGNED FOR USE ONLY WITH
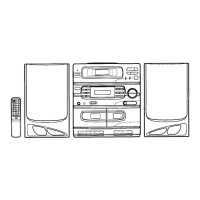
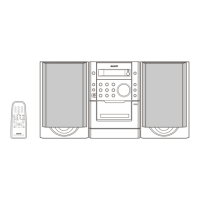
SANYO MODEL NO. DC-X601 OR
DC-X801.
Do not plug-in the mains lead of the DC-X601 or DC-X801
stereo system until fully assembled.
1.
Carefully unpack the unit and other parts. Remove all
packing material from around the turntable.
2.
Locate the unit horizontally on a heavy duty stand or firm
level surface, and away from the speaker system to
avoid sound feedback.
3.
Make sure that the drive belt of the turntable platter is not
-
twisted, then slip the turntable platter over the turntable
spindle (Fig. 16).
Turntable Spindle
8.
Insert the hinges of the dust cover into the notches on
the turntable base (Fig. 19).
Fig. 19
9.
Connect the output lead to the PHONO input socket and
connect the power supply lead to the DC 12 V socket on
the stereo system.
Fig:16
4.
Turn the turntable platter to the right until one of the
openings of the turntable platter comes over the motor
pulley.
5.
Place the drive belt onto the motor pulley. Be sure not to
twist the belt (Fig. 17).
Motor Pulley
Note:
Do not touch the belt and motor pulley with oily hands.
6.
Place the turntable mat on the turntable platter.
7.
Attach the hinges into the notches of the dust cover
(Fig. 18).
Hinge
Fig. 18
Dust
Cover
ilM7e
CZZ;;;.-•
-12-
CONTROLS (Fig. 20)
1.
Speed select switch (SPEED)
2.
Turntable spindle
3.
Turntable platter and rubber mat
4.
45 rpm adapter
5.
Tonearm
6.
Tonearm rest and lock
7.
Headshell with cartridge
8.
Cueing switch (CUE)
9.
Reject switch (REJECT)
1
9
3
7
8
Fig. 20
 Loading...