10
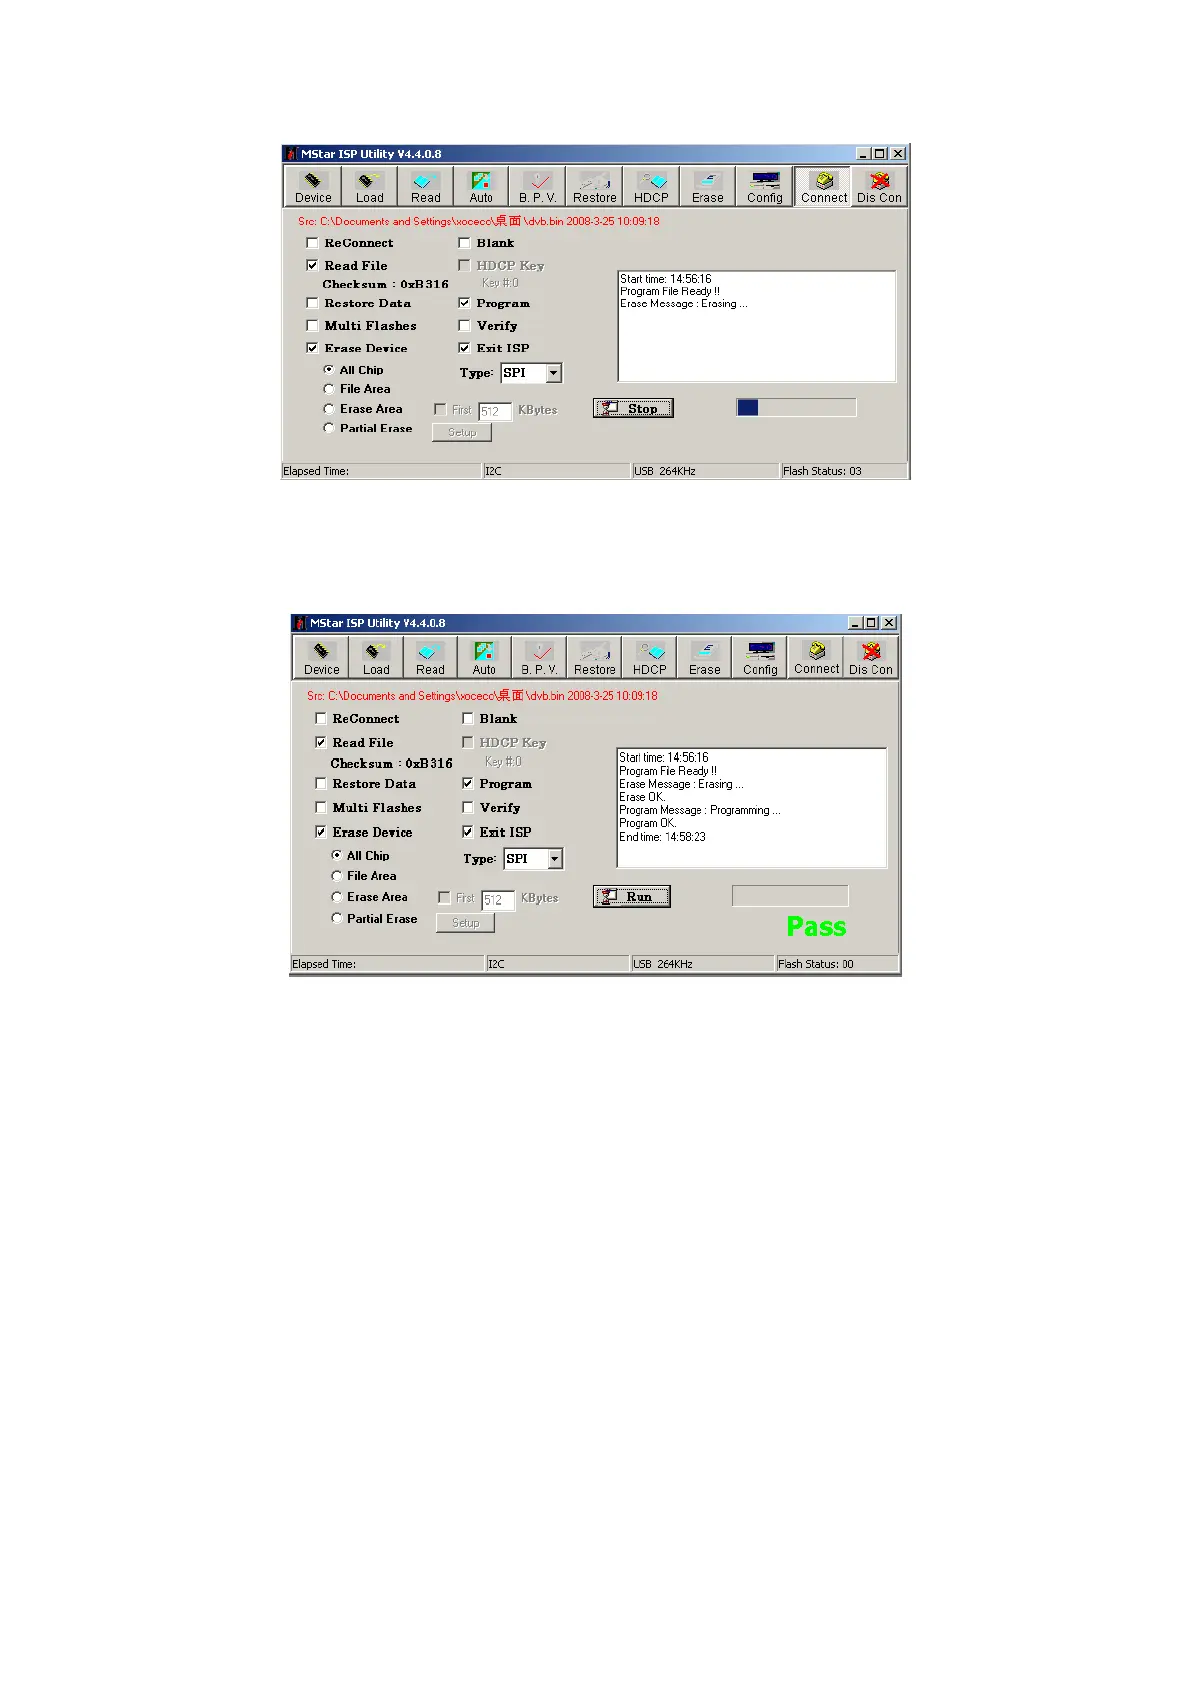
Fig4 selected items
(5) Press “Run” in fig4 to begin writing and there are two steps: Erase and Program.
(6) If the process of writing succeeds, it will display “Pass” near “Run” as shown in fig5.
Fig5
(7) Repeat step 2) and 5) to write the program to the other units without exit the ISP interface.
2: Software writing and upgrade method with USB port
(1) Make sure the USB device is formatted as FAT32.
(2) Copy the program named Merge.bin to USB device.
(3) Insert the USB device to USB port of the unit, power on and select RF-ATV channel, begin
USB upgrade after OSD disappear. It will display blue when read the data from USB device,
while display red when write Flash. The flash must be pull out when display red. It will flicker
in red and blue if the process of writing is abnormal.
(4) The method are not applicable to all the USB devices, try another one if a certain USB device
is inapplicable.

 Loading...