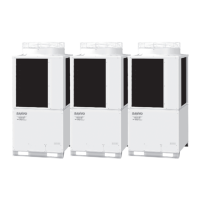
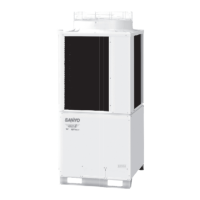
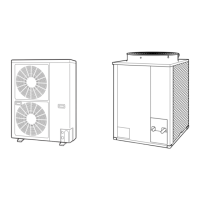
Outdoor unit Outdoor unit Outdoor unit
Indoor unit Indoor unit Indoor unit Indoor unit
Indoor unit
more than 1 m
more than 1 m
Branch
point
16 or fewer
Indoor unit
Indoor unit Indoor unit Indoor unit
less than 1 m
Indoor unit
Outdoor unit Indoor unit Indoor unit
Indoor unit Indoor unit
NO
Branch point
(1)
(2)
Outdoor unit Outdoor unit Outdoor unit
Prohibited
Prohibited
Indoor unit Indoor unit Indoor unit Indoor unit Indoor unit
CAUTION
(3)
(4)
When linking outdoor units in a network (S-net link system), disconnect the terminal extended from the
short plug (CN003, 2P Black, location: right bottom on the outdoor main control PCB) from all outdoor
units except any one of the outdoor units.
(When shipping: In shorted condition.)
Otherwise the communication of S-net link system is not performed. For a system without link (no con-
nection wiring between outdoor units), do not remove the short plug.
Do not install the inter-unit control wiring in a way that forms a loop.
Do not install inter-unit control wiring such as star branch wiring. Star branch wiring causes mis-address
setting.
If branching the inter-unit control wiring, the number of branch points should be 16 or fewer.
(Branches less than 1 m are not included in the total branch number.)
(5)
WARNING
Use shielded wires for inter-unit control wiring (c) and ground the shield on both sides, otherwise
misoperation from noise may occur. Connect wiring as shown in Section 3-3.“Wiring System Diagrams.”
Loose wiring may cause the terminal
to overheat or result in unit malfunction.
A fire hazard may also occur.
Therefore, ensure that all wiring is tightly
connected.
When connecting each power wire to the terminal, follow the instructions on “How to connect wiring to the
terminal” and fasten the wire securely with the fixing screw of the terminal plate.
Shielded wire
Ground
Ground
3-4. Connecting Multiple Indoor Units to a Single Solenoid Valve Kit
It is possible to connect multiple indoor units to one solenoid valve kit.
The indoor units can be controlled individually or be operated as a group.
It is possible to adopt multiple units with a common use of the solenoid valve kit per piece of refrigerant.
Categories of connected indoor unit capacities are determined by the solenoid valve kit.
Type of solenoid valve kit Total capacity of indoor units (kW)
160
5.6 < Total capacity 16.0
56
2.2 Total capacity 5.6
* If the capacity range is exceeded, use two solenoid valves connected in parallel.
Each Method (General) and Conditions
Method 1 Method 2 Method 3
Method
Connecting one indoor unit with
one solenoid valve kit
Group control is possible by
connecting multiple indoor units
to one solenoid valve kit.
Indoor units can operate
individually by connecting
multiple indoor units to one
solenoid valve kit.
Connectable number
of remote controls
1 piece 1 piece Over 2 pieces
Possible operating
functions
Individual control Group control
* Thermostat On/Off function is
only individual control (when
selecting the body thermostat).
Individual control available
* Mixed group control available
Possible operating
modes
Cool, Dry, Heating, Auto, Fan Cool, Dry, Heating, Auto, Fan Cooling, Dry, Heating, Fan
* Auto selection is impossible.
Condition
–
Mixed cooling and heating is
impossible.
Mixed cooling and heating is
impossible.
Auto selection is impossible.
Method 1
Indoor unit
Method 1
Indoor unit Indoor unit
Method 2
Indoor unit
Method 3
Indoor unit Indoor unit Indoor unit
Method 3
Indoor unit Indoor unit Indoor unit
Solenoid
valve kit
Remote
controller
Solenoid
valve kit
Remote
controller
Solenoid
valve kit
Solenoid
valve kit
Remote
controller
Indoor unit
Solenoid
valve kit
Remote
controller
Remote
controller
Solenoid
valve kit
Remote
controller
Remote
controller
Remote
controller

 Loading...


