SETT
IN
G THE CLOCK r,
~============--~~-
MAIN MENU
II
CLOCK
[i!j]
PROGRAM
~TUNING
~SETUP
Dll
SELECT
mmi!
ENTER
TO
EXIT
PRESS
I!Iml
CLOCK
MENU
MONTH
:
JANUARY
DAY
I
MON
YEAR
:
2001
TIME
:
12
:
00
AM
8511-Mhl.tw!Ww
TIME
ZONE:
AUTO
Dll
SELECT
I:ICI
ADJUST
TO
EXIT
PRESS
I!Iml
~
MONTH:
JANUARY
~
DAY
: I
MON
YEAR
:
2001
TIME
:12
:
00
AM
AUTO
CLOCK
SET
:
ON
i
.
MiW~{.
iAY!!IMV
.
Ww
Dll
SELECT
I:ICI
ADJUST
TO
EXIT
PRESS
I!Iml
NOTE
There are cases that
TV
station does
not
send
or
send wrong date and/or
time information and
VCR
set the incorrect time
accordingly.
In this case we recommend
that you set the
clock
manually.
22
Things
to
know
before
starting
\
• The clock uses the 12-hour system. (Be sure to set
AM
and
PM
correctly.)
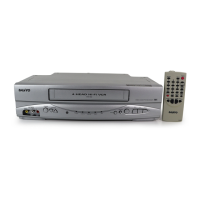
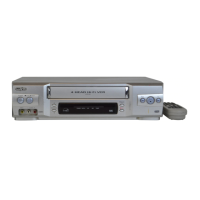
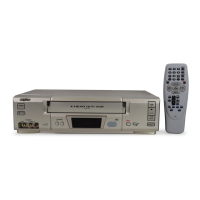
• The buttons for setting the clock are on the remote control.
•
An illogical date will not be accepted (for example:
February 30).
•
The initial Clock Setting is JANUARY
1,
2001, 12:00 AM.
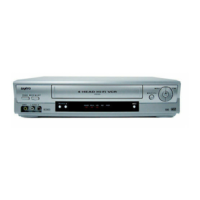
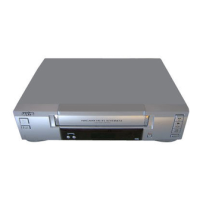
PREPARATION
• Turn
on
the power of both the VCR and TV.
•
Be
sure the TV
is
set to the VCR Output Channel (CH 3 or 4).
•
If
a direct VIDEO/AUDIO connection is made between the
VCR and the
TV,
set the TV's source selector to VIDEO.
The VCR gives you
two
ways to set the time and date:
the
Auto
Clock Feature or manually. The Auto Clock Feature enables
the
VCR
to set up the clock when the VCR is turned
off.
AUTO CLOCK SET
1 Press MENU and the MAIN menu will appear.
2 Press
.._
or~
to choose the CLOCK menu.
Press ENTER and the
CLOCK menu will appear.
3 Press T to choose the AUTO CLOCK SET item.
Press
~
or
..,..
to choose ON.
The Auto Clock Set feature
is
set to
ON
at the factory.
In
the
ON
setting, the VCR looks for a channel carrying XDS (Extended
Data Services) information. XDS updates the clock using the
Coordinated Universal Time.
4 Press T to choose the DAYLIGHT SAVING item.
Press
~
or
..,..
to choose AUTO,
ON
or
OFF.
If you choose AUTO, the VCR sets the clock using the
DST
infor-
mation broadcast
in
the signal (channel).
If
you choose ON, the VCR sets the clock when the Daylight
Saving Time
is
started and ended.
5
Press
~to
choose
the
TIME
ZONE
item
.
Press
<0111
or
..,..
to
choose
the
correct
time
zone
(AUTO,
ESTERN,
CENTRAL,
MOUNTAIN,
PACIFIC,
ALASKA
or
HAWAII)
.
If "AUTO"
is selected
as
the time zone, the VCR sets
the
clock
using the first Coordinated Universal Time information
it
finds
in
a broadcast signal.
6 Press MENU when finished.
7 Turn off the VCR and the auto clock setting works.
 Loading...