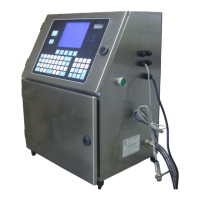
Installation
4-2
Chapter 4 Contents
Introduction - - - - - - - - - - - - - - - - - - - - - - - - - - - - - - - - - - - - - - -4-3
Site Preparation - - - - - - - - - - - - - - - - - - - - - - - - - - - - - - - - - - - - 4-4
Determine Printer Location - - - - - - - - - - - - - - - - - - - - - - - -4-4
Electrical Requirements - - - - - - - - - - - - - - - - - - - - - - - - - - 4-4
Unpack and Inspect the Printer - - - - - - - - - - - - - - - - - - - - - - - - 4-5
Remove the Printer from its Carton - - - - - - - - - - - - - - - - - 4-5
Connect Electrical Power - - - - - - - - - - - - - - - - - - - - - - - - - 4-5
Assemble the Printhead Stand - - - - - - - - - - - - - - - - - - - - - - - - -4-6
Unpack and Assemble the Printhead Stand - - - - - - - - - - - 4-6
Bolt the Printhead Stand to the Floor - - - - - - - - - - - - - - - - 4-6
IOU Board Connections - - - - - - - - - - - - - - - - - - - - - - - - - - - 4-7
Connect the Photocell - - - - - - - - - - - - - - - - - - - - - 4-7
Connect the Encoder - - - - - - - - - - - - - - - - - - - - - - - - - - - - 4-7
Set up the Printer- - - - - - - - - - - - - - - - - - - - - -- - - - - - - -- - - - - -4-17
Final Installation Content - - - - - - - - - - - - - - - - -- - - - 4-17
Tools and Supplies Needed - - - - - - - - - - - - - - - - - - - 4-17
Flush the System and Load the Ink - - - - - - - - - - - - -4-17

 Loading...