OPM 250 en-GB 44
©
Scania CV AB 2016, Sweden
Cooling system
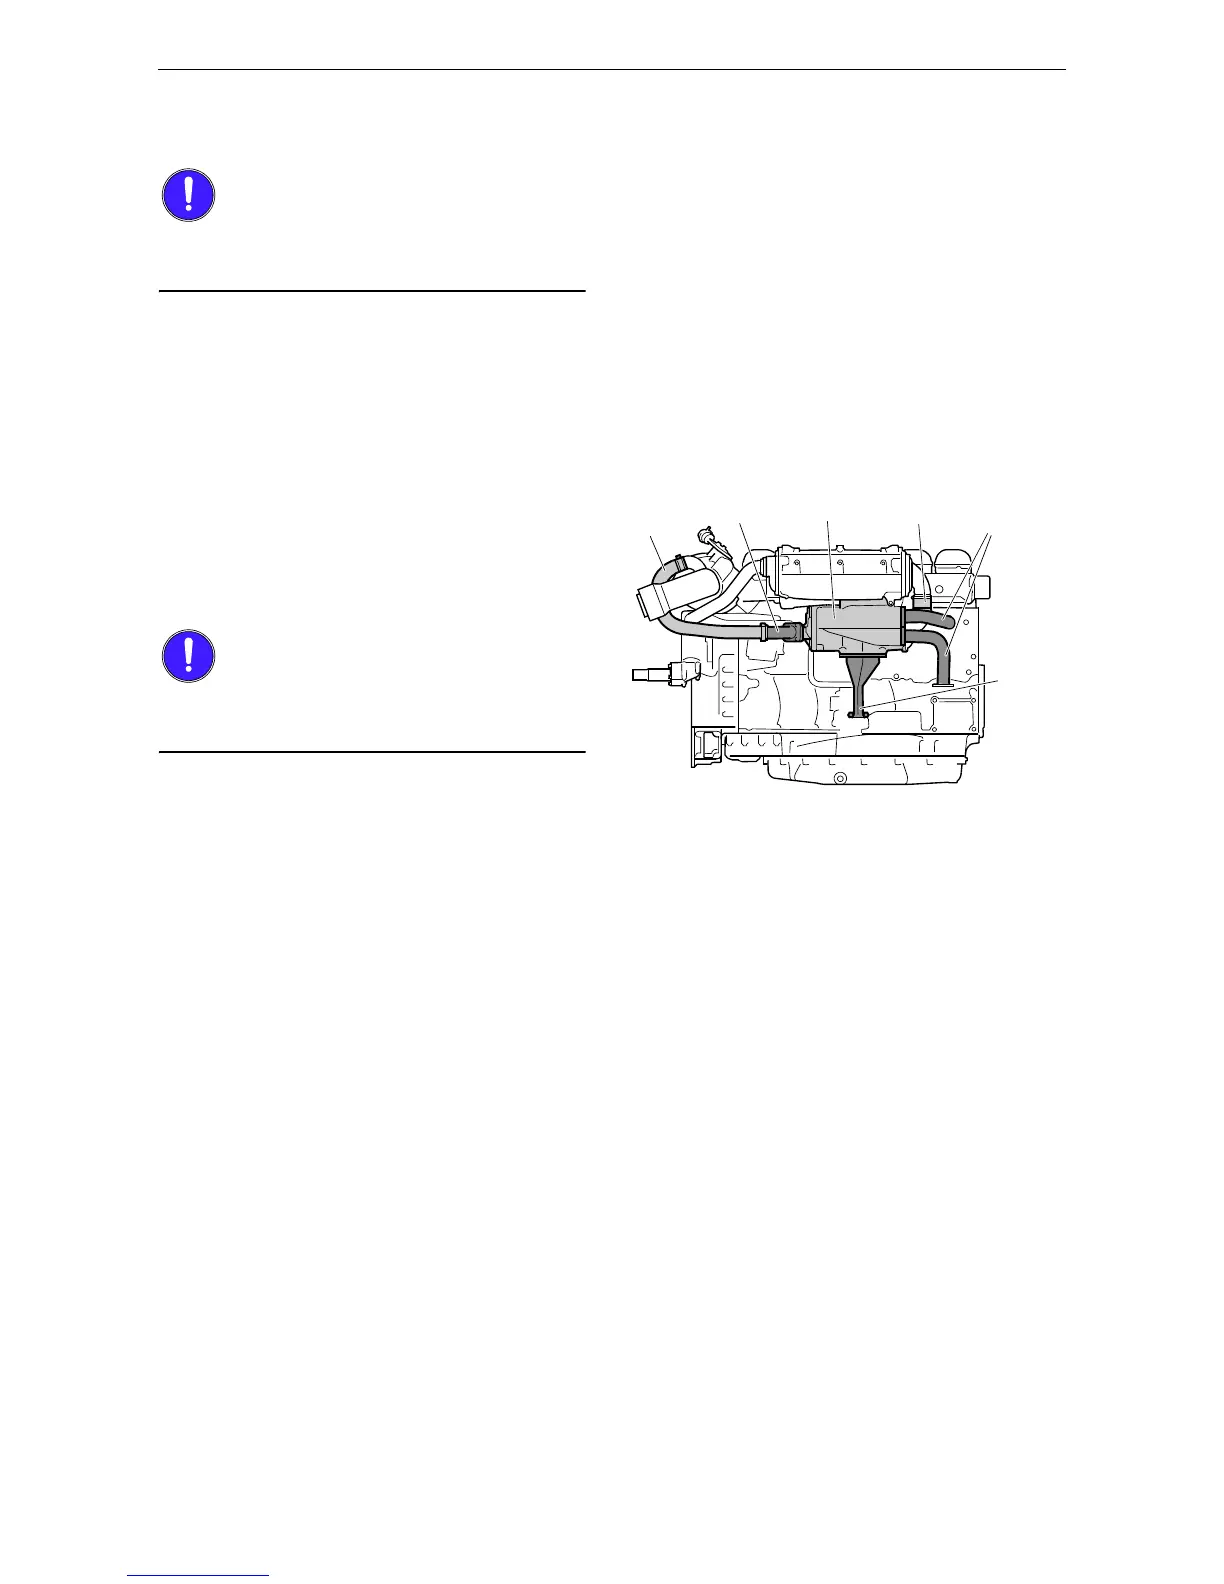
Fitting the heat exchanger
There is a risk that the joint will crack if these in-
stallation instructions are not followed.
1. Fit the heat exchanger (4) in place against the
brackets.
2. Fit the sea water hose (3) between the heat
exchanger and charge air cooler (use vase-
line if necessary) and tighten the hose clamp.
To prevent leakage, a hose clamp with a safety
ring can be used.
3. Fit the screws (5 off) securing the heat ex-
changer without tightening them.
4. Tighten the screws securing the heat ex-
changer bracket (5) in the cylinder block.
5. First tighten the screw on the charge air cool-
er bracket and then the 4 screws on the heat
exchanger bracket.
6. Fit the inlet and outlet coolant pipes and the
sea water pipe from the heat exchanger (2).
7. Fit the hose (1) between the heat exchanger
and the water-cooled exhaust pipe bend, if
the engine has one and tighten the V-clamp.
Tightening torques
M6 10 Nm
M8 26 Nm
M10 50 Nm
 Loading...