Quick Start Guide
1. Download Nexar from your app store.
For iPhone nxr.cm/ios
For Android nxr.cm/android
2. Open the app and enable all necessary settings when
prompted, be sure to enable Location Services to activate
automatic recording when you're driving.
3. Insert the type-c charging mount into the matching slot on the
dash cam's POWER port, see illustration below.
4. Insert Micro-SD card into designated slot.
5.
6.
7.
Connect the other end of the charging cable to the USB charger
and plug the charger into your car's power socket
Note: If your dash camera came with a hard-wiring kit, or you
have purchased one separately, please refer to the instructions
that came with the hard-wiring kit.
Start the car to power on the camera. The camera will power on
when the vehicle is on, and power off when the vehicle is off.
Follow the instructions in the app to pair your phone with the
dash- cam.
Tip: Shared car?
Make sure all drivers download the
Nexar app and pair it with the dash cam
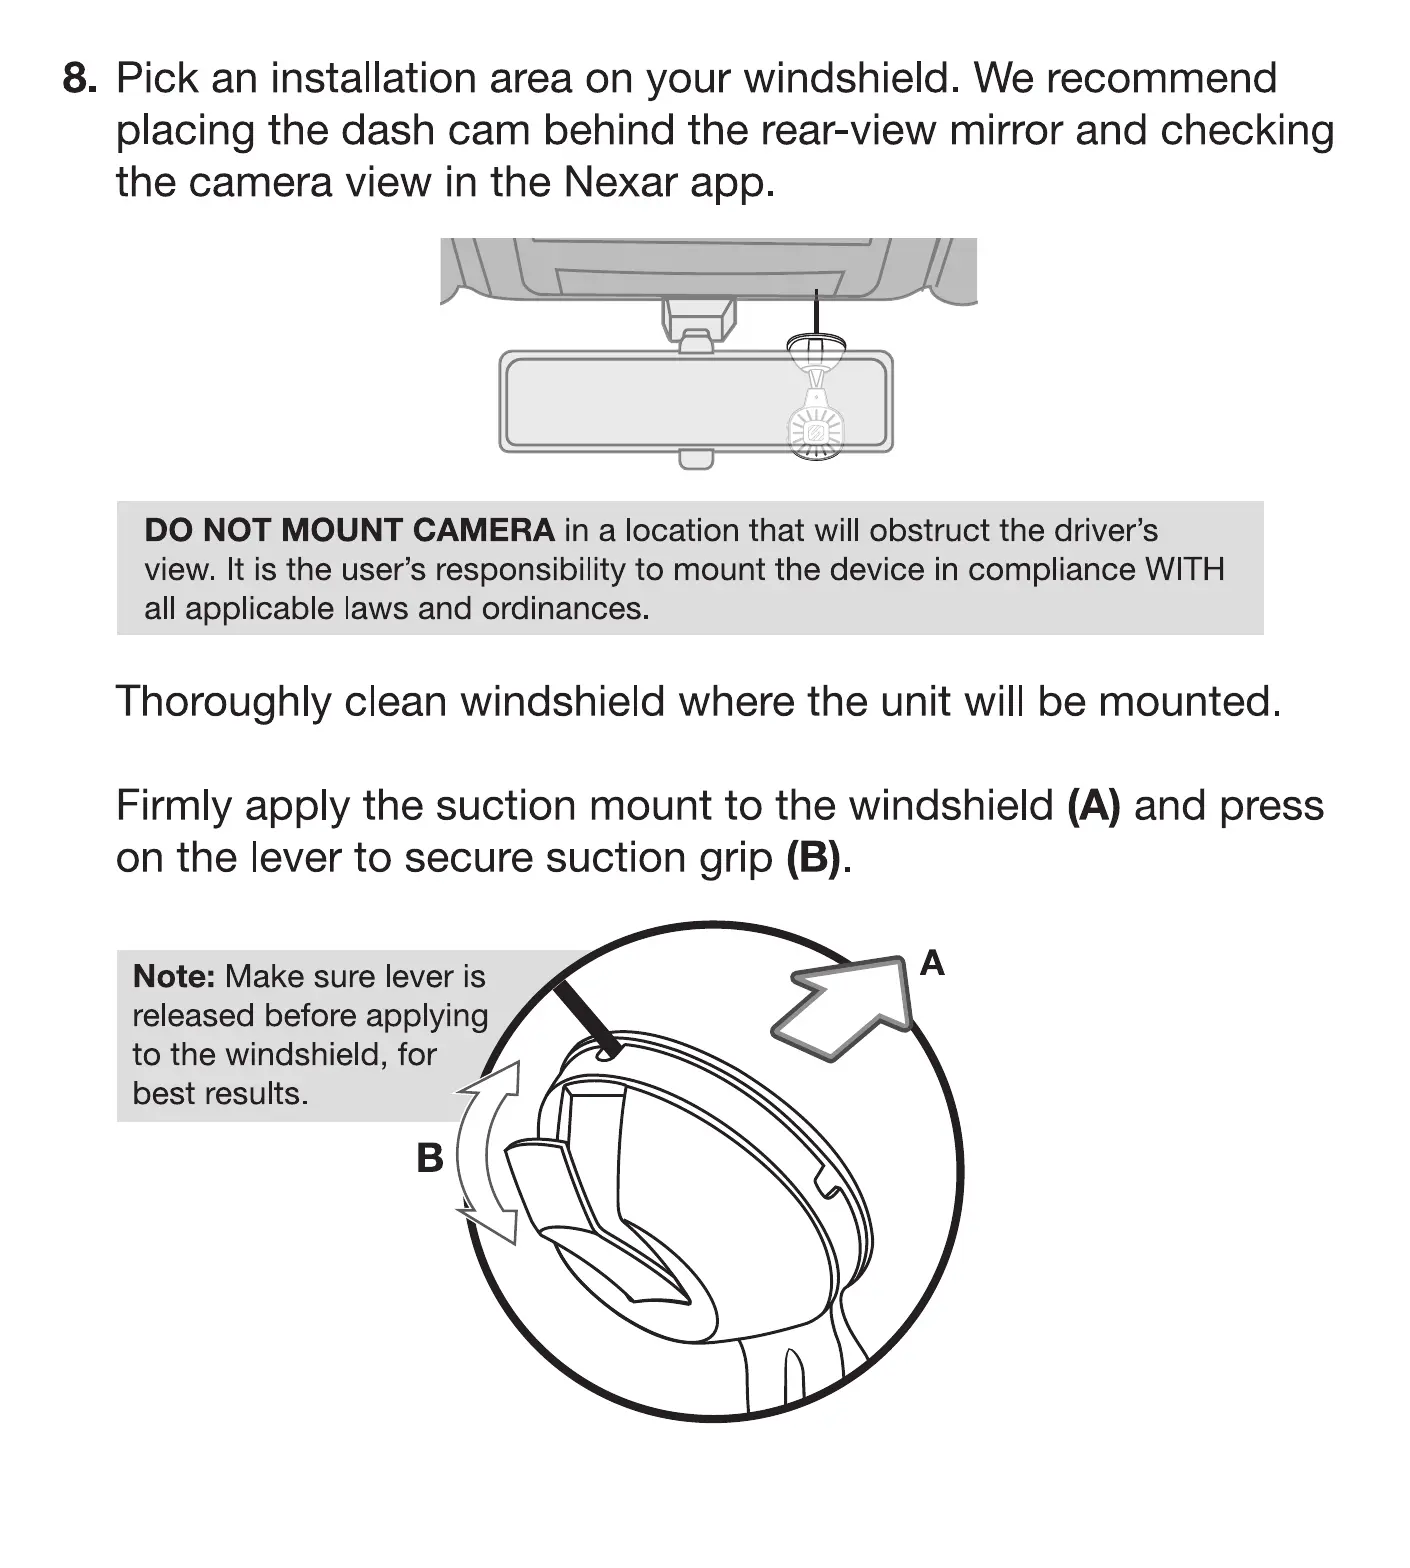
8. Pick an installation area on your windshield. We recommend
placing the dash cam behind the rear-view mirror and checking
the camera view in the Nexar app.
DO NOT MOUNT CAMERA in a location that will obstruct the driver's
view It is the user's responsibility to mount the device in compliance WITH
all applicab e laws and ordinances.
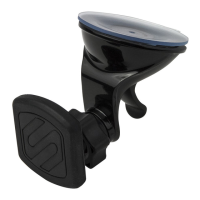
Thoroughly clean windshield where the unit will be mounted
Firmly apply the suction mount to the windshield (A) and press
on the lever to secure suction grip (B).
Note: Make sure lever is
released before applying
to the windshield, for
best results