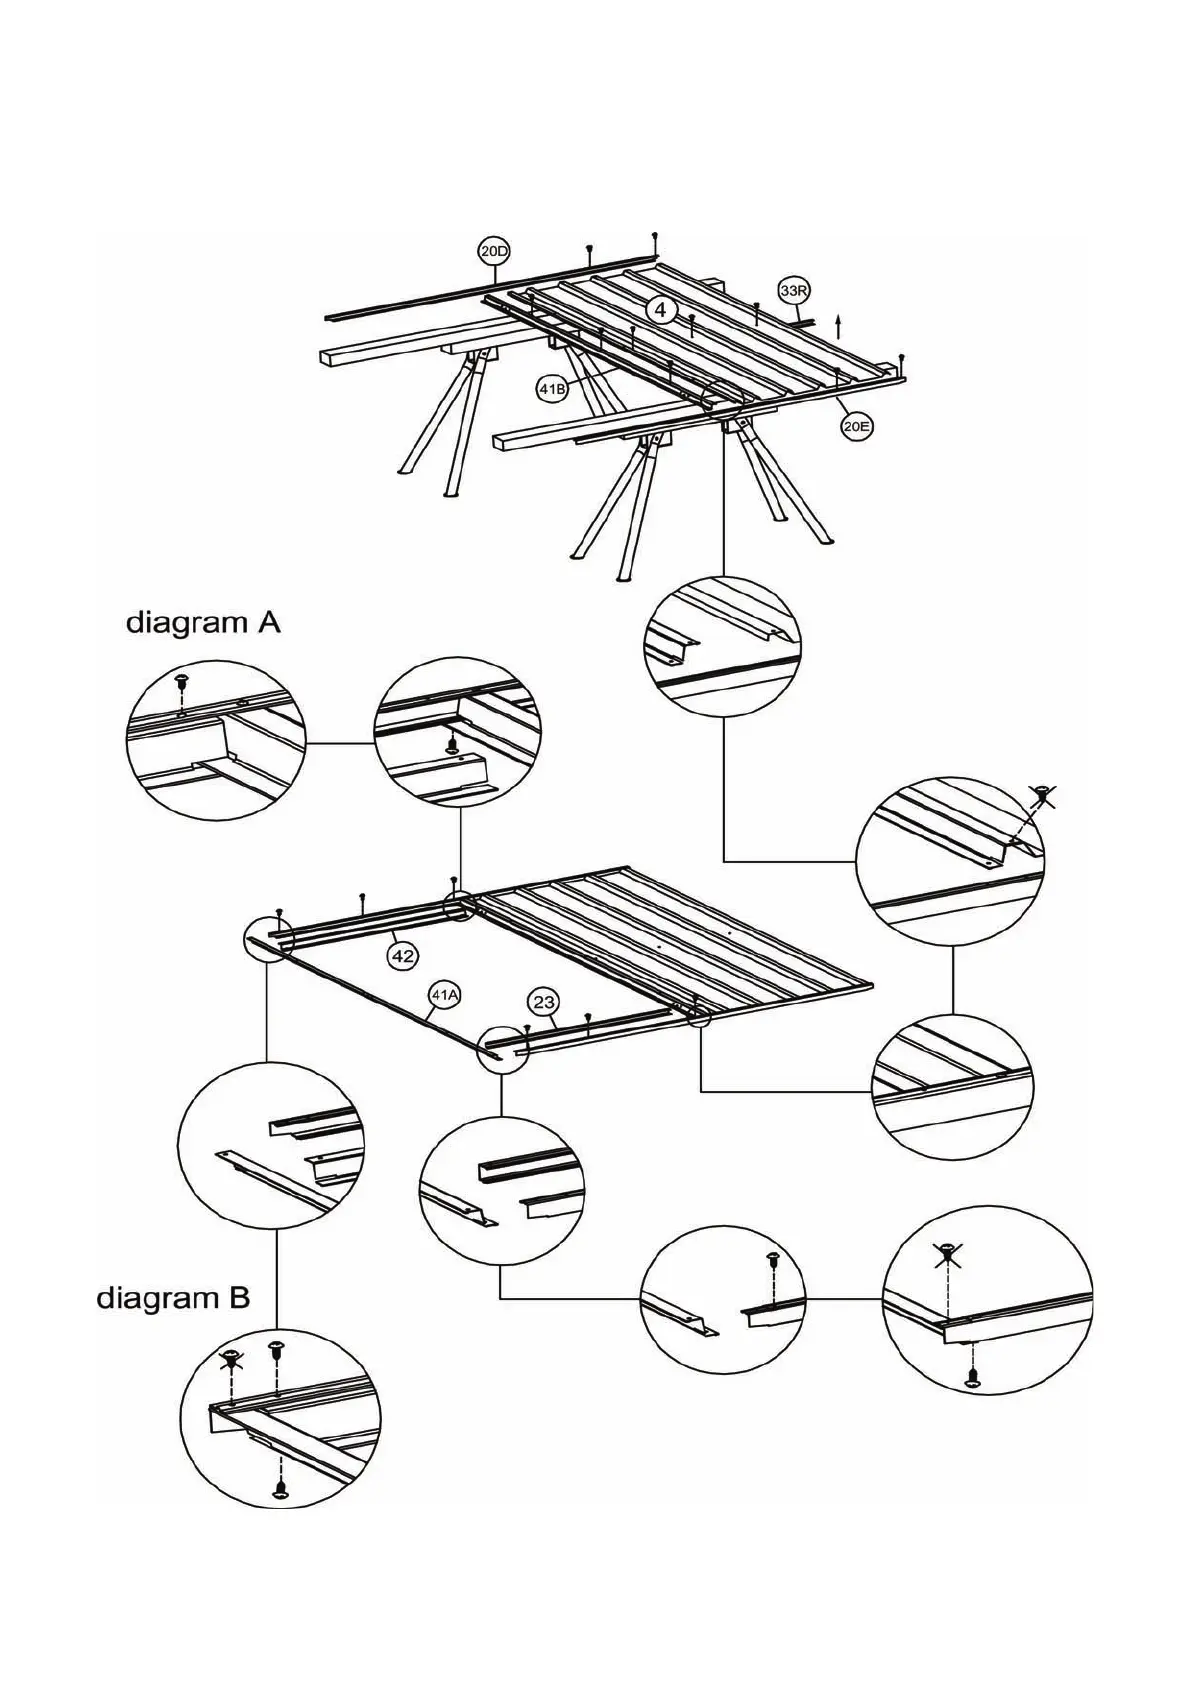
Step 5: Assemble the front wall panel and front door.
Place 4 the sheeting on the work table. Fit 20D the top channel, 20E the bottom channel 41B the
jamb (There are pre-drilled holes for next step on both 4 and 41B and must be aligned.) and 33R
the mid wall channel to the sheeting and x them using the self tapping screws. (Not those with
cross mark in this stage)
Fit the 41A the jamb, 42 the jamb and 23 the bottom channel in following and x them using the
self tapping screws. (Not those with cross mark in this stage) Be aware of the joint details per the
diagrams. (Diagram B is as the same as diagram A.)
 Loading...