Due to limitations within the operating system, Android
devices do not support automatic connection and require
manual setup. Please follow these steps: Open your phone or
tablet's "Settings" menu, select "Wi-Fi," choose the Seestar
S30's Wi-Fi (S30_xxxxxx), and enter the default password
12345678 to complete the connection.
3. Solar Observation and
Solar Filter Usage
4. Power on your Seestar S30
and embark on your
astrophotography journey!
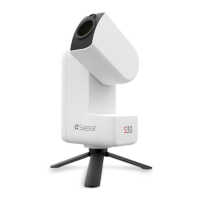
For solar observations, before you enter the solar imaging
mode, always attach the solar filter provided with the device
first. To attach it, first lift up the Seestar S30's lens arm.
Then, affix the magnetic solar filter to the lens. After that,
use your phone to control the pointing of the telescope and
get it aligned with the Sun.
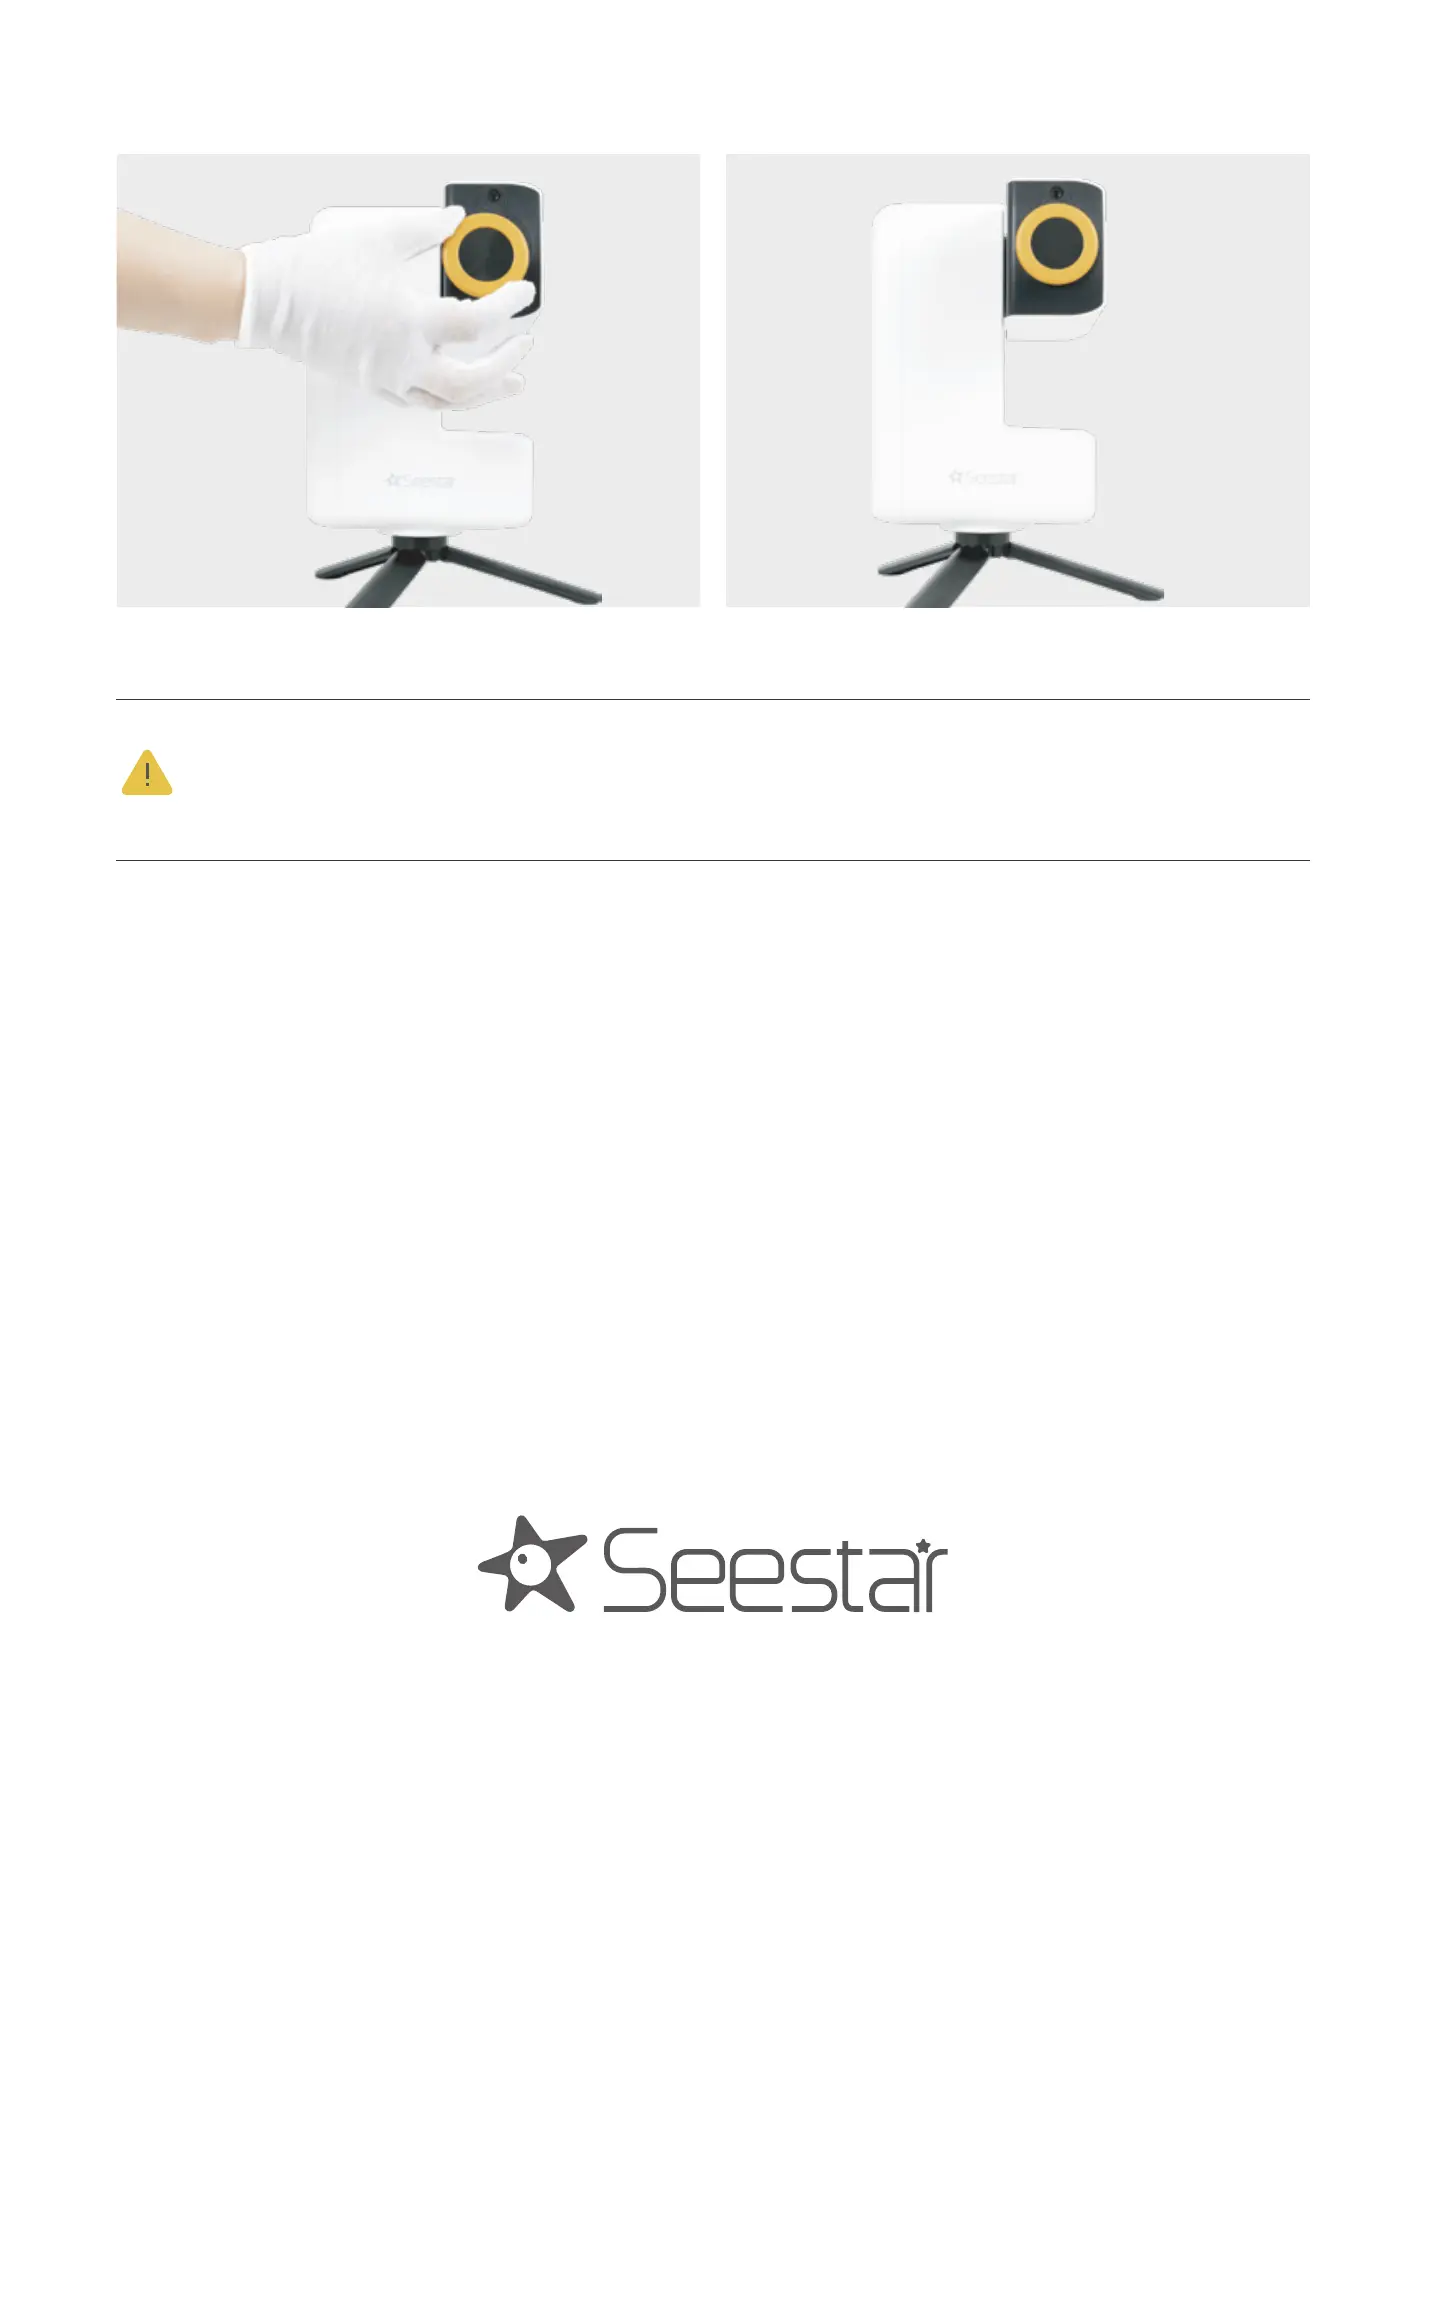
Once the observation or imaging is finished, adjust the
Seestar S30 lens to ensure the Sun is no longer in its field of
view before removing and storing the solar filter.
Once connected, if the system prompts for a firmware
update, please allow it and wait for the update to complete
before using the device.
Important: Do not observe the Sun directly through the
telescope without the solar filter!
 Loading...