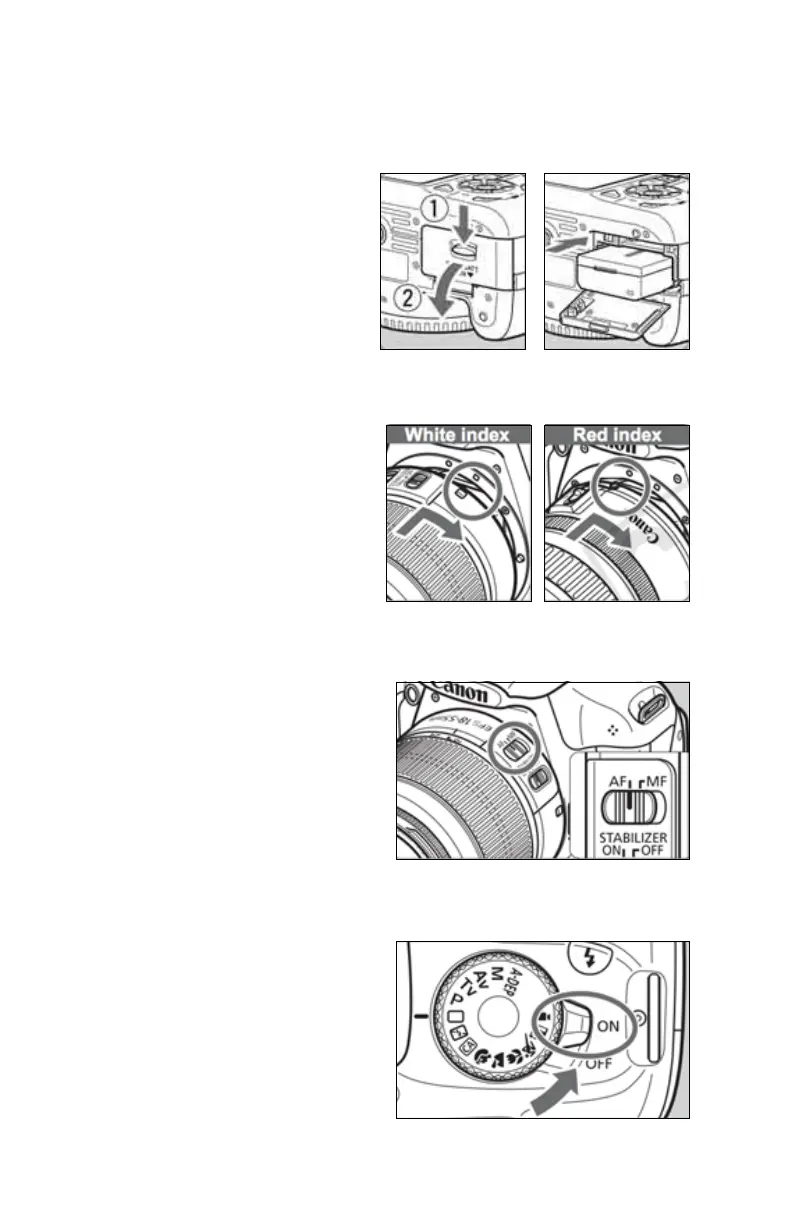
Setting up the Camera
1. Insert power
supply into the
bottom of the
camera. Lift the
small rubber cord
tab and Run the
cord out of the side.
2. Attach the lens.
Align the white or
red index mark with
the appropriate
mark on the camera.
3. Set the lens focus
mode switch to <MF>.
4. Set the power
switch to <ON>
1
2
3
4
5
6
7
8
9
10
11
12
13
14
Insert power
supply into
bottom of
camera
Mount camera onto
tripod head using the screw
slot on the the bottom
On the back wall of the booth,
take a tape measure and mark
the wall with a piece of tape at 75”
Zoom out as far as possible
and line the 75" mark at the
very top of the view finder
and lock the camera.
Have a subject stand against the
back wall inside the Superbooth
and zoom in all the way.
Focus the camera on
the subject and zoom out
all of the way.
Plug the USB cable
into the left side of the camera
Set the lens
focus mode
switch to
<
MF
>
Set the power
switch to
<
ON
>
Set the mode
dial to
<
M
>
Display the menu
screen by pressing
the menu button
On the menu screen
select Quality
Under the
toolbar select
“Auto power off”
Attach the lens
Align the lens’
white or red
index mark
with the mark
on the camera
Change this setting
to
<
OFF
>
(Default is L)
Change this setting
to
<
S1
>
 Loading...