7 1-800-798-7398
Assembling Your Steam Mop - cont’d
IMPORTANT: Do not use on unsealed wood or
unglazed ceramic floors. On surfaces that have been
treated with wax or some no wax floors, the sheen
may be removed by the heat and steam action. It
is always recommended to test an isolated area
of the surface to be cleaned before proceeding.
We recommend that you check the use and care
instructions from the floor manufacturer.
NOTE: To prolong the life of your Steam Mop, we
recommend using distilled water.
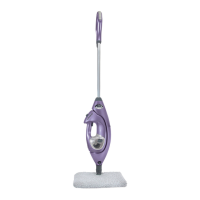
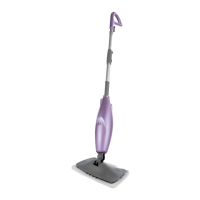
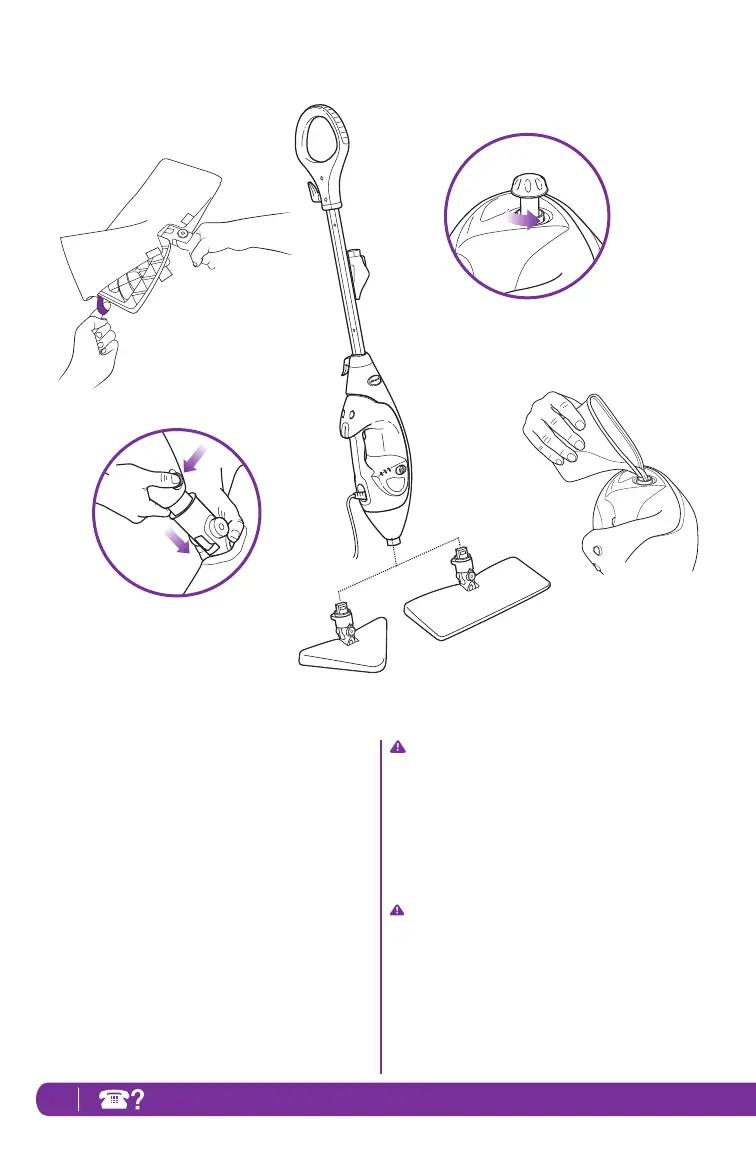
3 Select either the All-Purpose Mop Head or the
Triangle Mop Head and accompanying cleaning
pocket. Use the lavender loop on the side of the
cleaning pocket to slide the mop head into the
pocket. Then secure the quick fasteners on the top
of the pocket to lock in place. (fig. 3)
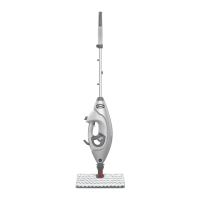
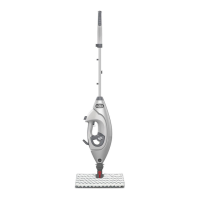
4 Snap the mop head into the mop body by lining up
the groove on the back of the mop body with the
groove on the back of the mop head. Push until you
hear it latch into place. (fig. 4)
5 Turn the water tank cap counter clockwise and
remove from the tank. (fig. 5)
Use the filling flask and pour water into the tank. Do not
overfill. Replace the cap on the water tank. (fig. 6)
fig. 3
fig. 4
fig. 5
fig. 6
 Loading...