MX3500N ADJUSTMENTS 6 – 63
5) Press [EXCUTE] key.
The adjustment pattern is printed out.
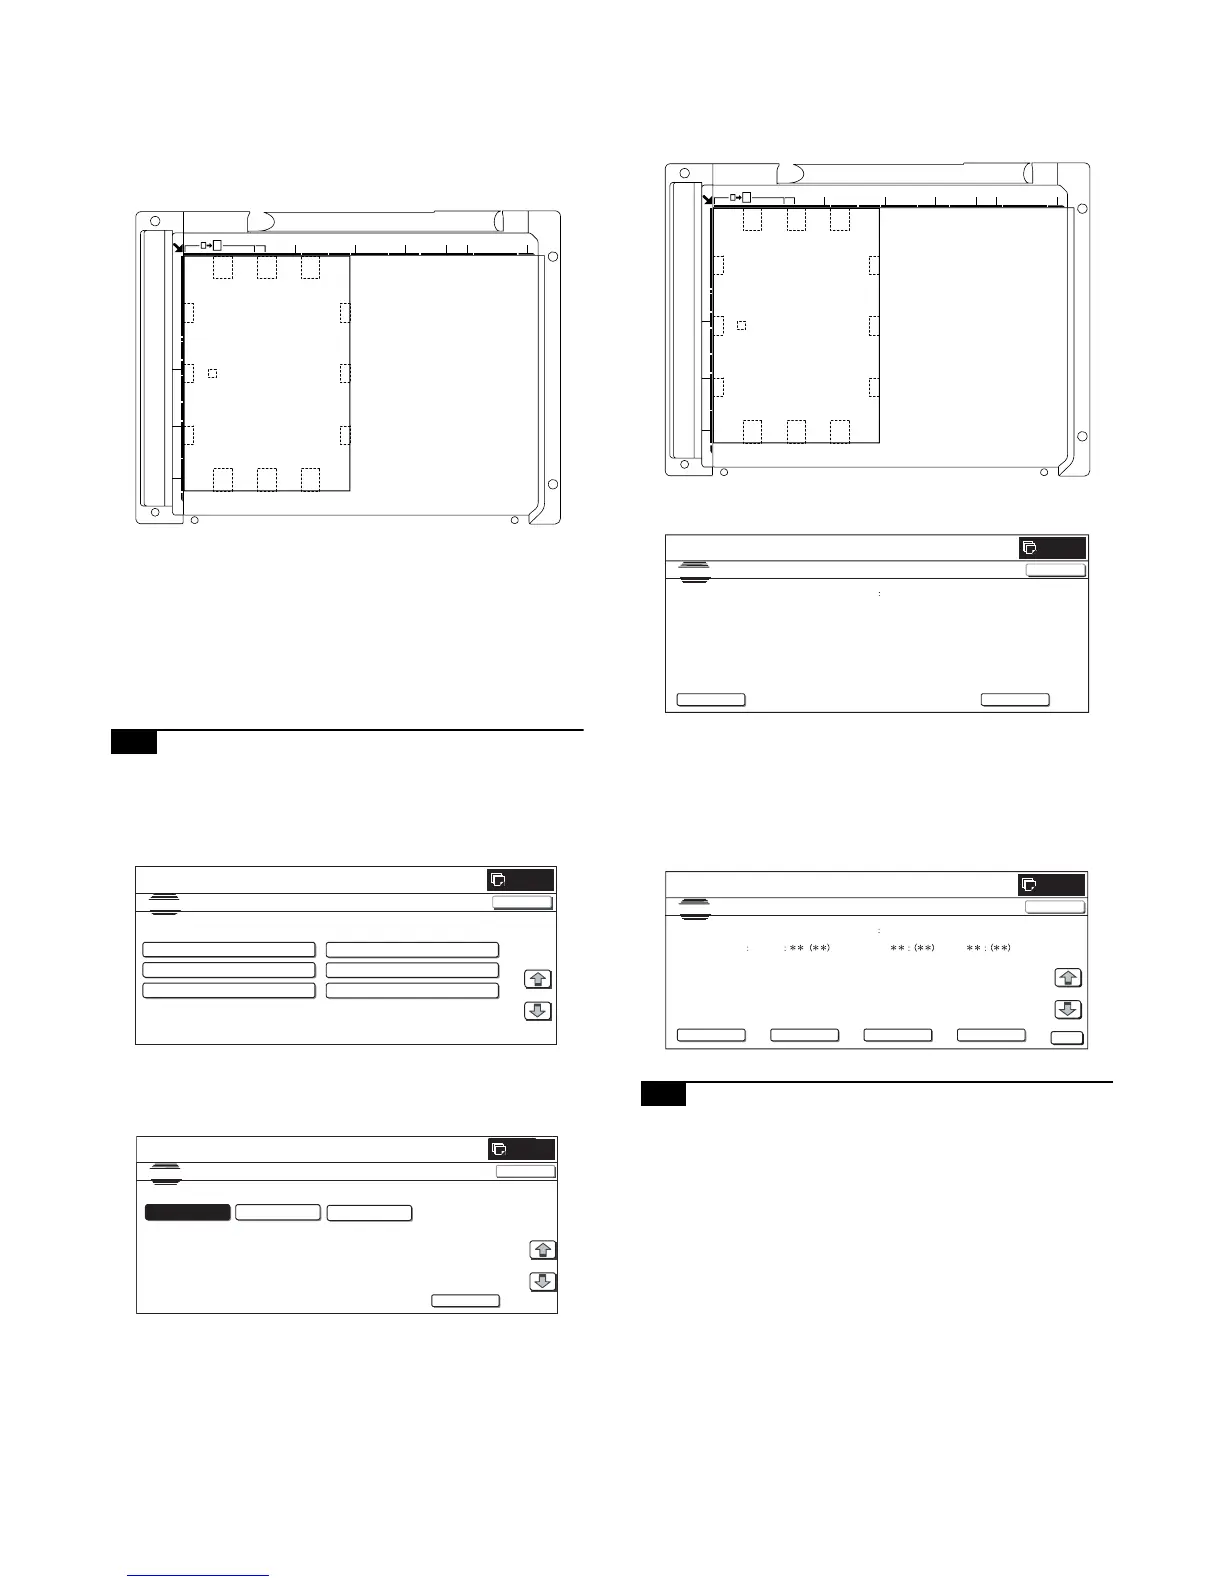
6) Set the adjustment pattern on the document table. (Any direc-
tion)
Note: Fit the adjustment pattern correctly with the document
guide.
7) Press [EXCUTE] key.
The following items are automatically adjusted.
* Print image lead edge image position adjustment
* Print image off-center adjustment
8) Press [OK] key.
The adjustment result becomes valid.
Perform procedures 4) to 7) for each paper feed tray.
27-C Copy lead edge image reference position
adjustment, image off-center, sub scanning
direction image magnification ratio
automatic adjustment
1) Enter the SIM50-28 mode.
2) Select [OC ADJ] with the key button.
3) Select the paper feed tray with paper in it with the key button.
(Any paper size will do.)
4) Press [EXCUTE] key.
The adjustment pattern is printed out.
5) Set the adjustment pattern on the document table. (Any direc-
tion)
Note: Fit the adjustment pattern correctly with the document
guide.
6) Press [EXCUTE] key.
The following items are automatically adjusted.
Copy lead edge image reference position adjustment,
image off-center, sub scanning direction image magnifica-
tion ratio automatic adjustment
7) Press [OK] key.
The adjustment result becomes valid.
27-D SPF mode image off-center, image lead
edge position, sub scanning direction
image magnification ratio automatic
adjustment
Refer to the RSPF (MX-RPX1) SM.
SIMULATION NO.50-28
TEST
AUTO IMAGE POSITION ADJUSTMENT : SERVICE
OC ADJ BK-MAG ADJ
SPF ADJ
SETUP/PRINT ADJ
RESULT DATA
1/1
0
CLOSE
0
SIMULATION
NO.50-28
TEST
AUTO IMA GE POSITION ADJUSTMENT㧦SERVICE
EXECUTE
1/1
MFT
CS1
CS2
CLOSE
0
SIMULATION NO.50-28
TEST
AUTO IMAGE POSITION ADJUSTMENT SERVICE
CLOSE
EXECUTE
PLEASE SET THE SIT CHART PAPER ON THE OC
THEN PRESS [EXECUTE] TO START
REPRINT
0
SIMULATION NO.50-28
TEST
AUTO IMAGE POSITION ADJUSTMENT SERVICE
CLOSE
OC
LEAD
OFFSET
SUB
RESCANREPRINT
OK
RETRY DATA

 Loading...