MX3500N SIMULATION 7 – 142
67-28
Purpose
Adjustment
Function (Purpose)
The scanner target value (for servicing) of
the printer engine auto density adjustment
is reset to the standard value.
Section
Scanner
Item
Image quality
Operation/Procedure
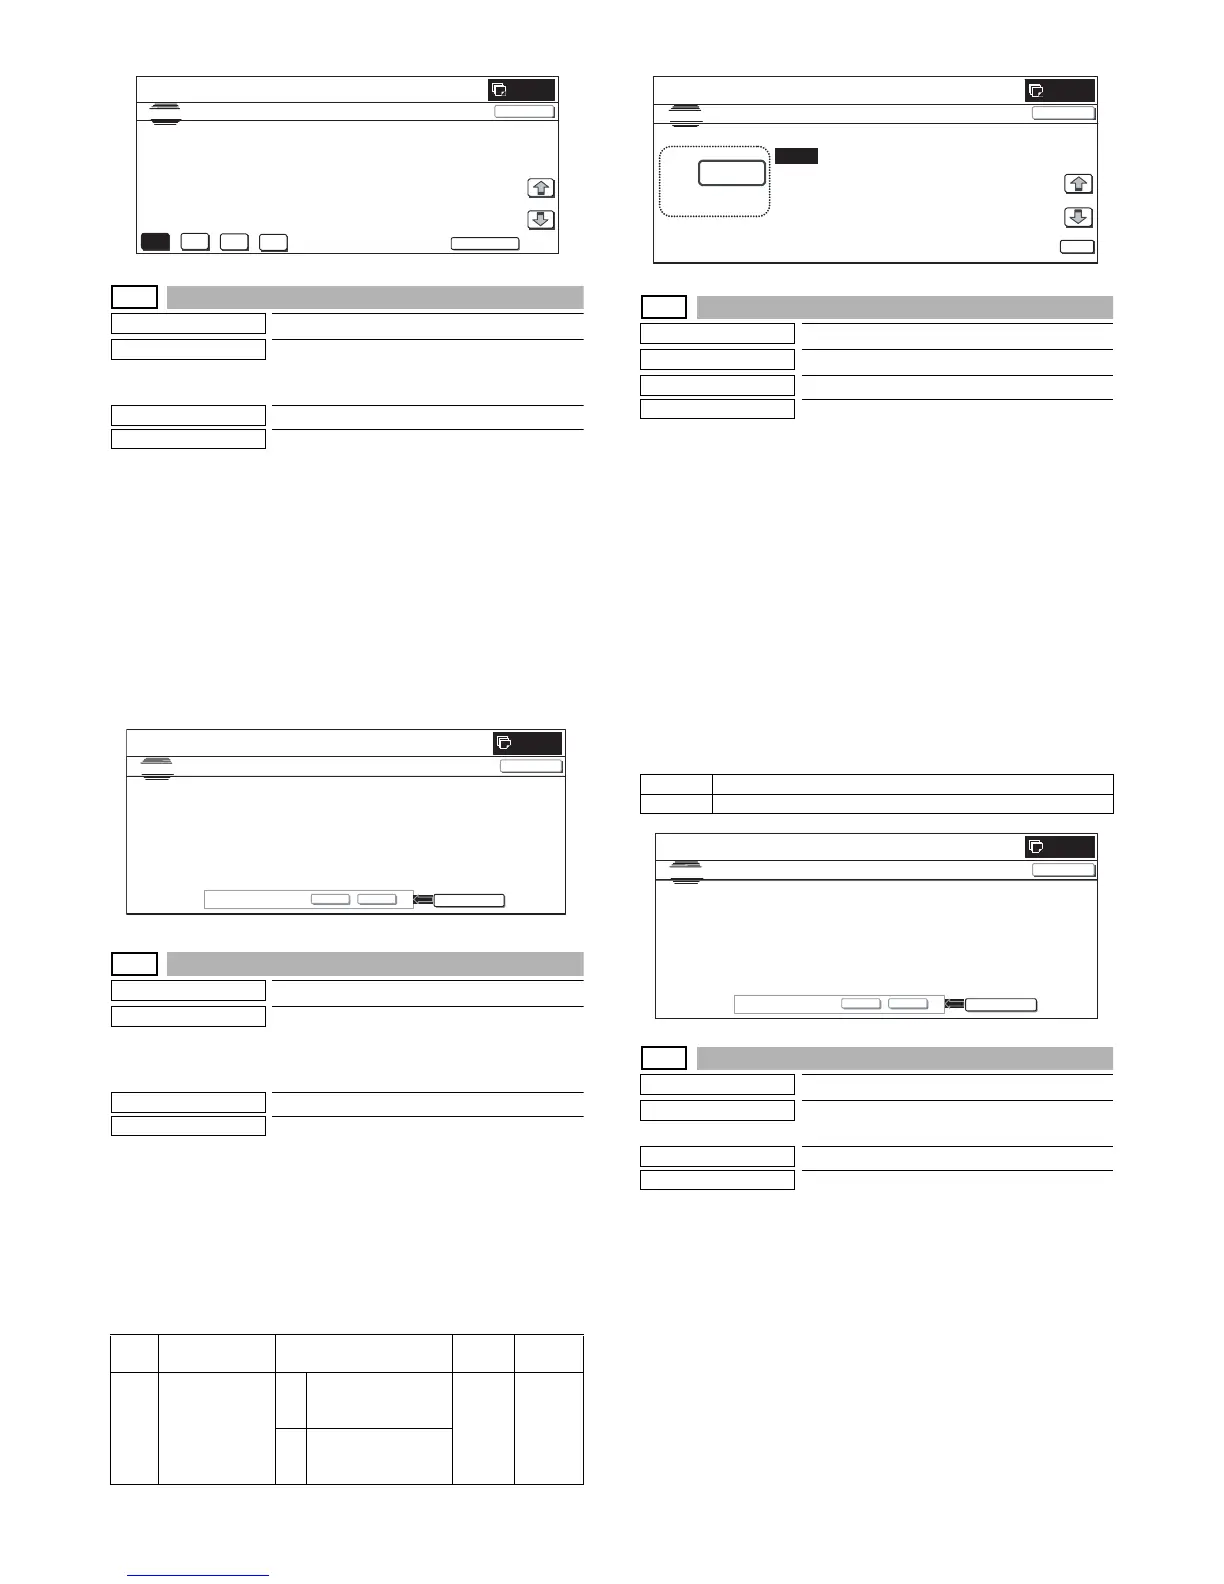
1) Press [EXECUTE] button. [EXECUTE] button is highlighted
and [YES] and [NO] buttons become active.
2) If it is ready for execution, press [YES]. The standard value
reset process is executed. [YES] button is highlighted.
* When [NO] button or [EXECUTE] button is pressed, [EXE-
CUTE] button returns to the normal display, and [YES] and
[NO] buttons gray out.
* The restored data are saved to EEPROM and RAM.
* After completion of the reset process, [EXECUTE] button
returns to the normal display and [YES] and [NO] buttons
gray out.
67-30
Purpose
Setting
Function (Purpose)
Used to set YES/NO of delivery of the main
unit calibration data and the process control
correction data to the client PC by the GDI
printer.
Section
Printer
Item
Setting
Operation/Procedure
1) Enter the set value with 10-key.
* Press [C] key to clear the entered values.
2) When [OK] button is pressed, the current entered value is
saved to EEPROM and RAM.
* When [COLOR], or [BLACK] key is pressed, the value is
saved to EEPROM and RAM.
<Set range and default value of each setup>
67-31
Purpose
Data clear
Function (Purpose)
Used to clear the printer calibration value.
Section
Printer
Item
Clear
Operation/Procedure
1) Press [EXECUTE] button.
[EXECUTE] button is highlighted and [YES] and [NO] buttons
become active.
2) Press [YES] button.
The printer calibration value is cleared.
[YES] button is highlighted.
* The cleared data are saved to EEPROM and RAM.
* When [NO] button or [EXECUTE] button is pressed, [EXE-
CUTE] button returns to the normal display, and [YES] and
[NO] buttons gray out.
* After completion of calibration value clear, [EXECUTE] but-
ton returns to the normal display, and [YES] and [NO] but-
tons gray out.
<Clear item>
67-32
Purpose
Setting
Function (Purpose)
Used to set YES/NO of screen color
change for each object.
Section
Item Setting
Operation/Procedure
1) Select the set item with [↑] and [↓] buttons.
The highlighted set value is switched and the value is dis-
played in the setting area.
* If there is any item over [↑], an active display is made and
item is shifted.
If there is no item over [↑], the display grays out and the
operation is invalid.
If there is any item under [↓], an active display is made and
item is shifted.
If there is no item over [↓], the display grays out and the
operation is invalid.
2) Enter the set value with 10-key.
* Press [C] key to clear the entered values.
Item Display Content
Set
range
Default
value
A (0:YES 1:NO) 0 Delivery of
calibration data is
inhibited.
0 to 1 1
1 Delivery of
calibration data is
allowed.
K
C
M
Y
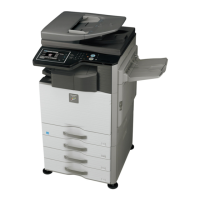
SETUP
SIMULATION
NO.67-27
TEST
SCANNER TARGET OF PRINTER COLOR CALIB SETUP㧦SERVICE
#B: 91, #C 2944, #D: 3227, #E: 5822, #F : 8600
#G: 28935, #H: 54344, #I: 86968, #J: 122678, #K: 151198
#L: 169731, #M: 195950, #N: 201249, #:O: 207112
1/1
0
CLOSE
0
SIMULATION
NO.67
28
TEST
STANDARD SCANNER TARGET OF PRINTER COLOR CALIB
㧦
SERVICE
CLOSE
EXECUTE
ARE YOU SURE?
YES NO
Clear item
1 Printer calibration value

 Loading...