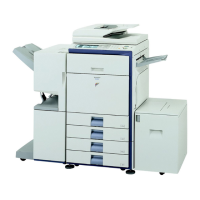
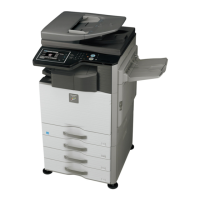
MX3500N OTHERS 12 – 2
*1: In some countries and regions, the printer expansion kit must be
installed.
*2: When the PS3 expansion kit is installed.
*3: In some countries and regions, the facsimile expansion kit or
the Internet fax expansion kit or the network scanner expansion kit
must be installed.
*4: In some countries and regions, the network scanner expansion
kit must be installed.
*5: When the Internet fax expansion kit is installed.
*6: When a right tray is installed.
*7: When user authentication is enabled and a user without the
authority to configure the system settings (administrator) has
logged in. (Excluding factory stored users.)
*8: When the facsimile expansion kit is installed.
*9: When a saddle stitch finisher or finisher is installed.
B. System settings (Administrator)
(1) When User Authentication is not Enabled
1) Press the [SYSTEM SETTINGS] key.
2) Touch the [Admin Password] key.
3) Log in.
(1) Touch the [Password] key and enter the administrator pass-
word.
(2) Touch the[OK] key.
4) Configure the desired system settings.
(2) Login by login name and password (and e-mail
address*)
1) Touch the [Login Name] key.
* If login name / password / e-mail address is selected for the
login method, [E-mail Address] will appear under the [Login
Name] key.
2) Touch the [Admin Login] key.
3) Touch the [Password] key and enter the administrator pass-
word.
4) Touch the [OK] key.
5) Press the [SYSTEM SETTINGS] key.
* This step is not necessary if you are logging in after you
pressed the [SYSTEM SETTINGS] key.
6) Configure the desired system settings.
(3) Login by user number
1) Touch the [Admin Login] key.
2) Touch the [Password] key and enter the administrator pass-
word.
3) Touch the [OK] key.
4) Press the [SYSTEM SETTINGS] key.
* This step is not necessary if you are logging in after you
pressed the [SYSTEM SETTINGS] key.
5) Configure the desired system settings.
Touch the items that you wish to configure and select the
desired settings.
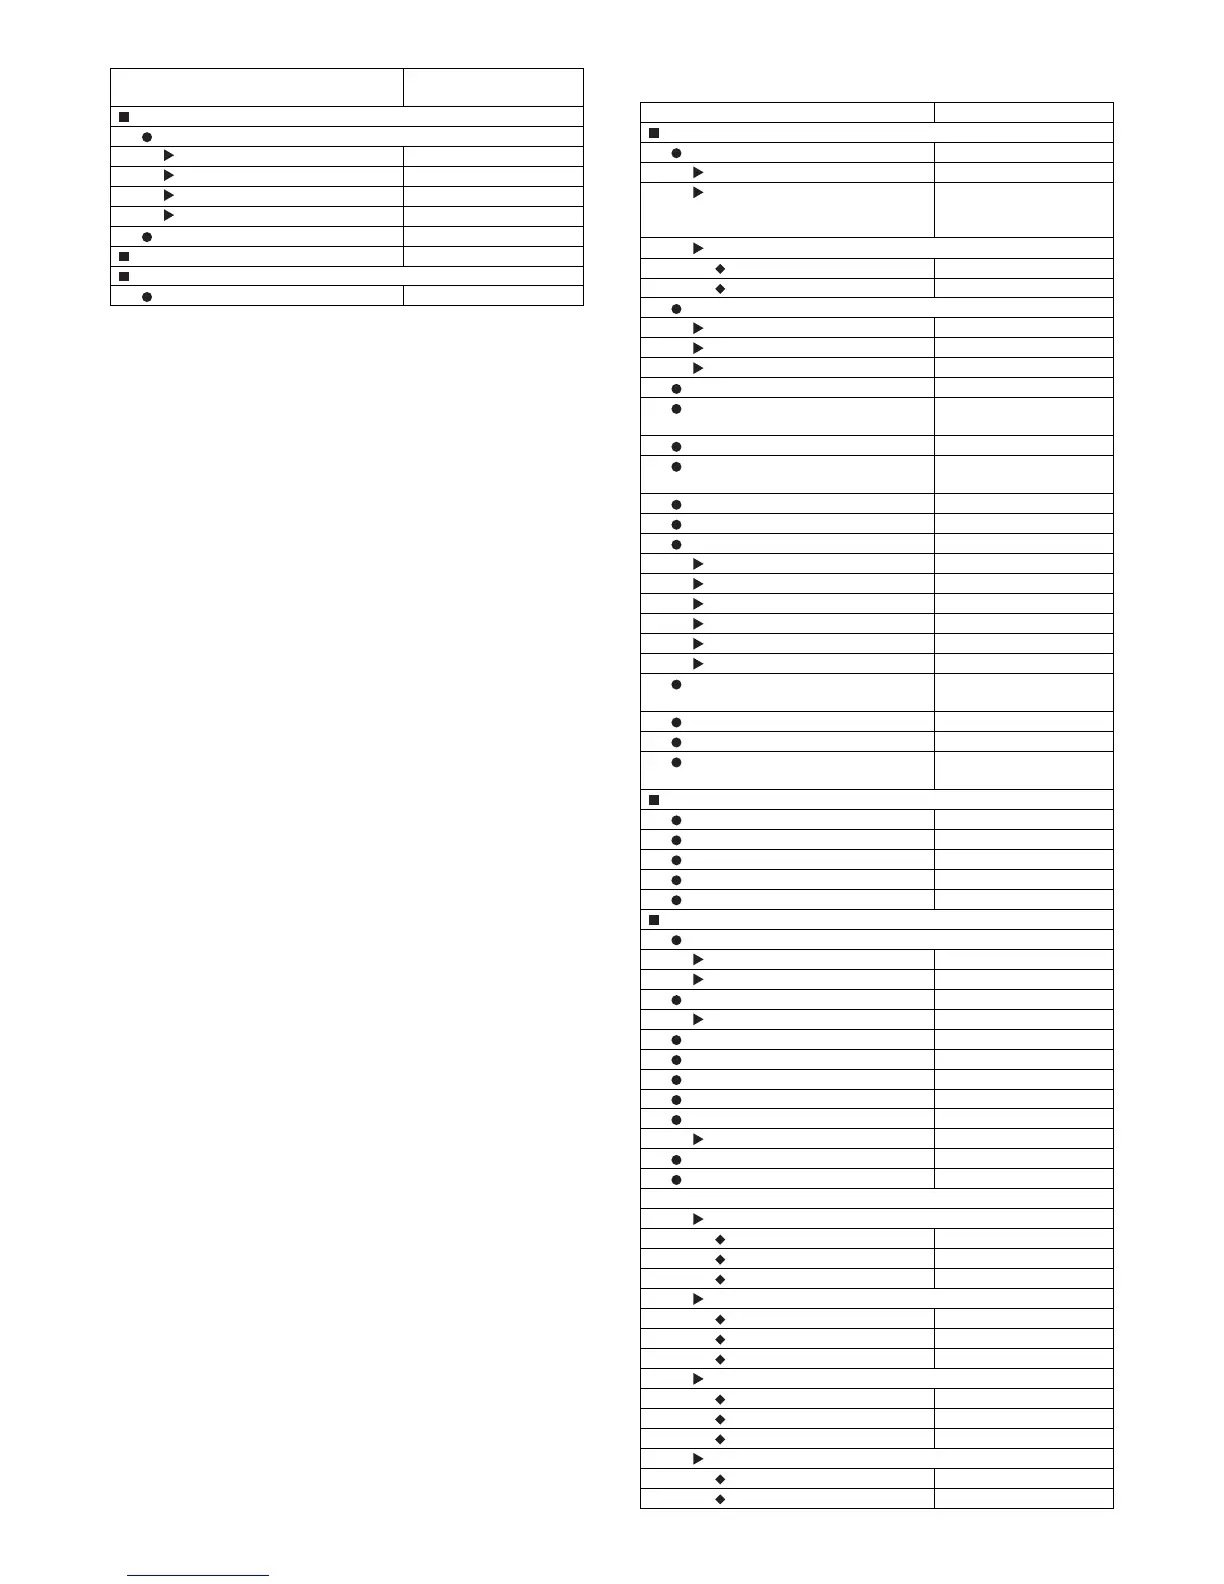
(4) System Settings (Administrator) List
Document Filing Control
Custom Folder Registration
Folder Name -
Initial -
Password -
User Name -
Amend/Delete Custom Folder -
USB-Device Check -
User Control*7
Amend User Information -
Item
Factory default setting
Page
Item Factory default setting
User Control
User Authentication Setting
User Authentication Disable
Authentication Method Setting Authenticate a User by
Login Name and
Password
Device Account Mode Setting
Device Account Mode Disable
User Selection -
User Registration
Store -
Amend/Delete -
Delete All Users -
Pages Limit Group Registration -
Actions when the Limit of Pages for
Output Jobs
Job is Stopped when the
Limit of Pages is Reached
Authority Group Registration -
Favourite Operation Group
Registration
-
User Count Display -
User Count Reset -
User Information Print
All User Information Print -
User List -
List of Number of Pages Used -
Page Limit Group List -
Authority Group List -
Favourite Operation Group List -
The Number of User Name Displayed
Setting
8
A Warning when Login Fails Disable
Disable Printing by Invalid User Disable
Default Network Authentication Server
Setting
-
Energy Save
Toner Save in Printer Mode*1 Disable
Toner Save in Copy Mode*2 Disable
Auto Power Shut-Off Enable
Auto Power Shut-Off Timer 60 min.
Preheat Mode Setting 15 min.
Operation Settings
Keys Touch Sound
Keys Touch Sound Middle
Keys Touch Sound at Initial Point Disable
Auto Clear Setting 60 sec.
Cancel Timer Disable
Message Time Setting 6 sec.
Display Language Setting English
Disabling of Job Priority Operation Disable
Disabling of Bypass Printing Disable
Key Operation Setting 0.0 sec.
Disable Auto Key Repeat Disable
Disabling of Clock Adjustment Disable
Disabling of Covers/Inserts Mode*3 Disable
Customize Key Setting
Copy
Customize 1 Special Modes
Customize 2 File
Customize 3 Quick File
Scanner*4
Customize 1 Special Modes
Customize 2 File
Customize 3 Quick File
Internet Fax*5
Customize 1 Special Modes
Customize 2 File
Customize 3 Quick File
Fax*6
Customize 1 Special Modes
Customize 2 File

 Loading...