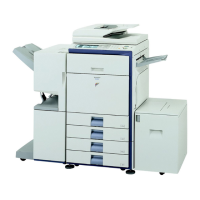
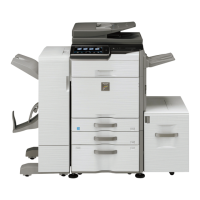
MX3500N EXTERNAL OUTFIT A – 3
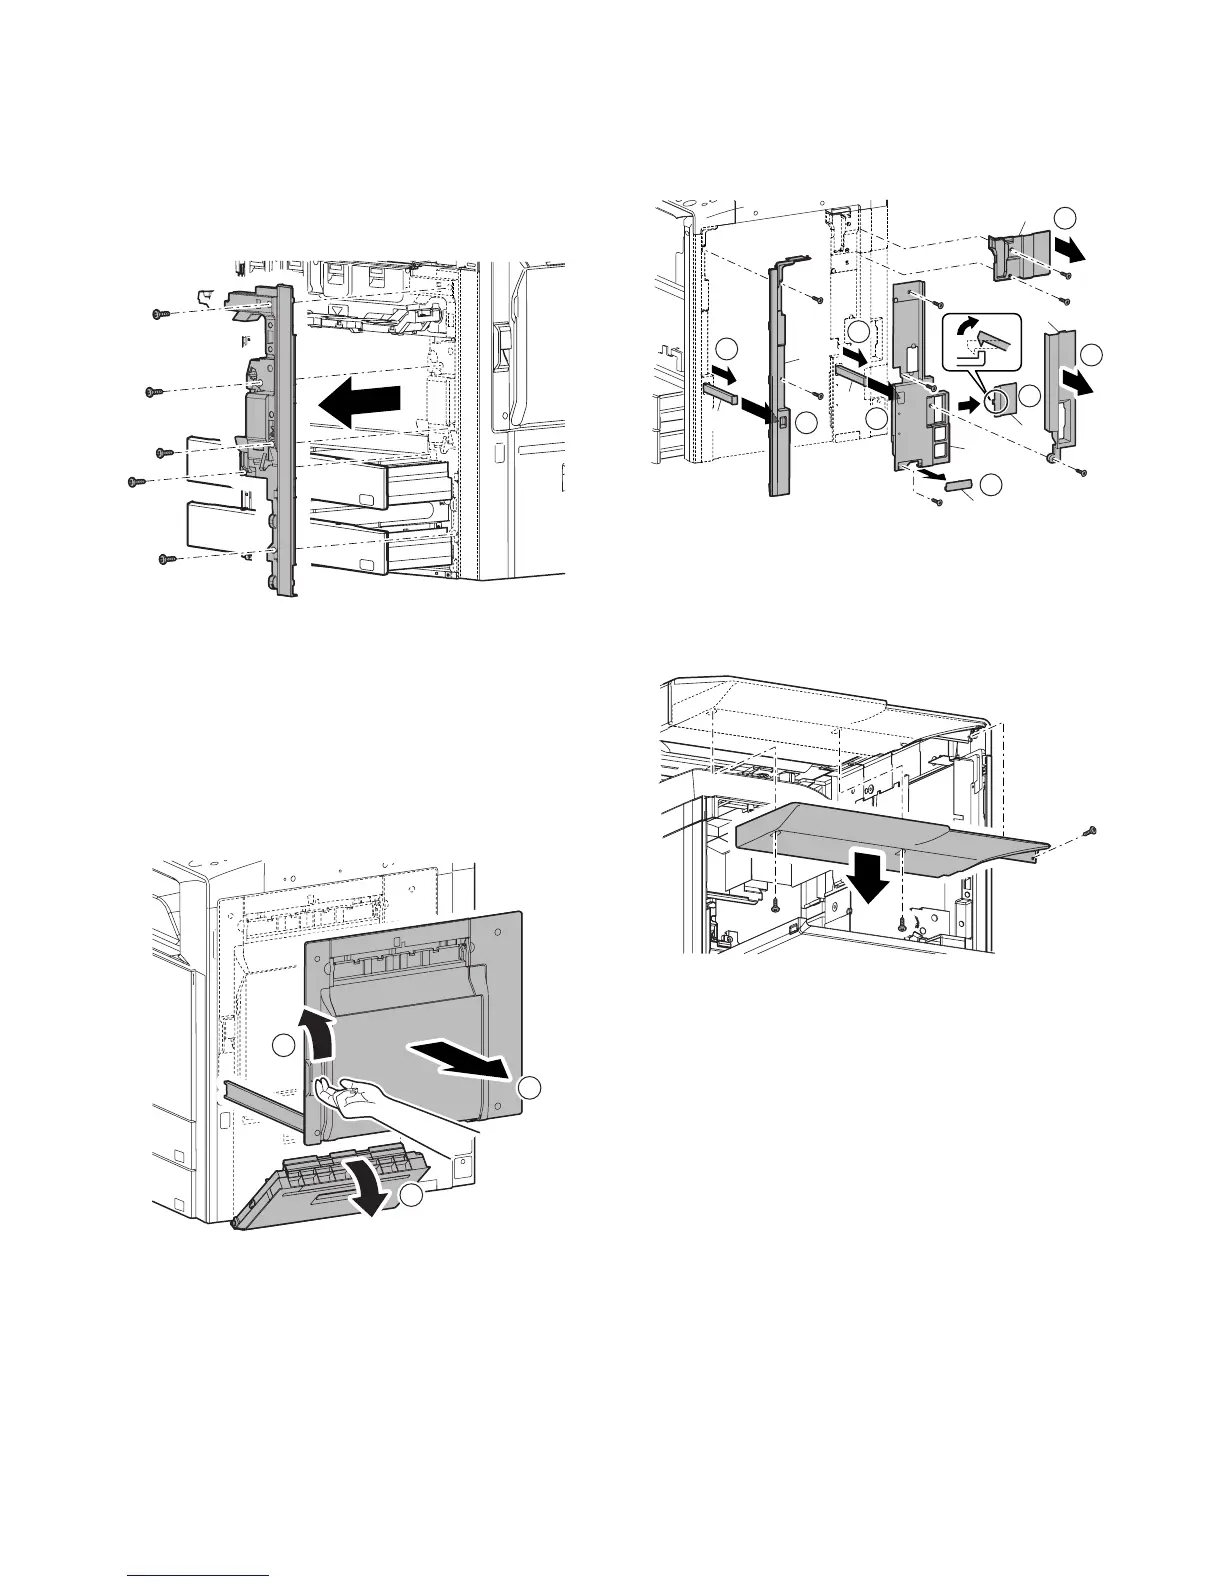
(13) Frame cover
1) Remove the waste toner box, and open the drum positioning
unit. (Refer to Process Drum Unit in Image Process Section.)
2) Remove the front cabinet. (Refer to Front Cabinet)
3) Remove the front cabinet upper. (Refer to Front Cabinet
Upper.)
4) Pull out the paper feed tray units 1 and 2.
5) Remove the screws, and remove the frame cover.
(14) Right cabinet front
(15) Right connection cabinet
(16) Right cabinet rear cover
(17) Right cabinet rear
1) Remove the front cabinet upper. (Refer to Front Cabinet
Upper.)
2) Remove the frame cover.
3) Open the right door and the right cabinet lower.
4) Pull out the knob (A). Remove the screws, and remove the
right cabinet front (B). Remove the screws, and remove the
right connection cabinet (C). Remove the ozone filter cover
(D). Remove the screws, and remove the right cabinet rear
cover (E). Remove the desk connection cover (F). Remove the
screws, and remove the right cabinet rear (G).
(18) Operation panel base plate
1) Remove the front cabinet upper. (Refer to Front Cabinet
Upper.)
2) Remove the screws, and remove the operation panel base
plate.
1
2
3
1
3
7
5
F
B
C
D
E
G
4
6
A
A
2
1

 Loading...