4.5 Tube Arm Operations
Mobile DaRt Operation Manual
4-17
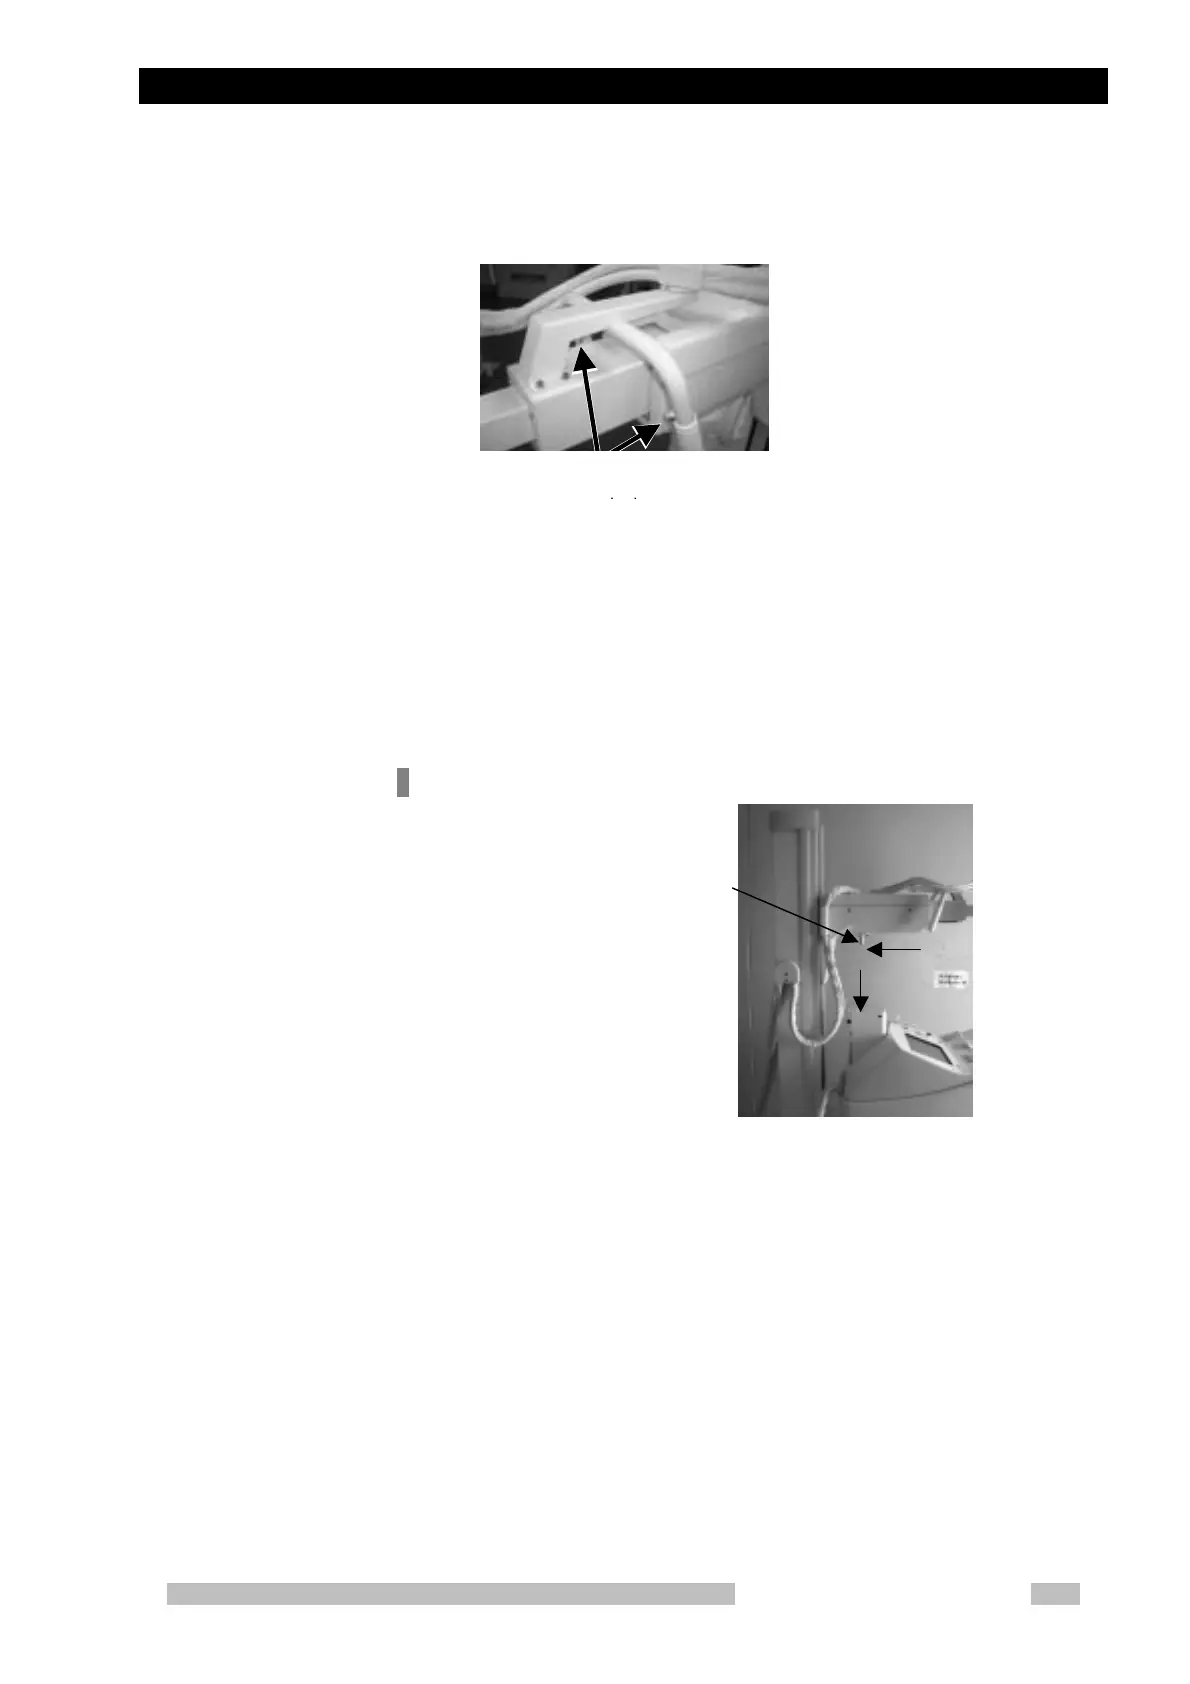
• Lift up the X-ray tube assembly while pressing the “Tube arm lock
release switch” located on the tube arm.
Fig. 4-10 Tube arm lock release switch on tube arm
After the “Tube Arm Lock” has been released, the exposure conditions are
displayed on the X-ray control panel, enabling X-ray exposures. (At this time the
system is brought into the slow travel mode and the maximum operating speed
is limited to approximately half of the normal operating speed.)
How to set the “Tube Arm Lock”
Fig. 4-11 How to set the “Tube Arm Lock”
① Push the X-ray tube assembly in as far as it will go until it hits the stop,
while pressing the tube arm lock release switch.
② Return the tilt of the X-ray tube assembly and collimator to the center
position.
③ Slowly push down the X-ray tube assembly while pressing the tube arm
lock release switch.
④ Insert the locking pin on the lower surface of the tube arm into the locking
pin on the tube arm joint section.
⑤ After the locking function has been completed, release the tube arm lock
switch, and make sure that the tube arm is secure. Status light will not be
illuminated.
The
Arm lock release switch
①
③
Locking pin
 Loading...