-17-
2. Launch the App on the phone. Tap on the phone.
3. Tap Register an account on the login screen. Follow the on-screen instructions to
create the user account.
4. Enter the requested settings on the Profile screen, such as diabetes type, unit, and
target glucose range. Glucose alarms can be turned on by setting the alarm range
and the way to receive alarms when glucose levels fall out of the alarm range.
5. The App account is now set up and ready for use.
Note: If the App password is forgotten when you logging in, tap Forgot Password? on
the login screen. Follow the App instructions for re-setting the user password.
Pairing Your Sensor to Receive Glucose Readings
After applying the Sensor to your arm (Refer to 3.1 Applying Your Sensor to learn how
to apply the Sensor), the Sensor needs to be paired with the App so that it can receive
glucose data. To do this perform the following steps:
1. Launch the SIBIONICS App (Refer to 4.3 Downloading App above to learn how to
do this) and log in if prompted to do so.
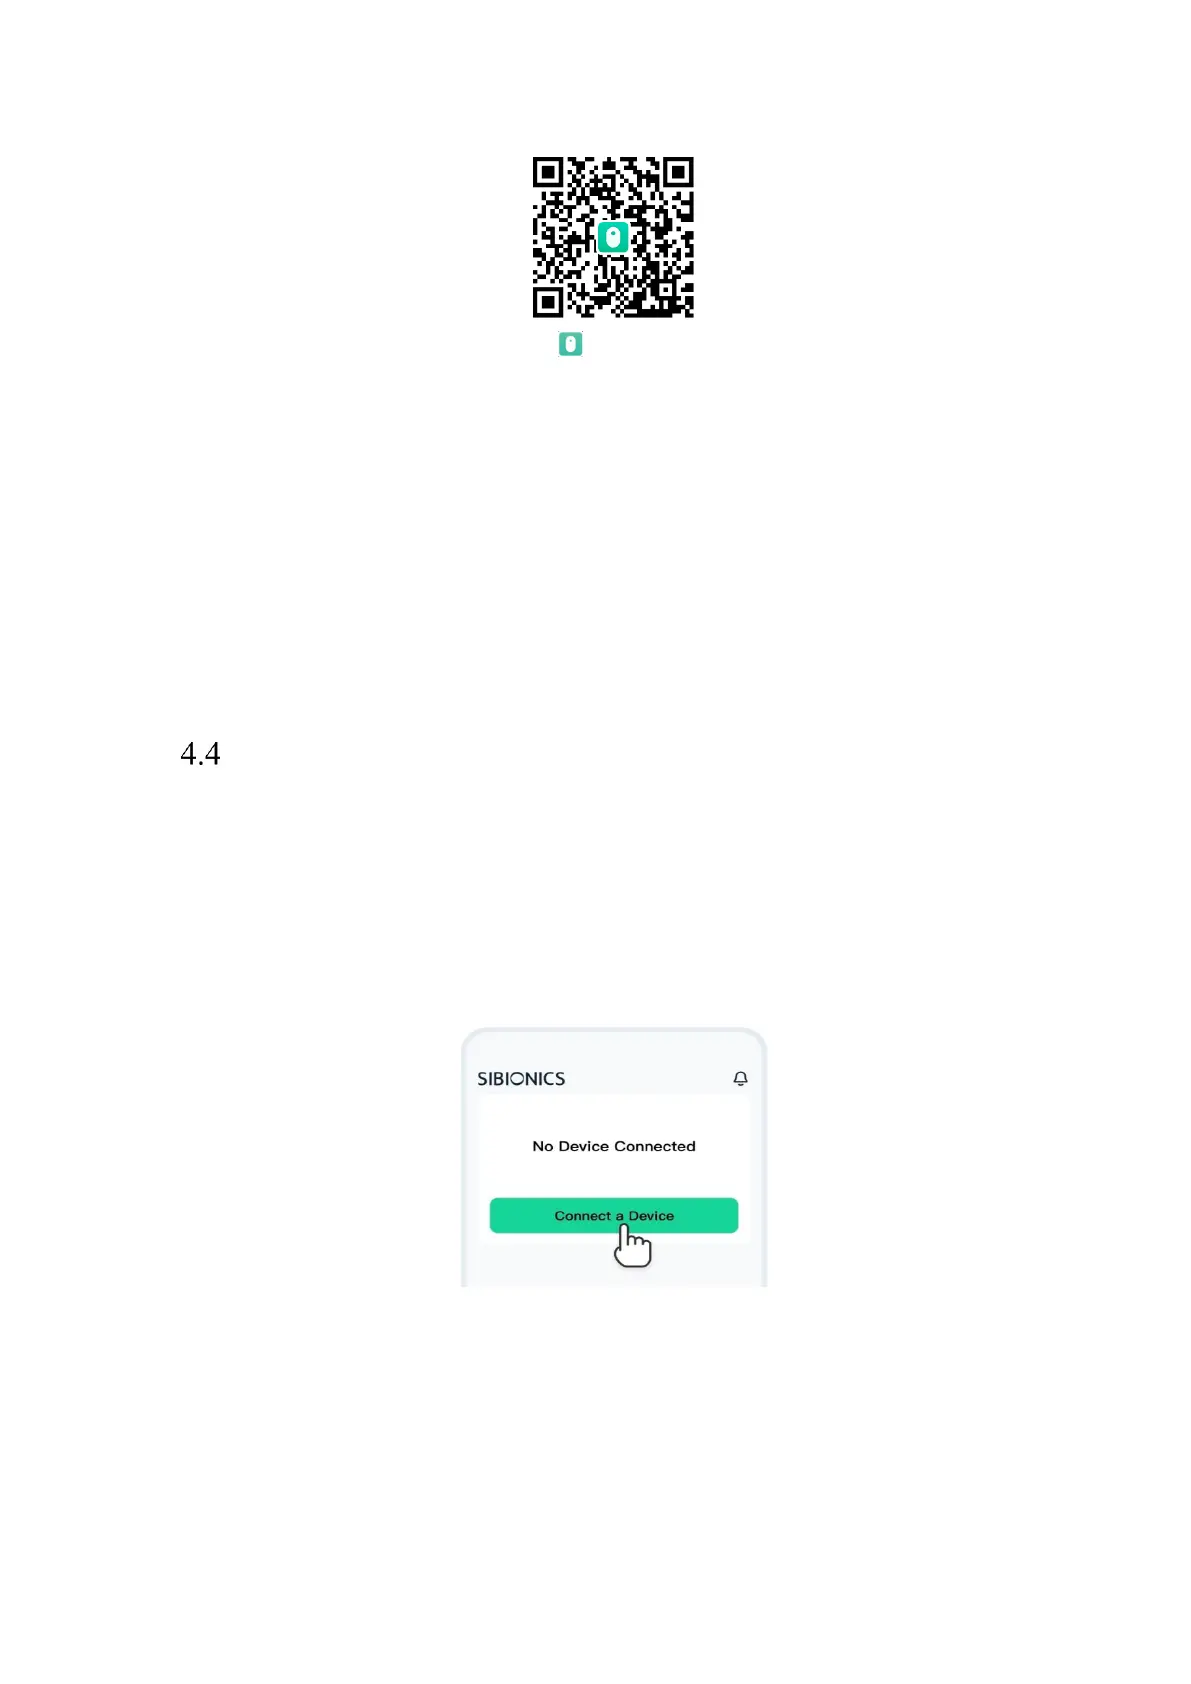
2. Tap Connect a Device on the top of the screen. This will open the phone’s
camera so that the Sensor code can be scanned.
Note: you may be prompted to allow the app to access your phone’s camera. You
must give this permission otherwise the Sensor code cannot be scanned and you
will not be able to receive any glucose data.
3. Scan the sensor QR code or manually enter the 8-digit code which is printed under
the QR code on the packaging box to pair with the Sensor.


 To Next Page
 Loading...