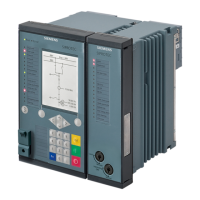
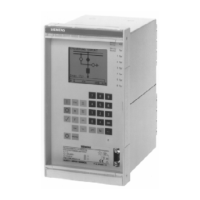
Operating instructions7SV512
V1
93C53000---G1176---C91
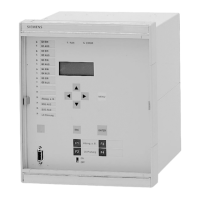
6.5 Operational control facilities
During operation oftheprotection relay itmay bede-
siredtointervene infunctions orannunciations man-
ually or from system conditions. The 7SV512 con-
tains facilities, e.g. to re-adjust the realtime clock, to
erase stored information and event counters, to
switch on or off partial functions under specific con-
ditions, or to change over preselected sets of func-
tion parameters.
The functions can be controlled from the operating
panel on the front ofthe device, via the operating in-
terface on the front as well as via binary inputs.
In order to control functions via binary inputs it is
necessary that the binary inputs are marshalled to
the corresponding switching functions duringinstal-
lation of the device and that they are connected ac-
cordingly (refer to Section 5.5.2 Marshalling of the
binary inputs).
The control facilities begin with address block 8000.
This address is reached
--- by block paging with the keys Ý forwards or ß
backwards up to address 8000, or
--- by direct selection with address code, using key
DA, address 8 0 0 0 and execute with key E.
8 0 0 0 D E V I C E
C O N T R O L
Beginning of the block ”Device control”
6.5.1 Adjusting and synchronizing the real time clock --- address block 81
The date and time can be adjusted at any time dur-
ing operation as long as the real time clock isopera-
tive. Setting is carried out in block 81 which is
reached by direct addressing DA 8 1 0 0 E or by
paging with Ý and ß. Input of the codeword is re-
quired to change the data.
Selection of the individual addresses is by further
scrolling using " # as shown below. Each modifica-
tion must be confirmed with the enter key E.
2 1 . 0 3 . 1 9 9 4
1 1 : 3 1 : 3 1
8 1 0 0 S E T T I N G
R E A L T I M E C L O C K
Beginning of the block ”Setting the real time clock”.
Continue with ".
At first, the actual date and time are displayed.
Continue with ".
8 1 0 2 D A T E
Enter the new date: 2 digits for day, 2 digits for month
and 4 digits for year (including century); use the format
as configured under address 7003 (Section 5.3.2), but
always use a dot as separator:
DD.MM.YYYY or MM.DD.YYYY
8 1 0 3 T I M E
Enter the new time: hours, minutes, seconds, each
with 2 digits, separated by a dot:
HH.MM.SS
8 1 0 4 D I F F . T I M E
Using the difference time setting, the clock is set for-
wards by the entered time, or backwards using the
+/--- key. The format is the same as with the time set-
ting above.
 Loading...