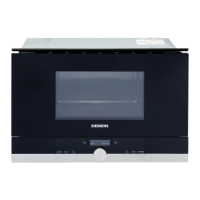
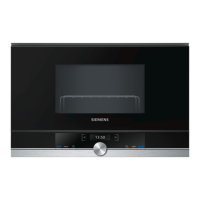
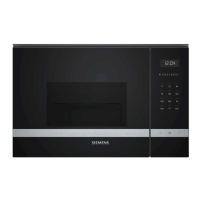
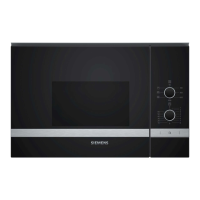
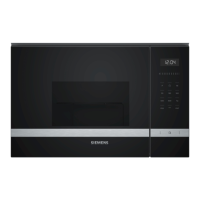
en Accessories
10
_Accessories
Acc essor i es
Your appliance is accompanied by a range of
accessories. Here, you can find an overview of the
accessories included and information on how to use
them correctly.
Accessories included
Your appliance is equipped with the following
accessories:
Only use original accessories provided by your
appliance manufacturer. They are specially adapted for
your appliance.
You can buy accessories from the after-sales service,
from specialist retailers or online.
KBefore using for the first
time
Bef or e us i ng f or t he f i r st time
Before you can use your new appliance, you must
make some settings. You must also clean the cooking
compartment and accessories.
Initial use
After connecting the appliance to the power or following
a power cut, the settings for initial use are shown in the
display. It may take a few seconds for the instruction to
appear.
Note: You can change these settings again at any time
in the basic settings.
Setting the language
1. Use the rotary selector to select the required
language.
2. Touch the ¿ arrow.
The next setting appears.
Setting the time
1. Turn the rotary selector to set the current time.
2. Touch the ¿ arrow.
Setting the date
1. Use the rotary selector to set the current day.
2. Touch the arrow ¿ to confirm.
3. Use the rotary selector to set the current month.
4. Touch the arrow ¿ to confirm.
5. Use the rotary selector to set the current year.
6. Touch the arrow ¿ to confirm.
A note appears in the display confirming that the
initial use has been completed.
Cleaning the cooking compartment and
accessories
Before using the appliance to prepare food for the first
time, you must clean the cooking compartment and
accessories.
Cleaning the cooking compartment
To remove the new-appliance smell, heat up the
cooking compartment when empty and with the oven
door closed.
Make sure that the cooking compartment does not
contain any leftover packaging, such as polystyrene
pellets. Before heating the appliance, wipe the smooth
surfaces in the cooking compartment with a soft, wet
cloth. Keep the kitchen ventilated while the appliance is
heating up.
Make the settings indicated. You can find out how to set
the grill and cooking time in the following chapter.
~ "Grilling" on page 14
Wire rack
Use as a surface for setting
down cookware or for grilling
and browning.
Glass tray
This can act as a splash guard
if you are grilling food directly
on the wire rack. To do this,
place the wire rack in the glass
tray.
The glass tray can also be used
as cookware for microwave
operation.
Settings
Grill Level 3
Cooking time 15minutes
Operating the appliance en
11
Switch off the appliance after the cooking time
indicated.
After the cooking compartment has cooled down, clean
the smooth surfaces with soapy water and a dish cloth.
Cleaning the accessories
Clean the accessories thoroughly using soapy water
and a dish cloth or soft brush.
1Operating the appliance
Oper at i ng t he appl i anc e
You have already learnt about the controls and how
they work. Now we will explain how to set your
appliance. You will learn about what happens when you
switch the appliance on and off, and how to select the
operating mode.
Switching the appliance on and off
Before you are able to set the appliance, you must
switch it on.
Note: The timer can also be set when the appliance is
switched off. Some displays and notes remain visible in
the display after the appliance has been switched off.
Switch off your device when it is not being used. If no
settings are applied for a long time, the appliance
switches itself off automatically.
Switching on the appliance
Press the On/Off button to switch on the appliance.
The On/Off symbol above the button is illuminated in
blue.
The Siemens logo appears in the display, followed by
the maximum microwave output.
The appliance is ready to use.
You can find out how to set the operating modes in the
individual chapters.
Switching off the appliance
Use the on/off button to switch off the appliance.
The lighting above the button goes out.
Any functions that may be running are cancelled.
The time and date appear in the display.
Note: You can set whether the time and date should be
displayed when the device is switched off in the basic
settings.
Operation
Some operating steps are the same for all operating
modes. In the following, you can learn about the basic
operating steps.
Starting the operation
You must press the start/stop button to start each
operation.
After the operation starts, your settings are shown in the
display. The progress line shows you how much time
has elapsed, for example.
Note: If the operation is paused due to the appliance
door being opened, the operation must be restarted
using the start/stop button after the door has been
closed.
Pauses the operation
Use the start/stop button to pause and restart the
operation.
Press the on/off button to delete all settings.
 Loading...