Installing/mounting
4.2 Mounting Instructions
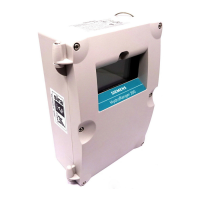
HydroRanger 200 HMI
36 Operating Instructions, 06/2018, A5E36281317-AC
5. Remove the motherboard from the enclosure by pulling the board straight out. Be careful
not to damage the electronics with static electricity.
6. Drill the required cable entry holes. Be sure to compensate for panel door dimensions
and make sure conduit holes do not interfere with the lower areas on the terminal block,
circuit board, or SmartLinx card.
7. Reinstall the motherboard and plastic cover; secure them with the mounting screws.
8. Reconnect the display cable.
9. Place the unit into the panel and insert hexagonal fasteners through bevel slots and pre-
drilled panel holes.
10. Fasten with wingnuts and hand tighten.
11. Add conduit or glands and wire as required.
Note
Use tape to hold the hexagonal heads in slots while attaching the wingnuts.
Check the device label on your instrument to verify the approval rating.
Use appropriate conduit seals to maintain applicable IP and NEMA ratings.
Ensure the terminal strips are terminated to the correct location during re-installation.
Failure to do so may result in damage to the device or the external equipment that is
attached.
Terminal strips can be removed to improve ease of wiring.
Separate cables and conduits may be required to conform to standard instrumentation
wiring practices or electrical codes.

 Loading...