Do you have a question about the Siemens iQ300 WM12N280HK and is the answer not in the manual?
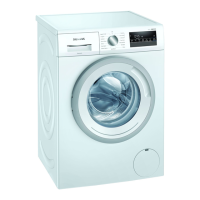
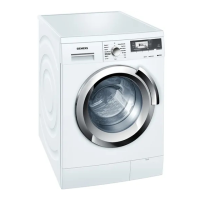
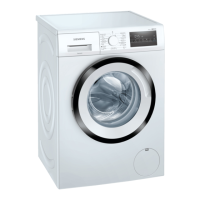
| Load Capacity | 8 kg |
|---|---|
| Energy Efficiency Class | A+++ |
| Spin Speed | 1200 rpm |
| Noise Level (Spin) | 74 dB |
| Dimensions (H x W x D) | 84.8 x 59.8 x 55 cm |
| Weight | 69 kg |
| Color | White |
| Programs | Wool |
Read manual carefully. Use only for machine-washable fabrics and hand-washable wool as per care label.
Appliance for use by children 8+ and persons with reduced abilities if supervised or instructed.
Packaging materials are recyclable. Sort components by type and dispose separately.
Use low temperature programmes, maximum load, and correct detergent dosage for efficiency.
Appliance automatically switches to energy-saving mode if idle for an extended period.
Read safety and material damage sections. Remove all drum items before starting.
Check for transit damage and completeness after unpacking.
Ensure safe use by reading safety and material damage sections.
Appliance is secured with transit bolts. Remove and keep them safely.
Connect the water inlet hose. Read safety and material damage sections.
Information to connect to water outlet. Secure hose against unintentional loosening.
Align correctly to reduce noise, vibration, and prevent movement.
Insert mains plug into socket. Check technical specifications for connection details.
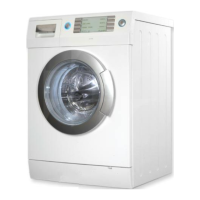
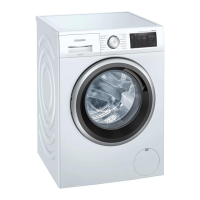
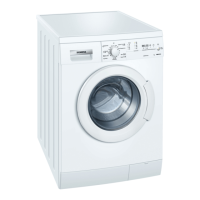
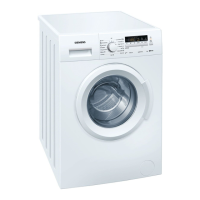
Find an overview of the parts of your appliance here.
Details compartments for main wash detergent, fabric softener, bleach, etc.
Use the control panel to configure functions and obtain operating status information.
Run the first wash cycle without laundry to remove residual water.
Read safety sections. Remove items from pockets to protect laundry and drum.
Sort by fabric type, colour, and care symbols for best results.
Table correlating soiling degree (Light, Normal, Heavy) with laundry examples.
Explains washing care symbols and their corresponding processes and programmes.
Manufacturer's instructions on packaging. Use only self-flowing liquid detergents.
Dosage depends on laundry amount, soiling, water hardness. Adjust to actual load.
Turn the programme selector to a programme.
Set the programme selector to the required programme.
A programme has been set. Adjust programme settings as needed.
Load laundry unfolded. Ensure no laundry is trapped in the door.
If ordered as an accessory, use the measuring aid for liquid detergent.
Add detergent and care product as required.
Press Start / Reload to start. Drum rotates for load detection.
Readjust the selected 'Ready in' time before the programme starts.
Start programme, pause after 10 mins, resume after soaking.
Press Start/Reload to pause. Add or remove laundry. Close door. Press Start/Reload.
Press Start/Reload to cancel. Open door; it may remain locked if hot.
Set Spin or Drain programme. Press Start / Reload to resume.
Open the door and remove the laundry.
Turn selector to Off. Turn off tap. Wipe gasket dry. Leave door/drawer open.
Press and hold the two 3 sec. buttons for approx. 3 seconds.
Appliance must be on. Press and hold the two 3 sec. buttons for approx. 3 seconds.
Overview of settings: End signal, Button signal, Drum cleaning reminder.
Set selector to position 1. Press Start/Reload, turn selector to 2. Change value with Finish in.
Wipe housing/panel with damp cloth. Remove residues. Keep door/drawer open to dry.
Clean drum if washing at low temps or after long non-use. Run Drum Clean or wash at 60°C.
Pull out drawer, remove insert, clean with water/brush, dry, reassemble.
Use only manufacturer-approved descaling agents. Unsuitable agents may damage appliance.
Clean pump for faults (blockages/rattling). Empty pump, remove flap, slide receptacle, take out hose.
Clean hose if dirty or solution not pumped out. Disconnect hose, loosen clamp, remove.
Clean filter on tap and on appliance. Disconnect hose from rear.
Release door if stuck. Drain pump must be empty. Pull emergency release downwards with tool.
Prepare for transport: turn off tap, empty hose, switch off, unplug.
Secure appliance for transport by inserting transit bolts to prevent damage.
Remove transit bolts before using the appliance again.
Dispose of appliance environmentally. Raw materials can be reused by recycling.
Find product and production numbers on the appliance's rating plate (door, flap, or rear).