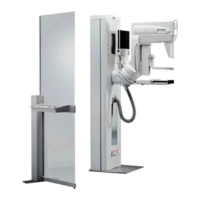
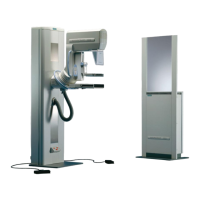
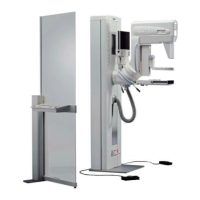
76 Image Quality
MAMMOMAT Novation DR SPB7-250.815.06.02.02 Siemens AG
12.05 CS SD 24
Page 76 of 116
Medical Solutions
12. Wait approx. 10 seconds for the image to be calculated; observe the status bar.
Once the Accepted images counter increases, the image has been successfully
accepted.
13. Double-click the next image in the Procedure: Calibration and proceed with step 10
until you have a total of 8 accepted images.
14. Select Examination -> End Examination from the syngo menu bar to exit the calibra-
tion.
Creation of a new pixel map (if necessary) 0
During the calibration function, you have the option of creating a new pixel map of the
detector. The pixel map indicates which pixels in the detector‘s array might not be reading
X-ray densities correctly and therefore should be ignored when the image is acquired.
This is similar to a bad spot map for a computer‘s hard disk.
A new pixel map should be created when an excessive amount of pixel dropout is occur-
ring repeatedly on images displayed in the image Preview window.
To create a new pixel map:
1. Start the service software from the syngo menu bar:
Options -> Service -> Local Service
NOTE
The Service Level 5 or higher is necessary to do the bad pixel map-
ping.
2. Select Acquisition System.
Fig. 55: Service Home Page
 Loading...