Installing/mounting
4.6 Installation instructions
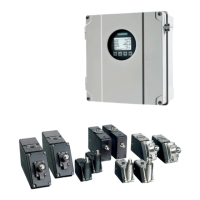
FSS200 clamp-on sensors
32 Installation Manual, 08/2017, A5E36255466-AC
1. Take either sensor and apply a continuous lengthwise 3 mm (1/8-inch) bead of coupling
compound across the center of the sensor emitting surface.
Note
Small diameter pipes
Use the tip of the finger to apply a light film
of coupling compound on sensor emitting
surfaces that are to be installed on small diameter pipes. Synchronous pipe noise is
greatly increased when too much coupling compound is used for small pipes. This may
result in a poor SNR (signal to noise ratio).
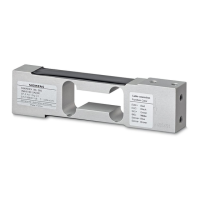
Figure 4-8 Sensor
2. Slide the sensor into the angledend of the mounting frame, with the sensor F-connector
facing out. Keep sensor from making contact with the pipe until it butts up against the
mounting frame stop. Push sensor down to mate with pipe.
3. Tighten the sensor clamping screws to hold the sensor firmly in place.
Repeat procedure
for the other sensor.
4. Proceed to Connecting (Page 43).
Additional installation instructions
For additional installation and sensor mounting instructions including direct mount, track
mount, magnetic mount, Hi Precision mount and temperature sensor mounting refer to the
Appendix - Additional installation instructions (Page 89).
Note
Temperature sensor mounting procedures are for FST030 only.
 Loading...
