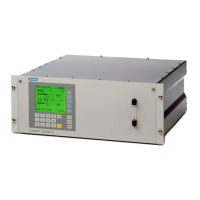
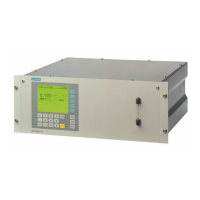
Description
3.3 Function
ULTRAMAT 23
30 Manual, 3/2016, A5E37100388-003
As the concentration of the measured component increases, so too does absorption in the
analyzer chamber. As a result of this preabsorption, the detectable radiation energy in the
detector decreases, and thus also the signal voltage. For the single-beam procedure of the
ULTRAMAT 23, the mathematical relationship between the concentration of the measured
component and the measured voltage can be approximately expressed as the following
exponential function:
U = U
0
⋅ e
-kc
with the following parameters:
● c Concentration
● k Unit-specific constant
● U
0
Basic signal with zero gas (sample gas without measured component)
● U Detector signal
Changes in the radiation power, contamination of the analyzer chamber, or aging of the
detector components have the same effect on both U
0
and U, and result in the following:
U’ = U’
0
⋅ e
-kc
Apart from being dependent on concentration c, the measured voltage thus changes
continuously as the IR source ages, or with persistent contamination.
Each AUTOCAL thus tracks the total characteristic according to the currently valid value,
thereby also compensating temperature and pressure influences.
The influences of contamination and aging, as mentioned above, will have a negligible
influence on the measurement as long as U’ remains within a certain tolerance range
monitored by the unit. The tolerance range between two or more AUTOCAL procedures can
be individually parameterized on the ULTRAMAT 23 and a warning output in the event of
deviations. A fault message is output when the value falls below the original factory setting of
U
0
< 50% U. In most cases, this is due to the analyzer chamber being contaminated.
The units can be set to automatically calibrate the zero point every 1 to 24 hours, using
ambient air or nitrogen. The calibration point for the IR-sensitive components is calculated
mathematically from the newly determined U’
0
and the device-specific parameters stored as
default values. It is recommendable to check the calibration point once a year using a
calibration gas. For details on TÜV measurements, see Table "Calibration intervals (TÜV
versions)" in section Infrared detector (Page 35).
If an electrochemical O
2
sensor is installed, it is recommendable to use air for the AUTOCAL.
In addition to calibration of the zero point of the IR-sensitive components, automatic
calibration of the calibration point of the electrochemical O
2
sensor is carried out
simultaneously. The characteristic of the O
2
sensor is sufficiently stable following the single-
point calibration such that the zero point of the electrochemical O
2
sensor need only be
checked once a year by connecting nitrogen.
 Loading...
