12
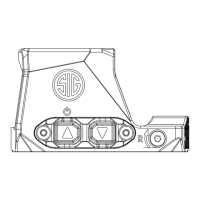
Test the mounting screws that came with the ROMEO-X, to ensure they thread
smoothly into the mounting surface holes. Set the ROMEO-X onto the mounting
surface, lining up any protruding recoil bosses in the mounting surface with the recoil
lug witness holes in the bottom of the optic. Thread the mounting screws through
the optic mounting screw holes and into the threaded holes in the mounting surface,
while putting forward pressure (toward the muzzle) on the optic housing. Torque the
mounting screws to the appropriate torque value shown below.
Mount Screw Torque Values:
M3x0.5-11.75mm (SIG P365 optic-ready pistol slide only): 24 inch-pounds (2.71 N m)
M4x0.7-9.75mm into a steel pistol slide: 28 inch-pounds (3.16 N m)
M4x0.7-9.75mm into aluminum mount or adapter plate: See mount/plate
manufacturer's specication

 Loading...