13
9. Place the slave unit in the desired location. Do not place the slave unit within the picture area.
10. After confirming that all flash units are fully charged, press the shutter button to take the picture.
◆ When the EF-610 DG SUPER NA-iTTL is fully charged, the AF Auxiliary Light will blink.
◆
The flash will not fire if the EF-610 DG SUPER is attached to the camera body whilst in Slave Mode setting.
◆ If you are using a Nikon brand flash unit with (3-D) Multi-Sensor BL function on your camera, and the
EF-610 DG SUPER NA-iTTL flash unit as a slave unit, please do not use (3-D) Multi-Sensor BL function,
as the monitor pre-flash may cause the slave to fire prematurely.
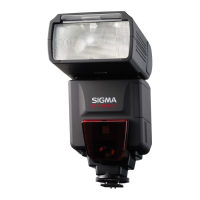
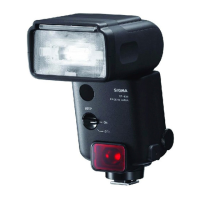
DESIGNATED SLAVE FLASH
If using two or more EF-610 DG Super flash units, you can designate which flash will fire together by using the
channel settings. In this mode, one flash unit will be used as the Slave Controller and the others for firing as Slaves.
Setting the Slave Flash unit(s) for firing
1. Attach the slave unit to the camera body.
2. Set the camera’s exposure mode to S or M.
3. Set the shutter speed to 1/30 or slower. (The slave controller unit
(Master Flash) will transmit the designated signal before the others
fire. Thus if you use a shutter speed faster than 1/30, the firing flash
units will not be synchronized.)
4. Switch “ON” the flash unit and press the camera’s shutter button halfway. (The aperture value and film
speed are now automatically transmitted to the slave flash unit.)
5. Remove the slave flash unit from the camera.
6. Press the MODE button and select the
/ . (Slave Mode)
7. Press the SEL button to make the channel display indicator blink.
8. Press the + or – button to set the channel number. (C1 or C2)
9. Press the SEL button to make the output amount display indicator of the flash blink.
10. Press the + or – button to set the flash output amount.
◆ Set the flash power by setting the distance indicator on the LCD panel to coincide as closely as possible
with the actual distance from the slave flash to the subject. If the actual distance is out of range, you
need to change the aperture value.
11. Press the SEL button several times to make the display stop blinking.
12. Place the slave unit in the desired location. Do not place the slave unit within the picture area.
Setting for Slave Controller unit
13. Attach the Slave Controller flash unit to the camera body.
14. Press the MODE button and select the
/ (Slave Mode).
15. Press the SEL button to make the channel display indicator blink.
16. Press the + or – button to set the same channel number as that set
on the firing flash unit.
17. Press the SEL button to make the flash output amount display
indicator blink.
18. Press the + button so the
mark is displayed and blinking.
19. Press the SEL button twice to make the display stop blinking.
20. After confirming that all flash units are fully charged, press the shutter button to take the picture.
◆ When the firing flash unit of EF-610 DG Super is fully charged, the AF Auxiliary Light will blink.
◆ As the slave control using is in mode, the aperture on the slave control unit can not be changed.
◆ The Slave Controller unit functions only to control the slave unit.
 Loading...