6 007-3725-002
Silicon Graphics
®
O2
™
and Silicon Graphics
®
Octane
™
R12000 CPU Upgrade Information
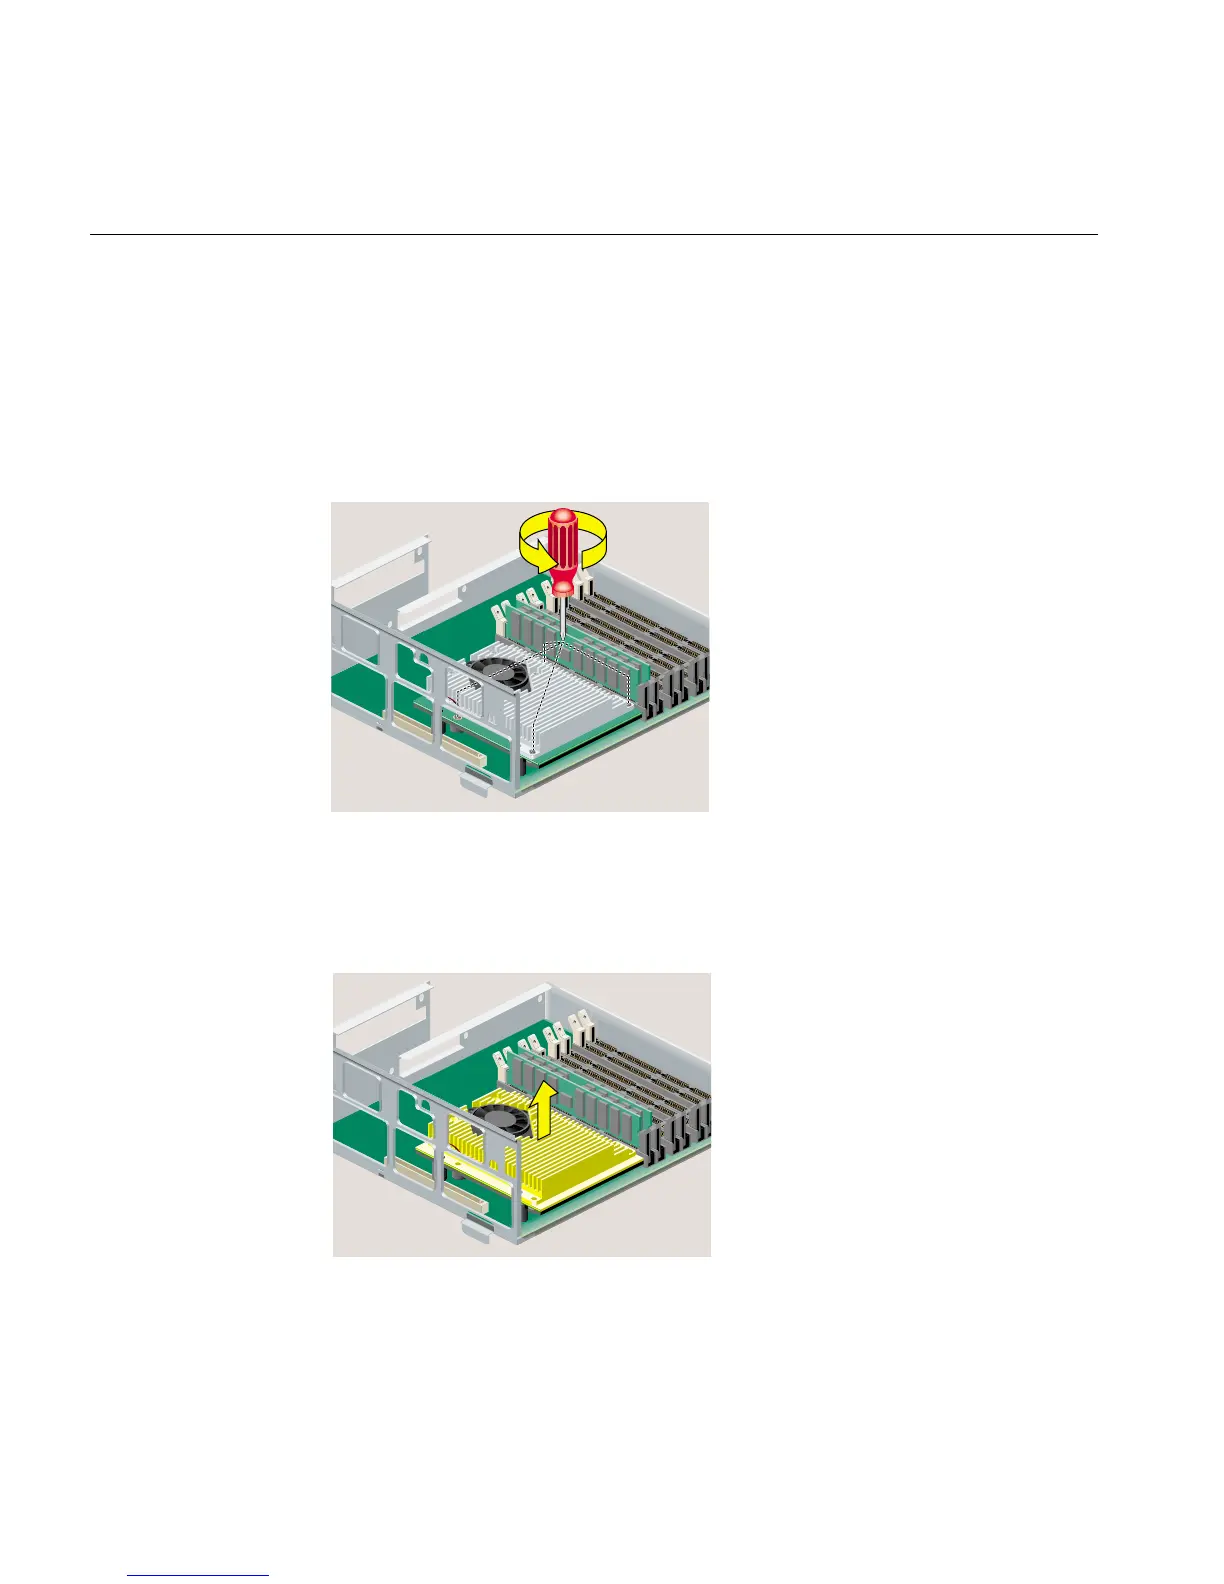
6. Locate the R10000 or R12000 CPU module. It is protected by a metal heat sink
(Figure 5). Do not remove the heat sink.
7. Use a Phillips screwdriver to remove four screws from the locations shown in
Figure 5.
Caution: Do not remove the four hex screws. Do not remove the two screws that
secure the fan.
Figure 5 Removing the Screws From the R10000 or R12000 CPU Module
8. Grasp the CPU module on both sides and gently rock it out (Figure 6). Do not
exaggerate the rocking motion, or you will bend the pins. Set the CPU module
aside.
Figure 6 Removing the R10000 or R12000 CPU Module