Do you have a question about the Silver Cross Spirit and is the answer not in the manual?
Attach one rear wheel to each side of the chassis by inserting the axle into the connection hole.
Ensure the wheel is fitted correctly when it securely 'clicks' into position.
Attach one front wheel to each side of the chassis.
Press handle button, rotate handle out and upwards to unfold the chassis until it clicks.
Press handle button to rotate the handle into one of three desired positions.
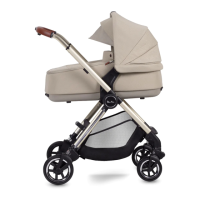
Lift the top and back sections of the seat upwards until it clicks into position.
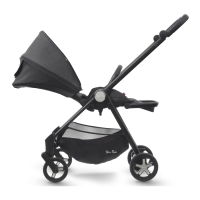
Align seat with chassis connection points and lower to connect securely.
Recline the seat unit further until it clicks into its most upright position.
Press down on the foot pedal to apply the brake; rotate pedal upwards to release.
Push buttons on both sides to lock the footrest into positions 1, 2, or 3.
Lift handle and move backrest in either direction to lock desired position.
Flick swivel locks into chassis to lock front wheels in forward position.
Flick swivel locks outwards to allow front wheels to swivel freely.
Press buckle centre to release; insert clips into sides and listen for 'click' to fasten.
Fit head hugger with harness in position 3; attach shoulder pads and crotch pad.
Press bumper bar ends into chassis connection points until they click securely.
Press release button to swivel; press both buttons to detach bumper bar.
Align hood clips, push down until click, attach top to Velcro and secure press studs.
Lift window cover to open; pull down to close. Sun visor pulls out from underneath hood.
Unzip centre section of hood and pull forward to fully open for added coverage.
Unlock backrest, rotate seat unit forward until it clicks to release it from chassis.
Lift seat, rotate 180 degrees, and re-align to connect facing forward.
Lift recline lever, rotate backrest to fold seat. Press and hold handle button, rotate to fold.
Push down on the handle to continue folding the chassis into its final folded position.
Press plastic button above swivel lock, then slide front wheel out.
Press button under brake bar, then slide rear wheels out.
Keep instructions for future reference and read before use for child safety.
Essential warnings: never leave child unattended, always use restraint system, ensure locks engaged.
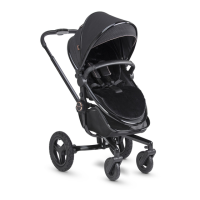
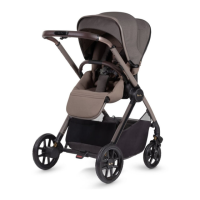
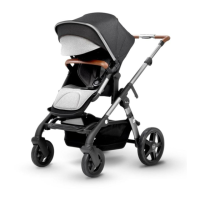
| Maximum Child Weight | 22kg |
|---|---|
| Harness Type | 5-point |
| Age Suitability | Birth to 4 years |
| Suspension | Yes |
| Compatible Car Seats | Silver Cross car seats |
| Recline Positions | Multi-position |
| Storage Basket | Large shopping basket |