26 GB
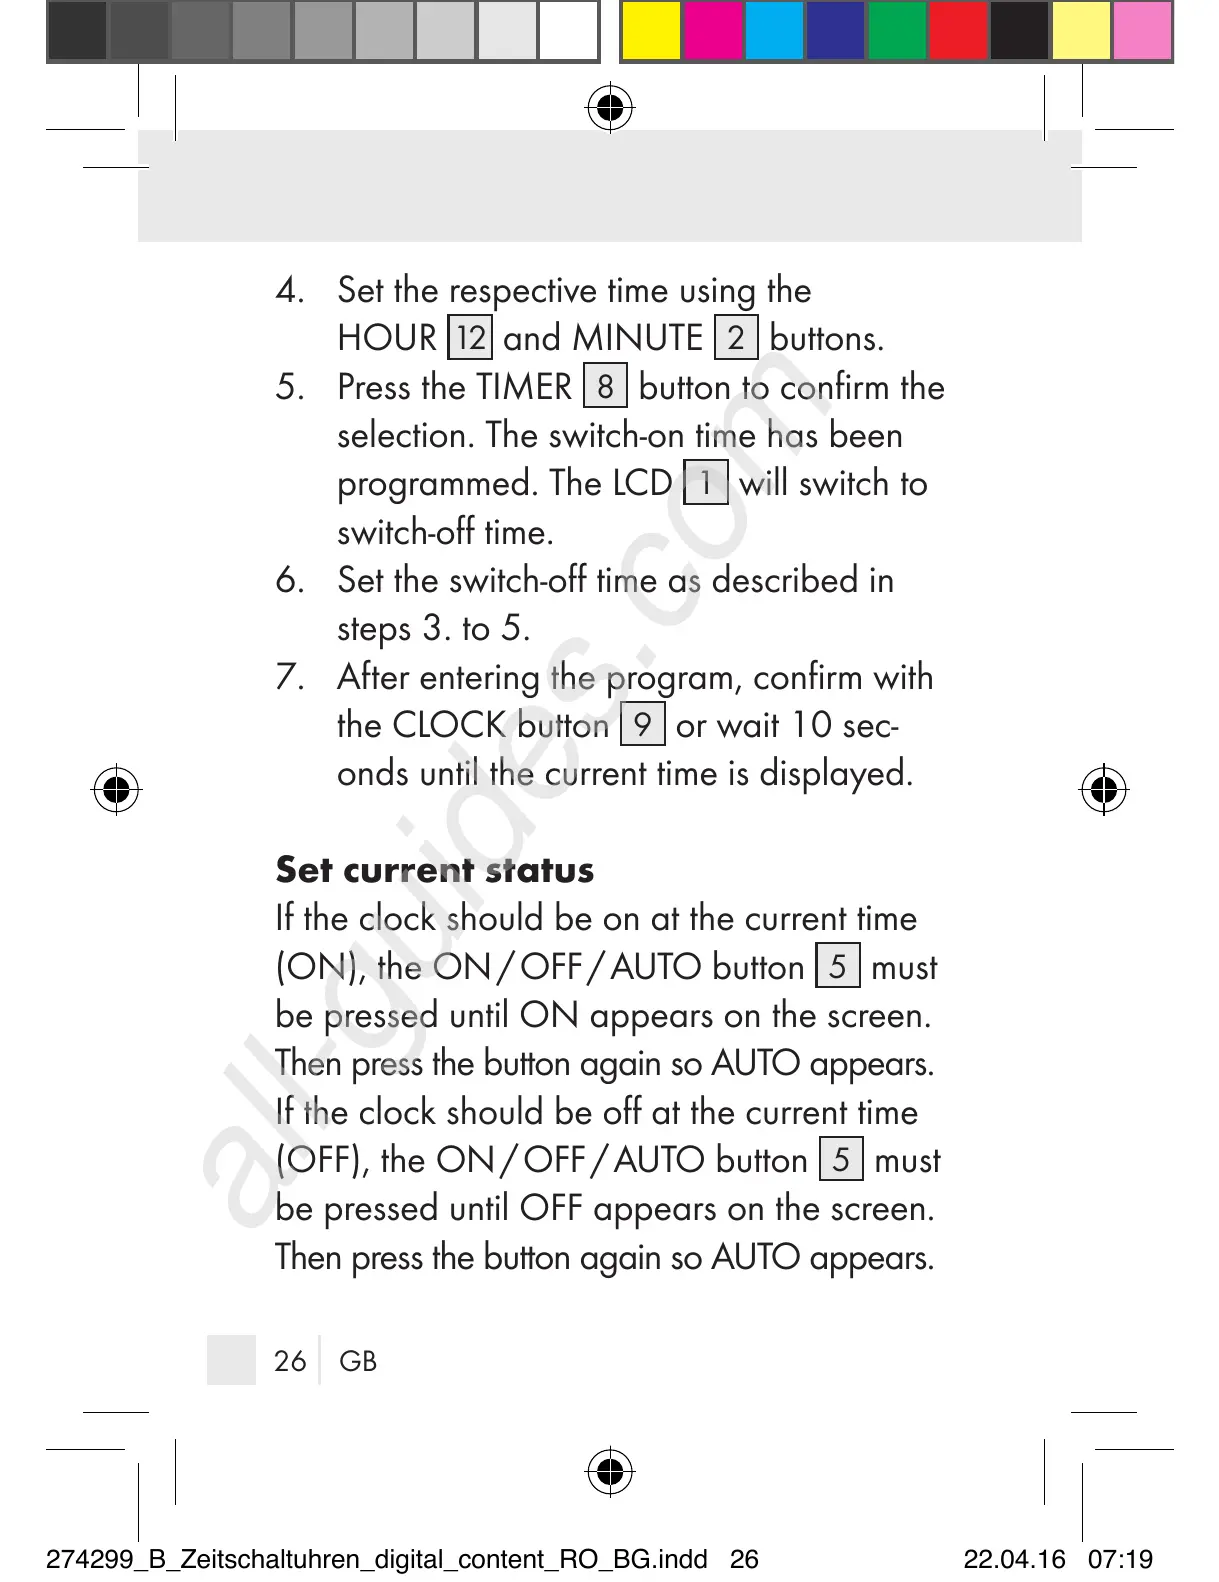
4. Set the respective time using the
HOUR
12
and MINUTE
2
buttons.
5. Press the TIMER
8
button to confirm the
selection. The switch-on time has been
programmed. The LCD
1
will switch to
switch-off time.
6. Set the switch-off time as described in
steps 3. to 5.
7. After entering the program, confirm with
the CLOCK button
9
or wait 10 sec-
onds until the current time is displayed.
Set current status
If the clock should be on at the current time
(ON), the ON / OFF / AUTO button
5
must
be pressed until ON appears on the screen.
Then press the button again so AUTO appears.
If the clock should be off at the current time
(OFF), the ON / OFF / AUTO button
5
must
be pressed until OFF appears on the screen.
Then press the button again so AUTO appears.
274299_B_Zeitschaltuhren_digital_content_RO_BG.indd 26 22.04.16 07:19