GB
│
IE
│
NI
│
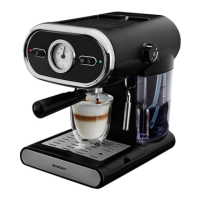
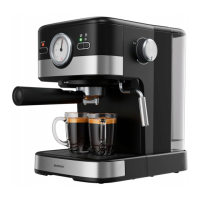
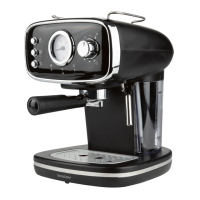
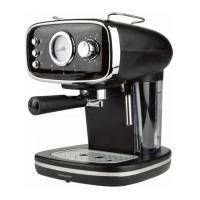
9 ■SEMM 1470 A1
Before first use
1) Clean the sieve holder ,, the measuring spoon ", the espresso sieves /
, the drip grille , the drip tray , the tray for small cups the milk
tank , the milk tank lid , the water tank lid 0 and the water tank 6
as described in the section “Cleaning and care”.
2) Place the appliance on a level and heat-resistant surface. Ensure that the
mains outlet is in easy reach.
3) Insert the drip tray and place the drip grille on it.
4) Insert the sieve holder , together with the espresso sieve (/or ) into
the appliance by inserting it at the “
” marking on the appliance and
then turning it anticlockwise until the handle of the sieve holder , is
pointing to the “
” symbol.
5) Insert the plug into a mains power socket.
NOTE
Remove the orange transport restraint from the bottom of the
water tank 6!
6) Before first use, proceed as follows to clean the internal pipes:
– fill the water tank 6 with water (approx. 200 ml), and also the milk
tank (approx. 100 ml).
– Insert the water tank 6 and the milk tank in the appliance.
– Place a large cup on the drip grille .
– Set the milk nozzle so that the milk nozzle is pointing into the cup.
– Switch the appliance on using the on/off switch % (position I). All the
control lamps begin to flash. As soon as all the lamps light up
permanently the appliance has heated up.
– Press the “Large” cappuccino button . Wait until water stops
coming out of the espresso outlet - and all control lamps light up
permanently. Repeat this process 2x.
– Switch the appliance off using the on/off switch % (position O).
– Empty the remaining water from the water tank 6 and the milk tank .
NOTE
► You should also clean the appliance as described here after long periods
out of use.
The appliance is now ready for use.

 Loading...