7
GB
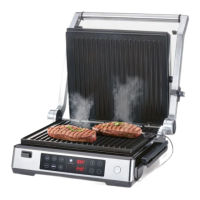
6.1 Heating up
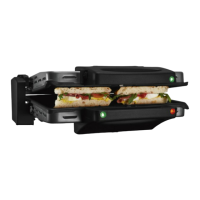
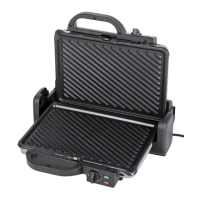
1. Open the lid|2 of the contact grill up-
wards. Be careful not to raise the lid
any further after it is vertical.
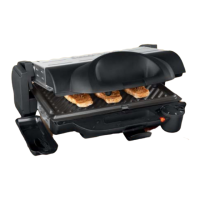
2. Grease the grill plates|3 with a little
vegetable oil or vegetable fat (e.g. co-
conut or palm oil) if appropriate.
3. Figure A: Place a grease drip tray|16
under the oil/fat runoff of the bottom
grill plate|6.
4. Close the lid|2 downwards in order to
close the contact grill.
5. Before plugging in the device, check
that both thermostat controls|11 +|13
are set to the marking "•".
6. Insert the mains plug|4 into an earthed
wall socket corresponding to the specifi-
cations of the rating plate.
7. Turn the thermostat controls|11 +|13 to
the desired temperature setting 1, 2, 3, 4
or 5.
- Setting 1: thaw
- Setting 2: warm
- Settings 3 and 4: moderate grill set-
tings
- Setting 5: highest grill setting
The device then heats up the grill plates|
3
,
and the control lights|
12
and|
14
are illu-
minated.
8. The control lights|
12
and|
14
go out when
the corresponding grill plate|
3
has
reached the selected temperature setting.
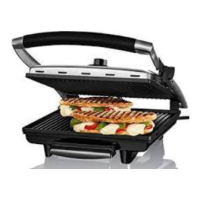
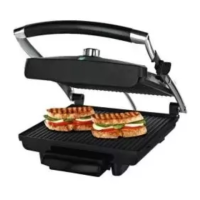
6.2 Preparation
Temperature setting
On the lid|2 there is an overview with the
recommended temperature settings for vari-
ous foods. The following table contains the
meanings of the food symbols (with the cor-
responding temperature settings).
Preparation time
The required preparation time depends on
the quantity, the thickness and the type of
food, and the desired level of cooking.
Sym-
bol
Meaning
Tempera-
ture setting
Thaw 1
Warm 2
Vegetables 3
Prawns 3
Fish 4
Hamburger,
sandwich
5
Meat
(e.g. steaks,
spare ribs)
5
Sausages 5
Poultry
(e.g. chicken,
turkey)
5
__283008_Kontakgrill_B6.book Seite 7 Donnerstag, 29. Juni 2017 3:42 15
 Loading...