Do you have a question about the Singer 5910 and is the answer not in the manual?
Crucial warnings regarding electric shock and immediate hazards when operating the machine.
Essential precautions to prevent burns, fire, electric shock, or injury to persons during use.
A directive to keep the safety instructions for future reference and safe operation.
Specific information related to electrical standards and plug wiring for European regions.
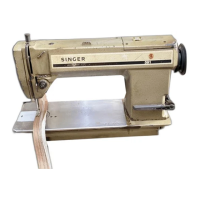
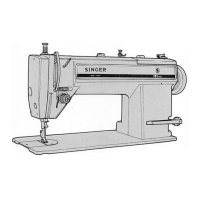
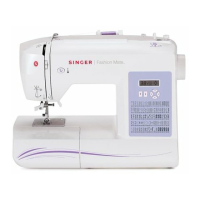
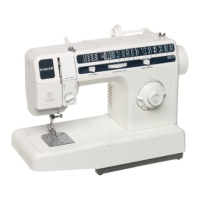
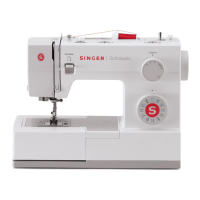
Identification and description of the main physical components of the sewing machine.
Steps for properly connecting the sewing machine to a power source and foot controller.
Instructions on how to start, operate, and stop the sewing machine using the power switch and speed controller.
Guidance on selecting the correct needle type and the procedure for changing it for optimal sewing results.
Explanation of how to convert the machine to free arm sewing for accessing difficult areas.
Step-by-step instructions on how to detach and attach different presser feet to the machine.
Detailed procedure for replacing presser feet that have a built-in shank.
Instructions on how to attach the feed cover, used for specific sewing tasks like darning.
A clear guide on how to wind thread onto a bobbin correctly and efficiently.
Comprehensive steps for properly threading the sewing machine's upper thread path.
A detailed guide on how to insert and thread the bobbin case correctly for sewing.
How to choose and set specific built-in stitch patterns using the pattern selector dial.
Guidance on attaching the optional straight stitch needle plate and presser foot for precise sewing.
How to adjust the stitch length lever to control stitch density for different fabric types.
Methods for adjusting upper and lower thread tension to achieve balanced stitches.
Techniques and tips for sewing straight seams accurately and efficiently on various fabrics.
Instructions on using the reverse lever to reinforce stitches at the beginning or end of seams.
Techniques for smoothly turning square corners using needle plate guidelines.
Procedures for attaching the zipper foot and sewing zippers accurately along their teeth.
How to adjust the stitch width lever to control the width of decorative and utility stitches.
Adjusting the stitch balance ring to correct the appearance of special stitch patterns.
Using the zig-zag stitch for seams, appliqué, monogramming, and decorative finishes.
Instructions for using the blindstitch for hems, seams, and attaching lace or elastic.
Applications of the multi-stitch zig-zag for mending, overcasting, joining, and reinforcing fabrics.
Decorative stitches for seams, pleats, pockets, and border designs.
Finishing seams, hems, and facings on stretch fabrics to prevent fraying.
Heavy-duty stretch stitch for topstitching and reinforcing seams on stretch fabrics.
Open, lacy stitches for joining fabrics, embroidery, patchwork, or strengthening seams.
Using the honeycomb stitch for smocking, mending, and sewing stretch fabrics.
Stitches for finishing seams, hems, and appliquéing with a decorative edge.
Recommended stitch selection, width, length, foot, and needle plate for buttonhole creation.
The first step in creating a four-step buttonhole, involving positioning the fabric and needle.
The second step in buttonholing, continuing the stitching process for the buttonhole.
The third step for four-step buttonholing, completing the buttonhole sides.
The final step in buttonholing, including removing the garment and cutting the opening.
How to adjust the stitch balance ring to ensure even buttonhole sides.
Instructions for securely sewing flat buttons onto fabric using the zig-zag stitch.
Techniques for mending worn or torn areas of fabric using stitching.
Creating a smooth, satin-like finish with closely spaced zig-zag stitches for monograms and appliques.
Sewing without a presser foot to control fabric with an embroidery hoop for free motion work.
Creating simple monograms using straight-line stitches on fabric.
Step-by-step guide on how to safely remove and reinstall the bobbin case for maintenance.
Procedures to follow before storing the sewing machine to ensure its longevity and safety.
Instructions for safely replacing the sewing machine's light bulb.
Methods for cleaning the sewing machine using a lint brush and soft cloth to maintain performance.
| Brand | Singer |
|---|---|
| Model | 5910 |
| Category | Sewing Machine |
| Language | English |