2 3
IMPORTANT NOTES TO BE READ
PRIOR TO FIRST USE
1. When operating device for the first time, run for 10 seconds and then pause for
5 seconds. It can then be used again regularly.
2. Lift Presser Foot Lifter and pull out test material. Cut the thread close to the test material.
SEWING
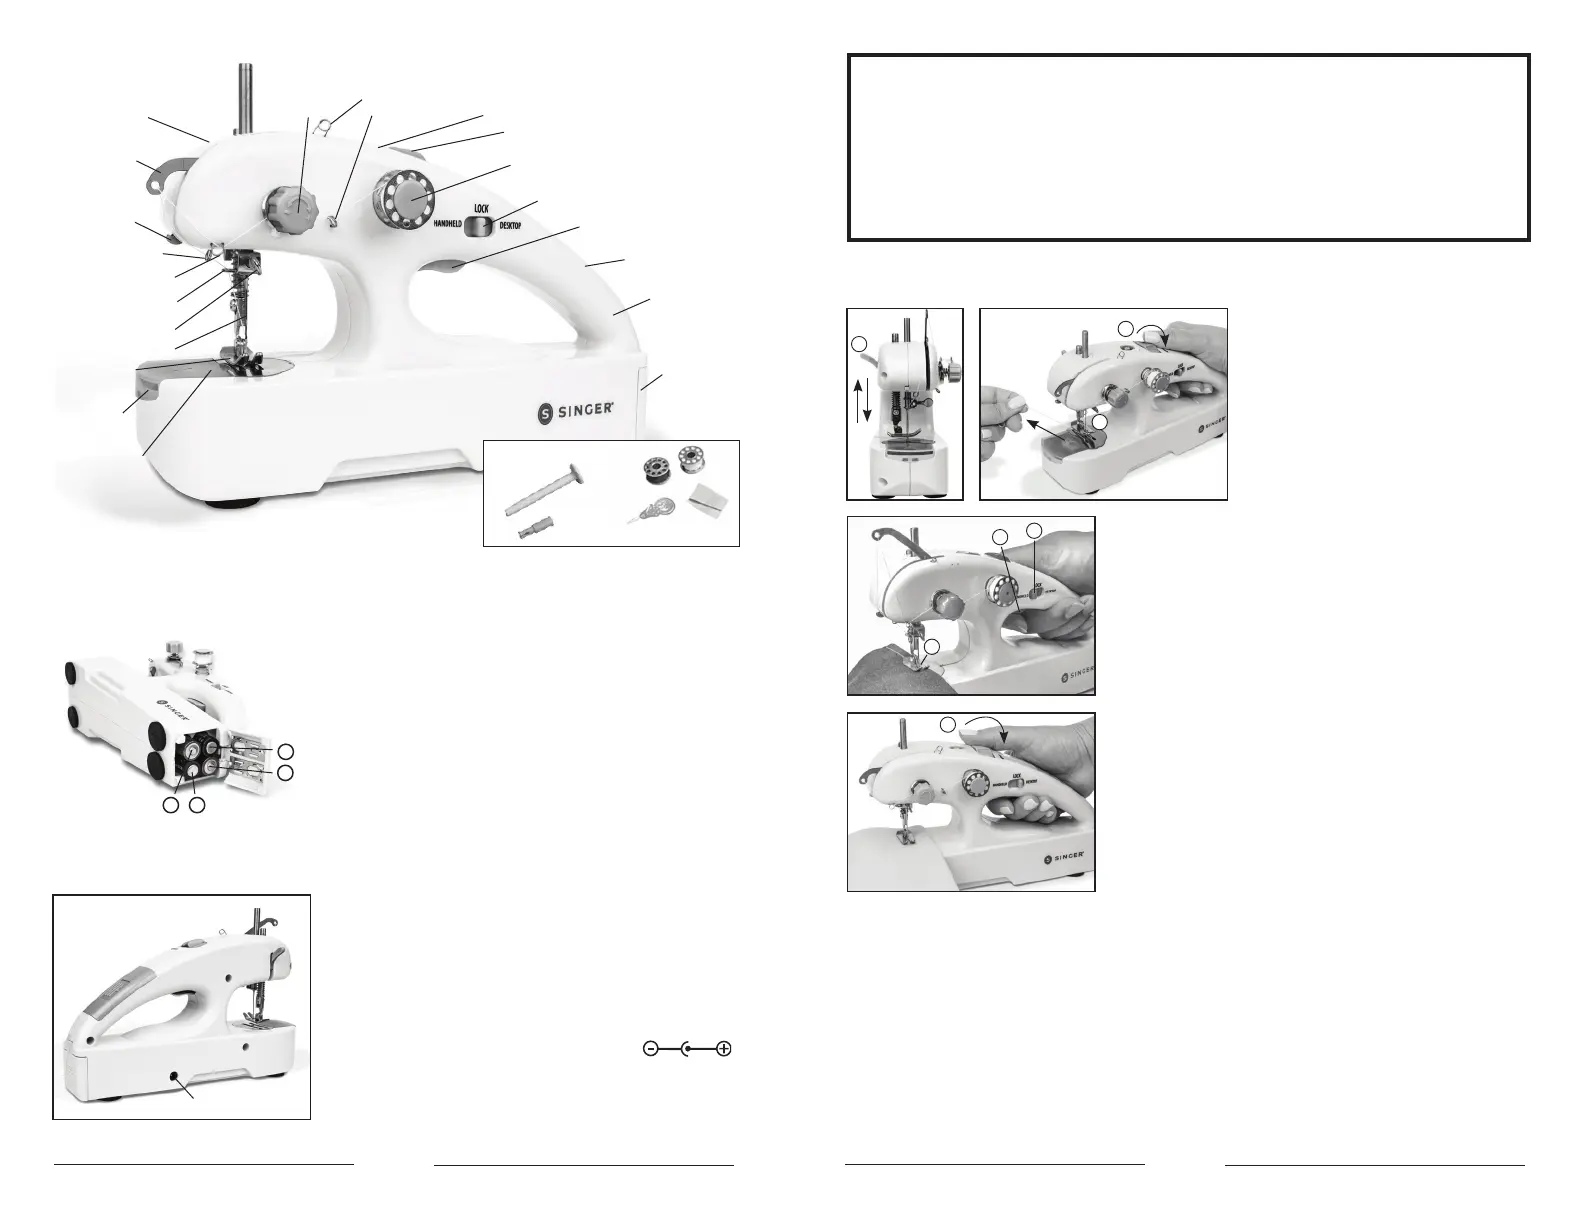
1. Lift up the Presser Foot Lifter (A)
and raise needle by turning the
Handwheel (B) toward the front
of the machine.
2. Make sure both thread ends are
pulled 6 inches back behind the
Needle (C).
3. Put the fabric under the Presser
Foot (D) and lower the needle.
Then lower the Presser Foot
Lifter (A).
4. Unlock the machine by moving Mode Selector Switch
(E) to HANDHELD mode or DESKTOP mode. Press ON/
OFF Button (F) to start sewing.
a. In HANDHELD mode, it will stop sewing when the
ON/OFF Button (F) released.
b. In DESKTOP mode, it will keep sewing. When
complete, press and release the ON/OFF Button (F)
again to stop sewing.
5. VERY IMPORTANT: WHEN FINISHED, PULL UPPER
THREAD LOOSE BY HAND TO PREVENT THE NEEDLE
FROM BENDING WHEN REMOVING THE FABRIC.
6. Raise the needle by turning Handwheel (B) and lift
Presser Foot Lifter (A) and pull the fabric toward the
back. Then cut both threads about 4 inches from the
edge of the fabric.
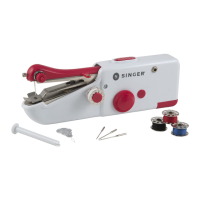
TO REPLACE BATTERIES (4AA not included)
Caution: Make sure device is in the LOCK/Off position prior to battery replacement.
Insert 4AA batteries into the battery compartment on
the back of the machine. Put batteries in, following the
correct polarities marked on the machine or following
the diagram. Replace all 4AA batteries as a
simultaneous set as shown.
Do not mix old and new batteries. Do not mix alkaline,
standard (carbon - zinc) or rechargeable (ni-cad,
ni-mh, etc.) batteries.
TO USE AC/DC ADAPTER (not included)
Make sure the device is in the LOCK/OFF position.
Connect the AC/DC adapter plug into the machine
plug socket then into an AC/DC receptacle.
Adapter must be 6V 1000mA. Adapter must use plug
with a 5 mm diameter. Plugging an adapter into a
portable device that has different ratings could damage
the device and adapter. Be sure to set the adapter’s tip
polarity to conform to the diagram shown:
Caution: Remove batteries from machine when sewing
with adapter to prevent possibility of batteries over
charging and exploding or leaking.
+
+
–
–
Adapter Plug Socket
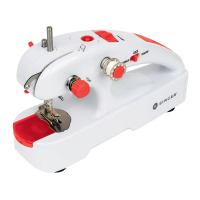
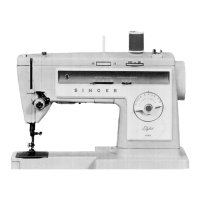
A
C
B
Thread
Tension Dial
Presser
Foot Lifter
Thread Take-up Lever
Thread Guide 2
Thread Guide 1
Thread Guide 5
Bobbin Winding
Hole
Handwheel
Upper Bobbin
ON/OFF Button
Mode Selector Switch
Handle
Handel Storage
Recess
Attached
Rear Battery
Cover
Thread Guide 3
Thread Cutter
Thread Guide 4
Needle Clamp Screw
Presser Foot
Bobbin Case
Cover
Bobbin Case
&
Bottom Bobbin
Needle
Large Spool Pin
for Sewing/
Winding
Bobbins
Threader
Needle
Bobbin Pin for
Rewinding
A. Presser Foot Lifter
B. Handwheel
C. Needle
D. Presser Foot
E. Mode Selector Switch
F. ON/OFF Button
B
E
F
D