pressing the Stop button, then use the arrows to scroll left and select Fixed
Track with the Skydio Button. Once in Fixed Track, you may re-enter Hover by
pressing the Stop button.
○ The Fixed Track skill is ideal for maintaining a fixed recording angle.
When entering the skill, the dot will always start at the top of the ring
.
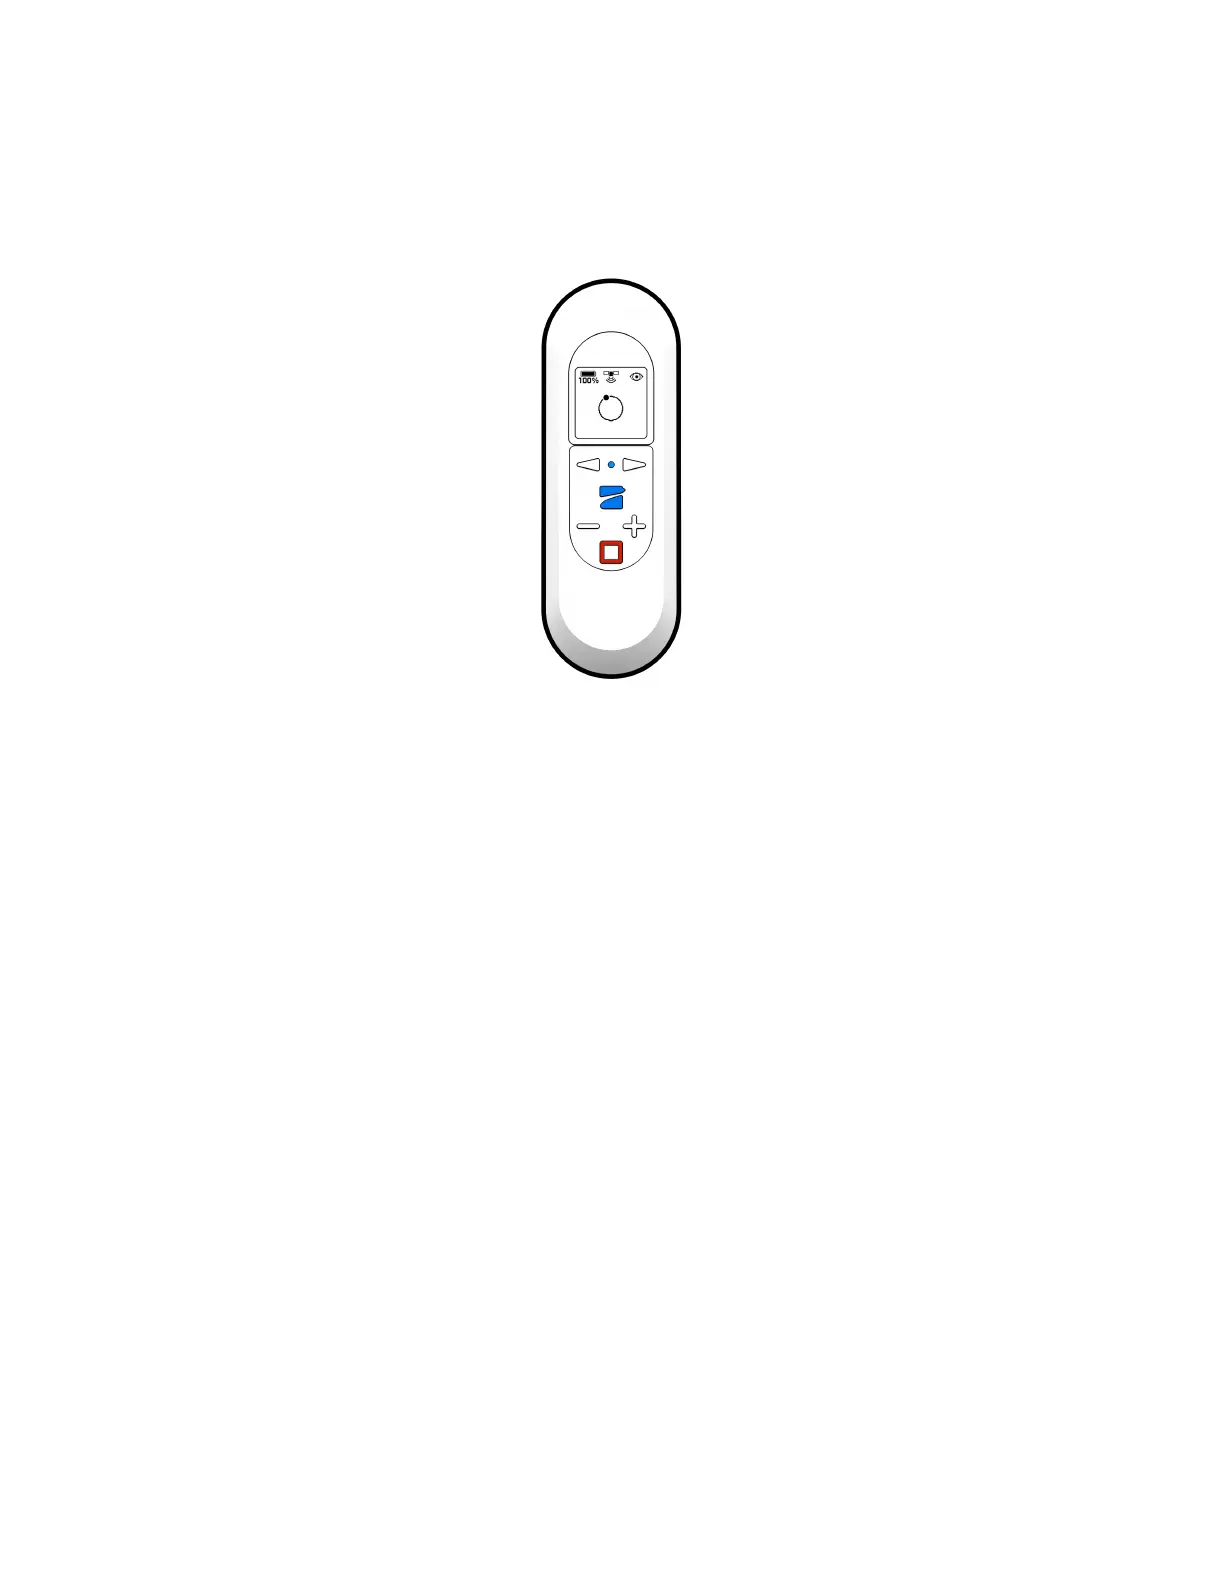
5. Wand Controls
The Wand feature provides simple one-handed “drag and drop” controls, allowing you to
quickly and easily change the angle and height Skydio 2 will follow from. This feature is
only enabled in the Motion Track and Fixed Track skills when a subject is being tracked.
○ Point the Beacon at Skydio 2.
○ Press and hold the blue Skydio button.
○ While holding the Skydio button, slowly point the Beacon in the direction you
want the drone to move. You can move the drone left, right, up, and down.
○ Release the Skydio button to set the drone in the new position.
○ After moving the drone to a new position, it will lock in the new filming angle.
6. Instant Dronie
While using either the Motion Track or Fixed Track skills, you may double-tap the
Skydio button to instantly fire off a Dronie one-shot. While the Dronie is in progress,
tapping the Stop button will cancel the Dronie and have Skydio 2 return to you.
Pressing stop while the vehicle is returning will place the Skydo 2 in Hover at its current
location.
 Loading...