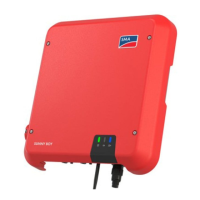
13 Recommissioning the Inverter
Requirements:
☐ The inverter must be correctly mounted.
☐ The circuit breaker must be correctly rated.
☐ All cables must be correctly connected.
Procedure:
1. Attach the connection cap to the inverter using
the three screws and a Torx screwdriver (TX20)
(torque: 3.5Nm).
2. Tighten the swivel nuts of the AC cable gland and network connection hand-tight.
3. Set the DC load-break switch of the inverter to position 1.
4. Switch on the circuit breaker.
☑ The green LED flashes slowly on and off or glows permanently. Feed-in operation begins.
✖ Green LED is flashing?
The DC input voltage is still too low.
• Once the DC input voltage is sufficiently high, feed-in operation begins.
✖ The red LED is glowing?
There is probably an error.
• Call up the inverter user interface (see Section8.1.1 "Establishing a direct
connection via WLAN", page43).
• Call up the menu Events and identify the error via the event ID.
• Rectify the error (see Section12.2 "Event Messages", page63).
5. If required, configure the inverter via the user interface.
13 Recommissioning the Inverter
SMA Solar Technology AG
Operating Manual 83SB15-25-1VL-40-BE-en-11
 Loading...