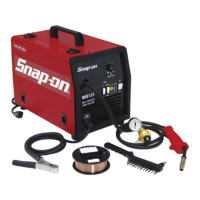
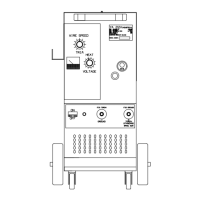
Advanced Settings - MIG225Ai
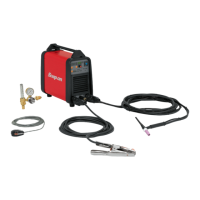
Welding Gas Set Up
1. Open each gas bottle.
2. Toggle the Torch Selector Switch to the torch you are using
3. Press and Hold the Torch Trigger to open the gas solenoid
– You may release the wire feeder within the machine to stop the wire from feeding
4. Turn the Regulator Flow Knob to your desired amount while the gas is flowing
– For Steel and Brazing set the gas flow to 30 CFH
– For Aluminum set the gas flow to 40 CFH
5. After a few seconds the gas flow will shut off and the wire speed increases
– This allows you to quickly feed wire without wasting gas.
Short and Pulse Arc Welding
* Short arc welding is the default setting for steel and aluminum
* Pulse arc welding is recommended for thin metal and Aluminum
1. Press and Hold to enter the Main Menu (Process Parameters)
2. Turn to highlight Process and Click to select
3. Turn to highlight your desired Mode (Short or Pulse) and Click to select
4. Press and Hold to Exit to the Home Screen
5. Your Selected Process should be displayed in the top right corner
6. Verify the Metal Thickness when switching modes
Arc Length Adjustment
* The arc length is preset when you select your metal thickness
1. Click while on the Home Screen
2. The Arc Length adjustment menu will appear
3. Turn to highlight your desired Arc Adjustment
– Positive voltage will increase heat
– Negative voltage will decrease heat
4. Click to confirm change and exit to the Home Screen
Resetting to Factory Preset
1. Press and Hold until you see the Main Menu (Process Parameters)
2. Turn to scroll down to Factory and Click to select
3. Turn to highlight Reset and Click to confirm selection
4. Click to OK then Press and Hold to exit to the Home Screen
Please read the Owner’s Manual for more detailed instructions and advanced welding options.
 Loading...