1.3 CLEANING PROCEDURE
1. Wipe down the exterior of the freezer with a soft cloth and spray type polish.
2. If frost builds up in the chamber, a bucket and ice-scraper can be used to remove the ice.
If excessive ice builds up, the unit can be defrosted (see below).
1.4 DEFROST PROCEDURE
1. Remove any product in the freezer and store it in a back-up freezer or elsewhere.
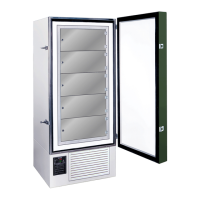
2. Unplug the freezer, and open the freezer front door / lid.
For upright units, use a cloth to protect the control from dripping water.
3. Air out the freezer for at least 12 hours, allowing the unit to reach room temperature.
4. Take a rag and wipe up all the excess water in the unit (melted frost).
5. Plug the unit in and set your temperature to the desired setpoint
6. Once the desired temperature is reached, add product back into the unit.
NOTE: It is recommended to slowly re-add your product into the freezer to prevent
an extreme load on the compressors, which could shorten freezer life expectancy.
1.5 AUTOMATIC STARTING SYSTEM
The automatic starting system is provided on all freezer systems in case of power failure.
If there is an electrical power interruption to the unit and power is not restored
immediately, the unit will automatically start up whenever power is returned.
ATTENTION: Always leave the refrigeration switch in ON position, as this will
automatically activate the automatic starting system.
After power restoration, the single stage will start to operate and begin to pull down to
setpoint temperature.
CAUTION! COVER SCREEN ON BACK OF FREEZER TO BE REMOVED BY
AUTHORIZED PERSONNEL ONLY. FOR CONNECTIONS TO THE
EXTERNAL ALARM COVER SCREEN MUST BE REPLACED BEFORE
PUTTING FREEZER INTO SERVICE. FAILURE TO REINSTALL COVER
COULD RESULT IN HAZARD.
 Loading...