4. Installation
4. Installation
16
17
4.4.4 Battery Installation Steps
It is recommended that the space between battery packs is more than
300mm.
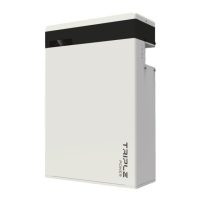
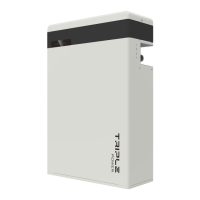
Steps (for T-BAT H 5.8 or HV11550):
Make sure the wall is strong enough to withstand the weight of battery.
Step 1: Fix the wall brakcet (H or G1) on the wall
·
Use the wall bracket as a template to mark the position of the 5 holes
· Drill holes with φ10 driller, make sure the holes are deep enough (at least
50mm) for installing and tightening the expansion bolts (J or I1)
· Install the expansion bolts in the wall, and tighten the screws on the bracket
by using the screw driller.
Step 2: Match the battery with the wall bracket
· Lift the battery to the wall bracket
· Hang the battery over the wall bracket, move the battery close to the wall
and match it on the wall bracket
Step3: Lock the joint between hanging board and wall bracket with M5
combinationscrew (I or H1).
380<height<650mm
Note: Keep the distance from installation point to the oor less than 650mm.
30<height<300(mm)
Side view of hanging the battery on
the wall bracket.
 Loading...