26
PC
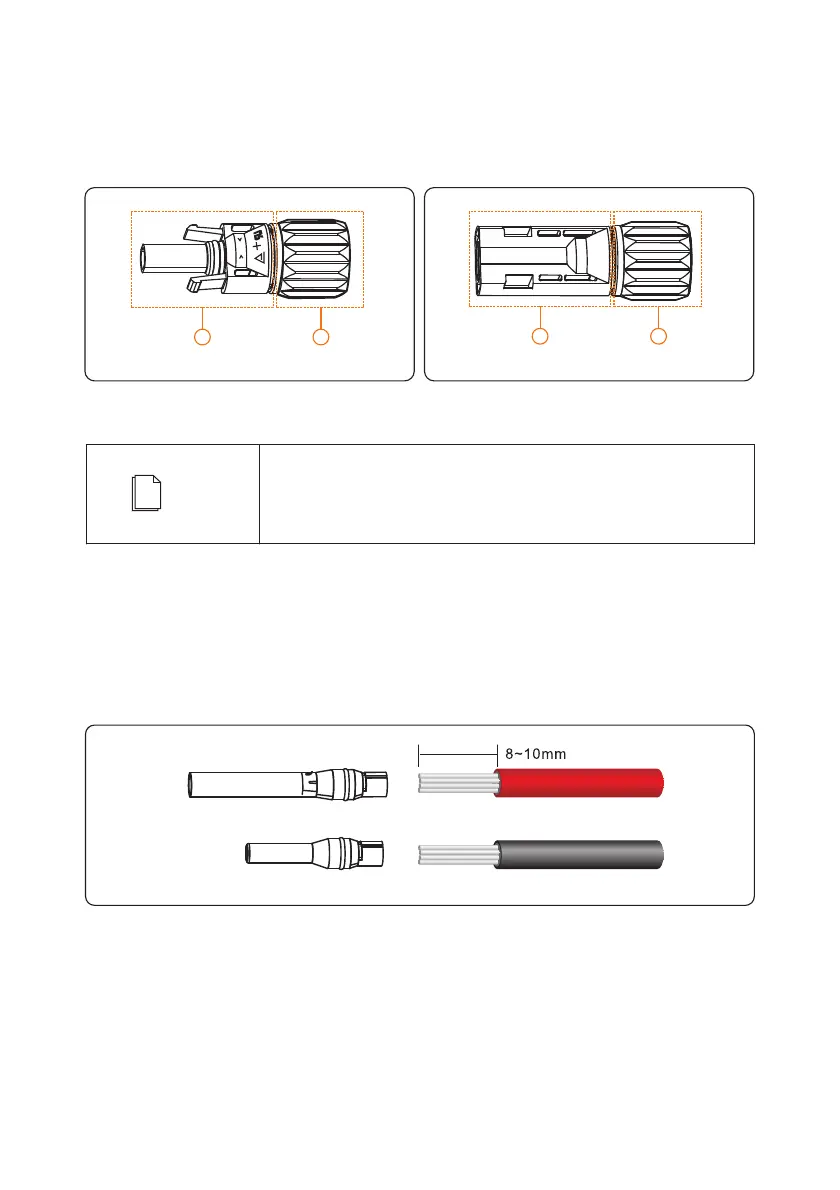
locking nut
Figure 5.8 Positive connector compositions
1
2
1
2
Figure 5.9 Negative connector compositions
NOTE
c Connectors of PV Strings: Positive and negative DC input connectors are used, as shown.
in Figure 5.8 and Figure 5.9.
the insulation layer locking nutthe insulation layer
Positive and negative metal connectors are packed with positive and
negative connectors respectively when shipped out. After unpacking,
keep the positive and negative ones separate to avoid confusion.
5 3 2 Procedure of connecting the PV Strings. .
Step 1 Remove an appropriate length of the insulation layer from the positive and negative
power cables using a wire stripper, as shown in below Figure.
Positive metal connector
Figure 5.10 Removing insulation layer for DC cable (unit: mm)
Negative metal connector

 Loading...


