12
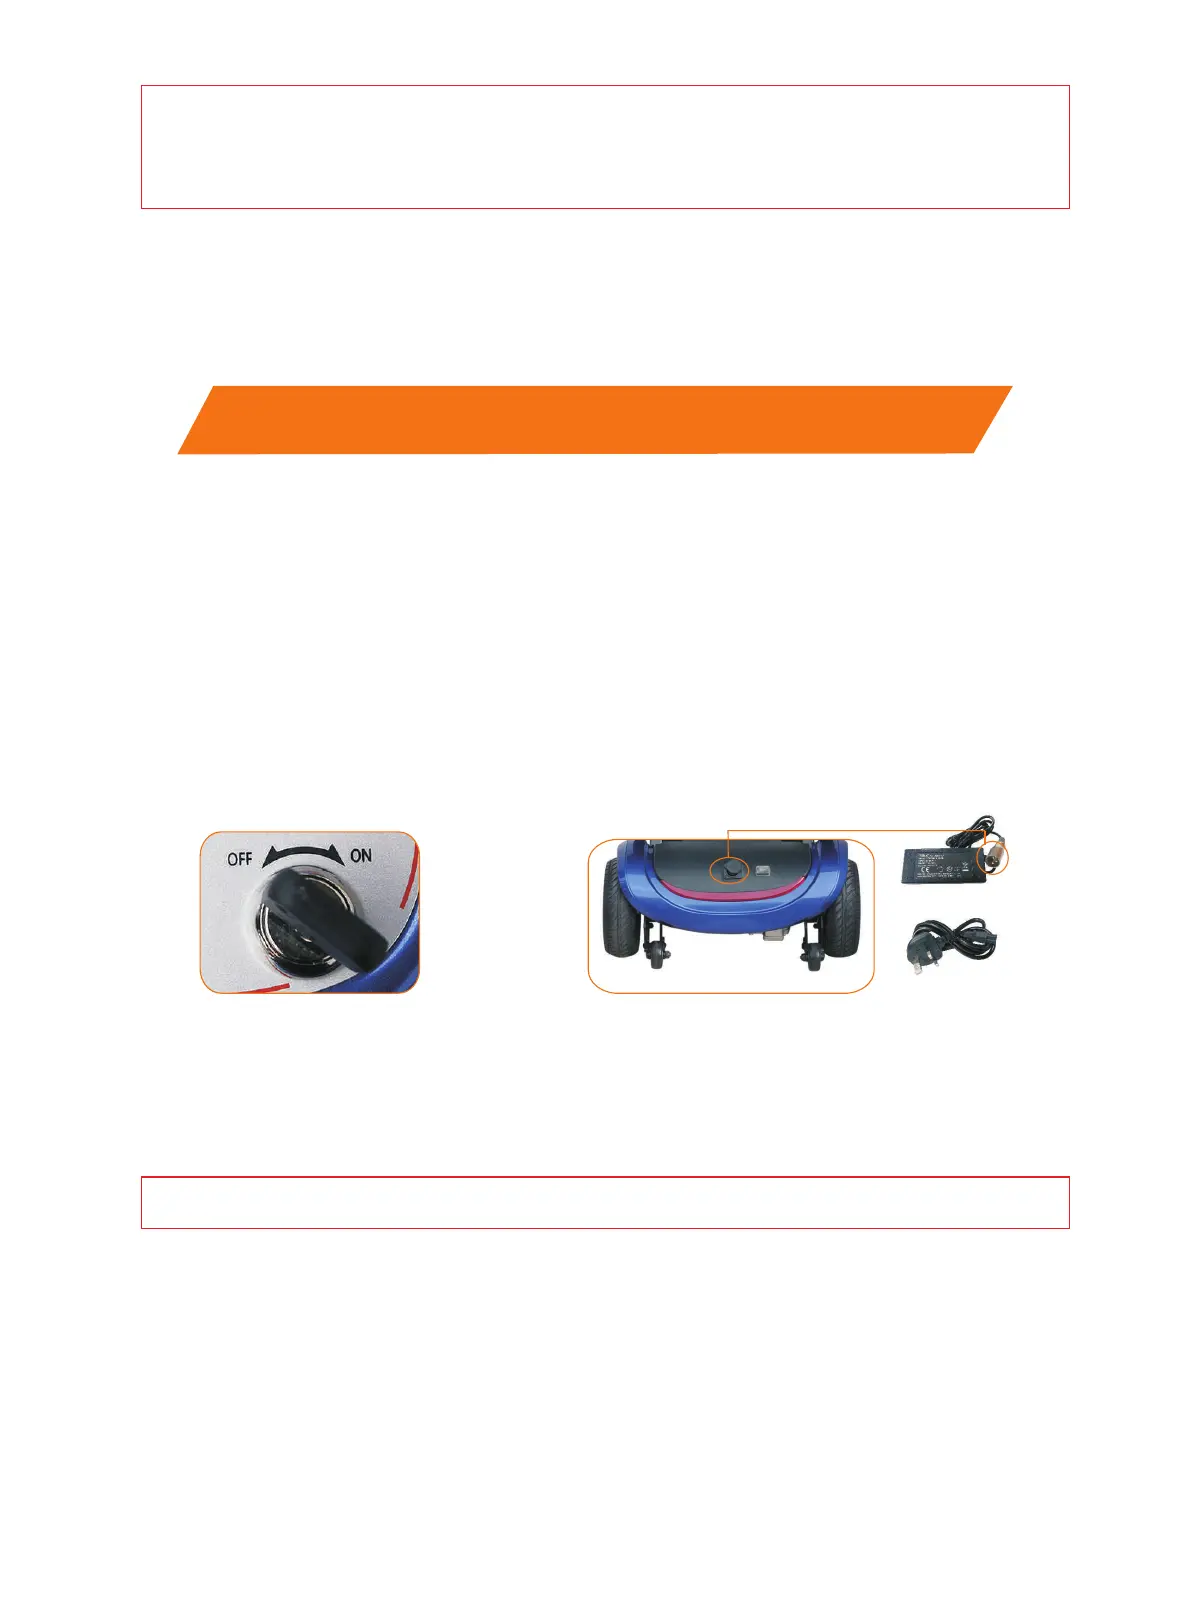
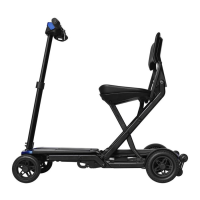
Then open the rear charging
socket and insert the plug
Close the ship stype
switch or key switch
FIG.28
Battery and Battery Charging
2. Insert one end of the AC power wire into the scoket of household power then insert the other plug
the socket of the charger. ( FIG.29 ) Verify the connection before you turn on the main power switch.
Red light indicates power on, orange light indicates on charging and green light means fully charged.
into
Warning: Match the charger socket and charger plug properly.
1. Close (the ship stype switch or key switch) and place the charger. Then switch off its power and open
the bottom charger cap and insert the plug into the charge socket. (FIG.28 )
The guide for charging steps:
● Charge the battery before the first operation. Please charge the battery every 3 months.
● If you don't use your scooter for a long time, please take off after charging full. Do not put in the scooter.
This scooter is designed with one maintenance free of power Li-polymer battery with a long usage time
as well as a long useful life. Charging with a 29.4V/2A charger makes it easy to use.
Warning: The battery should be protected in freezing temperature! Do not charge the frozen
battery. Otherwi
se, it will damage the battery and may cause personal injury.
Warning: Do not drive on freezing, slippery or salty ground, otherwise, you may suffer accident
and personal injury.