(3) Use a regular screwdriver to remove the clips at both ends of the bar to remove the tension bar unit.
Note: If the paper witdth is 79.5 or 82.5mm and the paper thickness is less than 100μm, you do not need to
remove the tension bar unit�
(4) Attach the holding plate to the printer. en tighten the two screws that were supplied to secure it in place.
Position the printer over the screws, etc., on the wall and then slide it downward to set it in place.
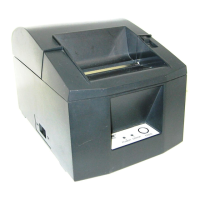
(5) Push the cover open lever, and open the printer cover.
(6) Insert the paper roll as shown.
(7) To change the Paper Near End Sensor setting from “Horizontal” to “Vertical”, change the MSW (Memory Switch)
A-9 from “OFF (0)” to “ON (1)” as shown below.
1 Open the printer cover, then turn the power on while holding the FEED button.
Continue holding down the FEED button until the POWER lamp and the ERROR lamp begin ashing.
2 e printer will change the MSWA-9 setting (Horizontal/Vertical) when these have ashed for three seconds.
3 Run the Self-test Printing to make sure that MSWA-9 is “ON (1)”
-
25
-
2
~
3mm
 Loading...